|
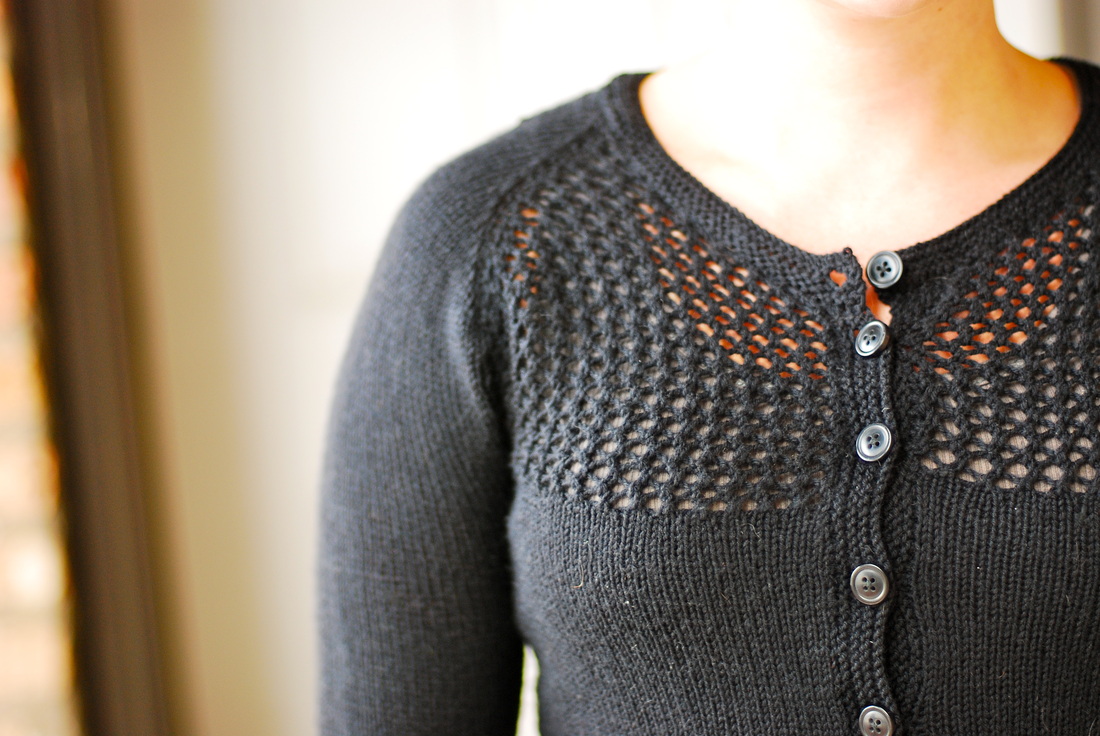
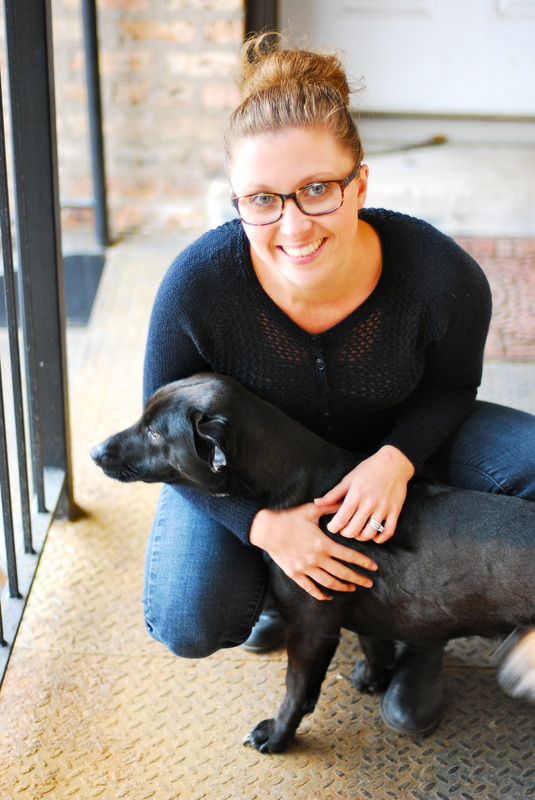
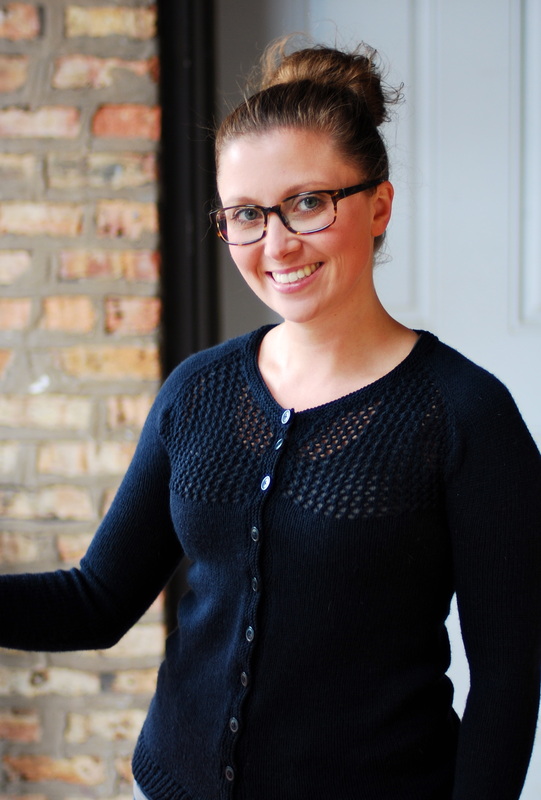
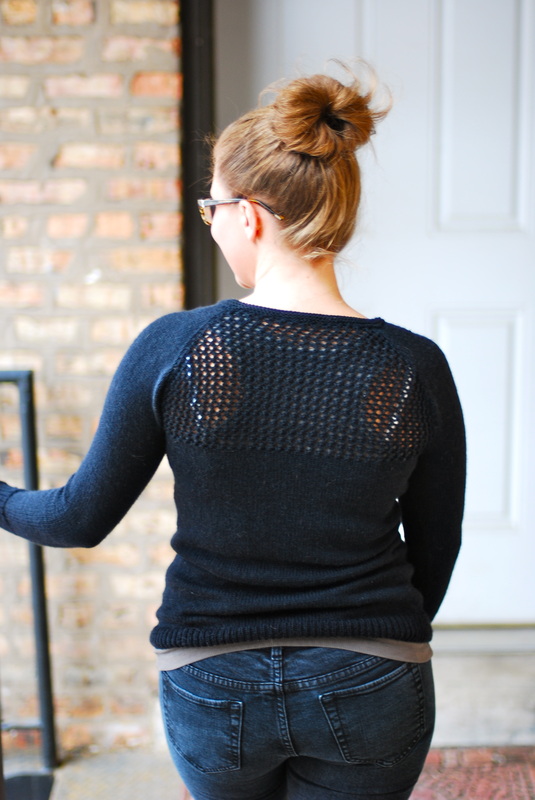
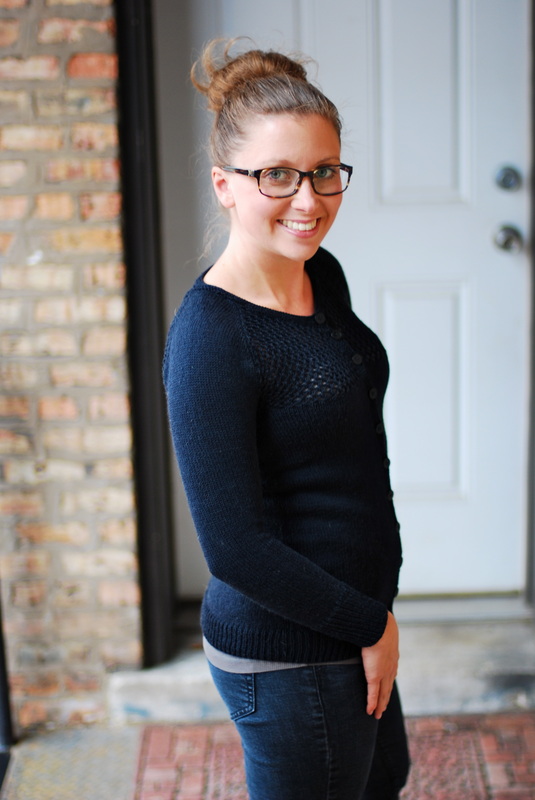
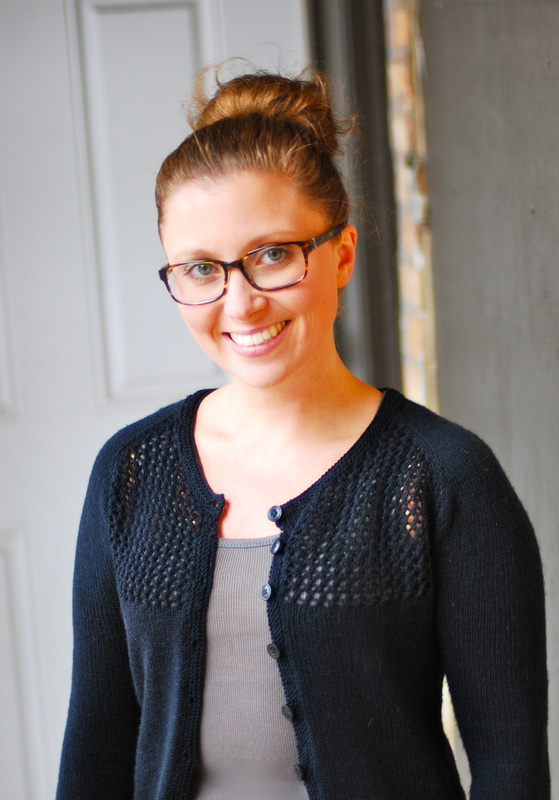
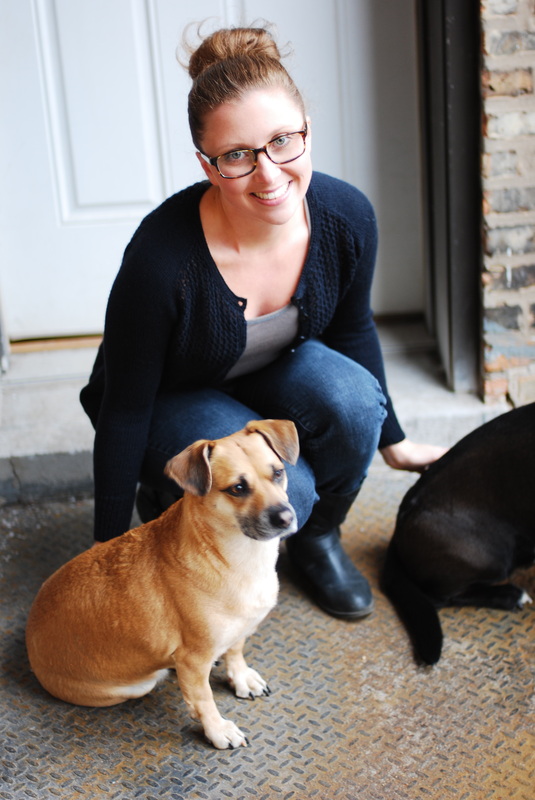
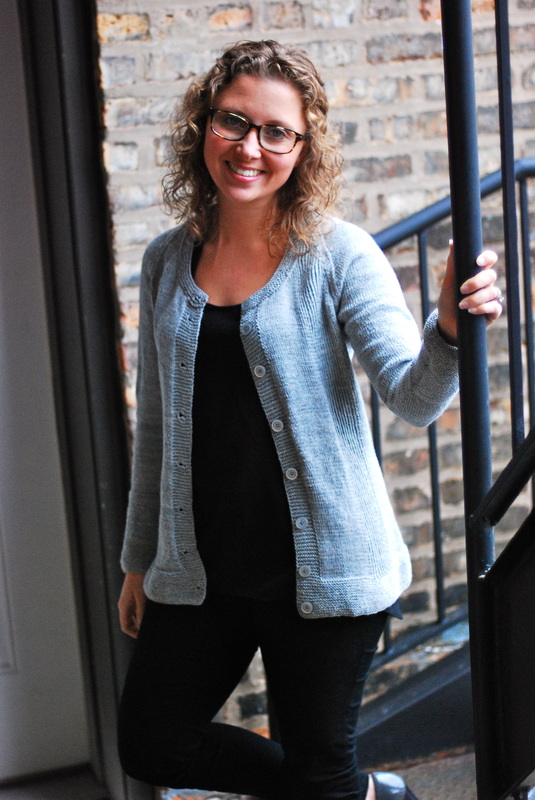
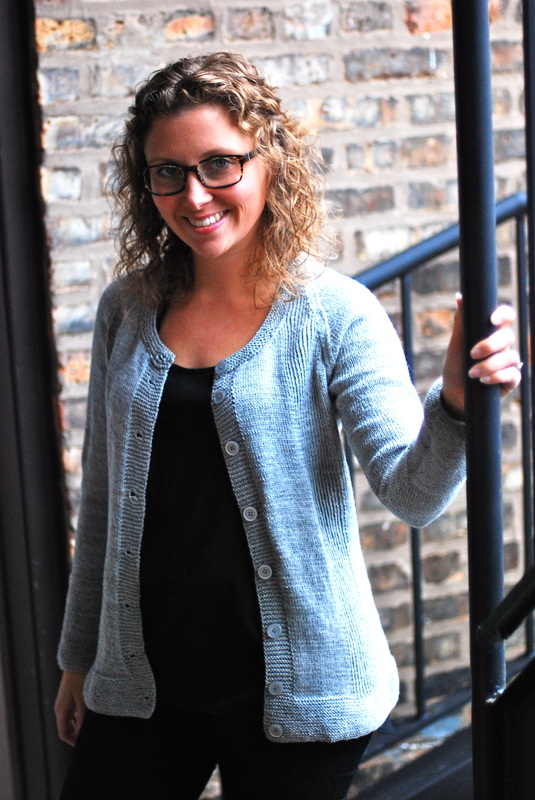
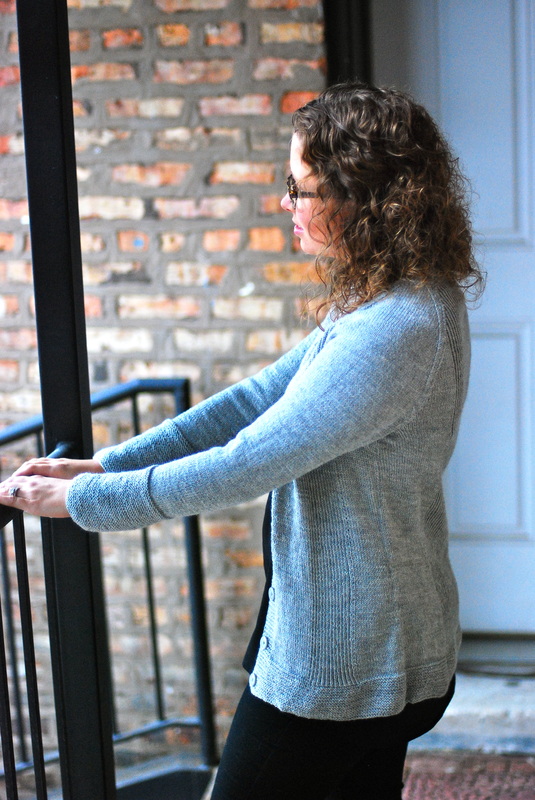
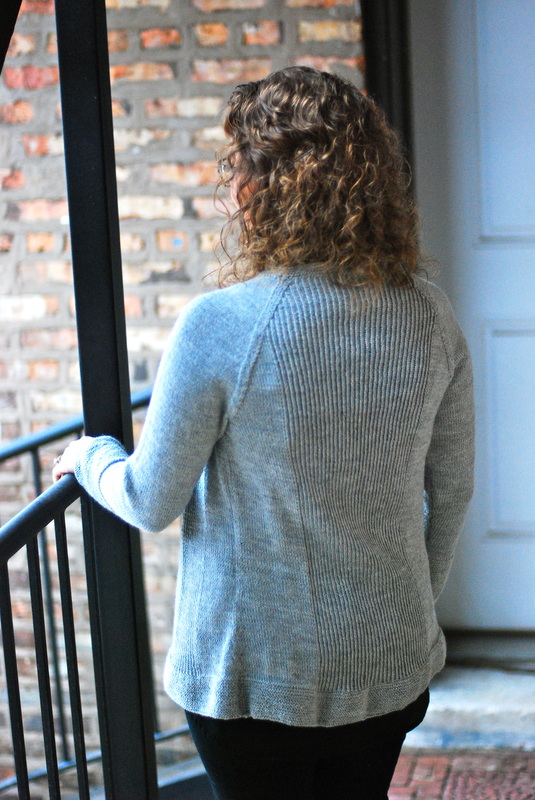
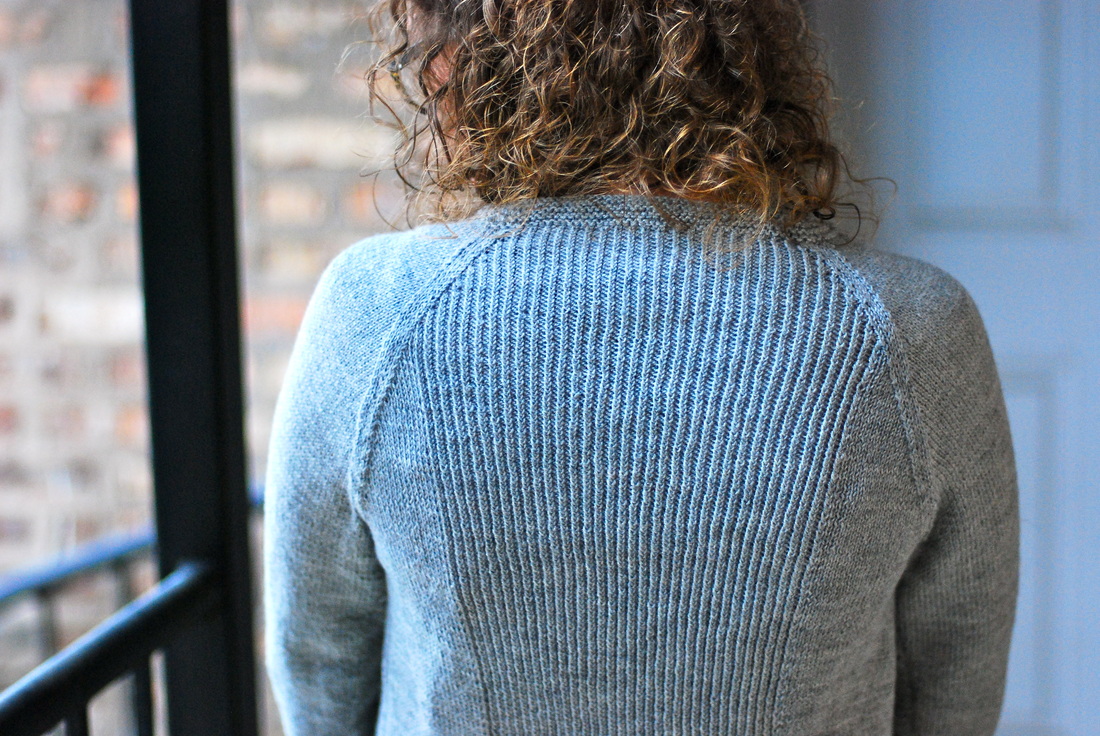
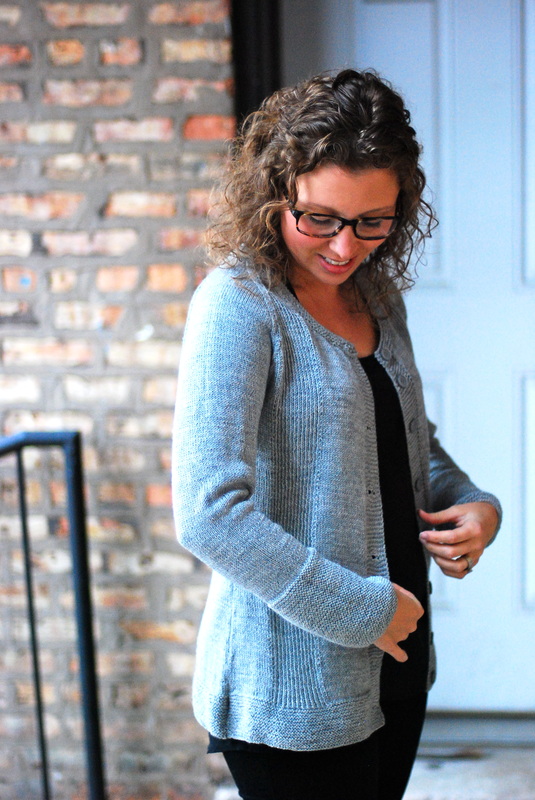
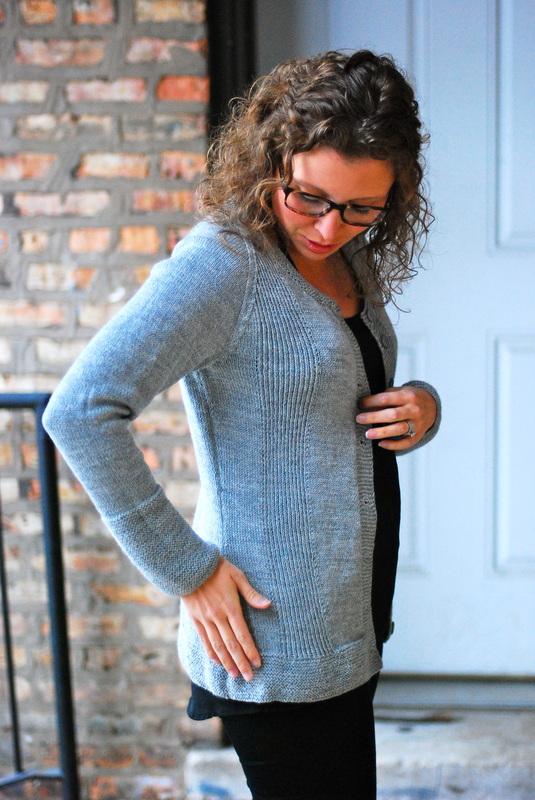
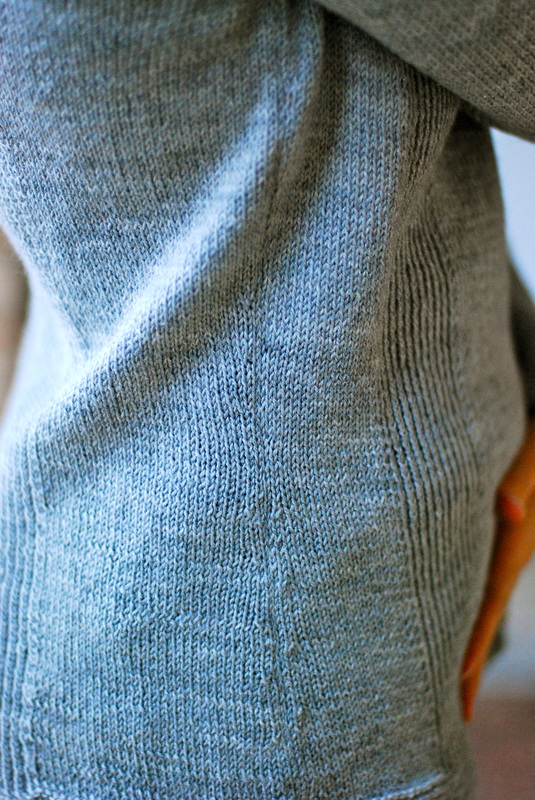
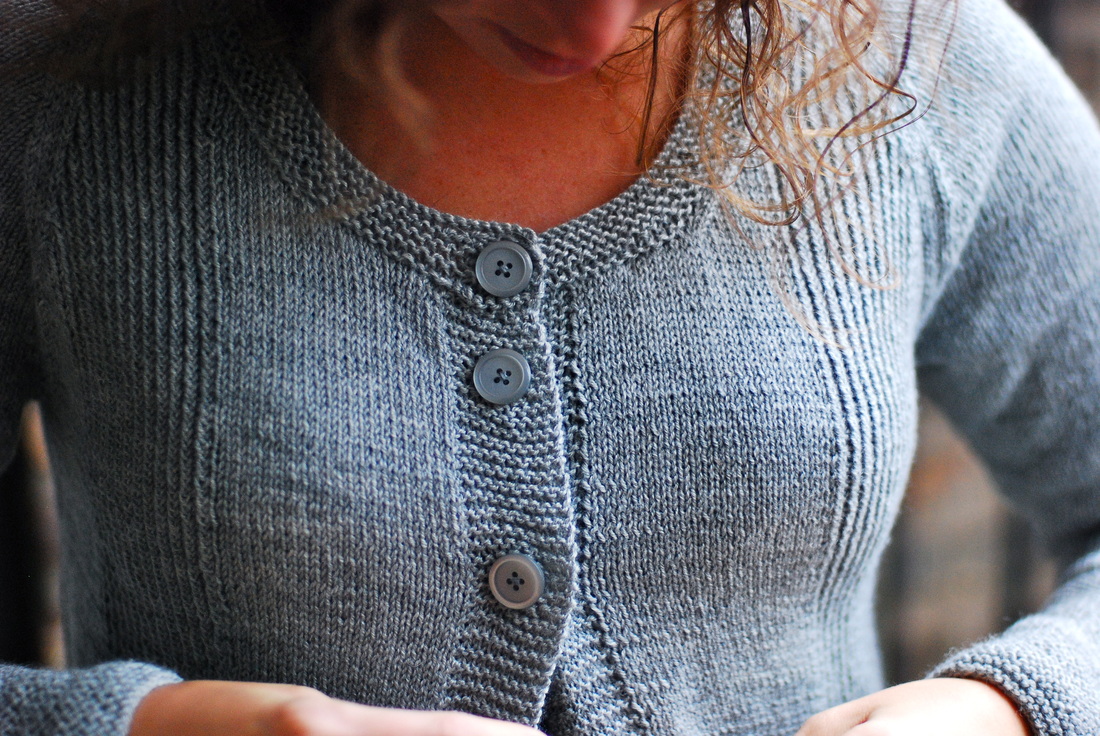
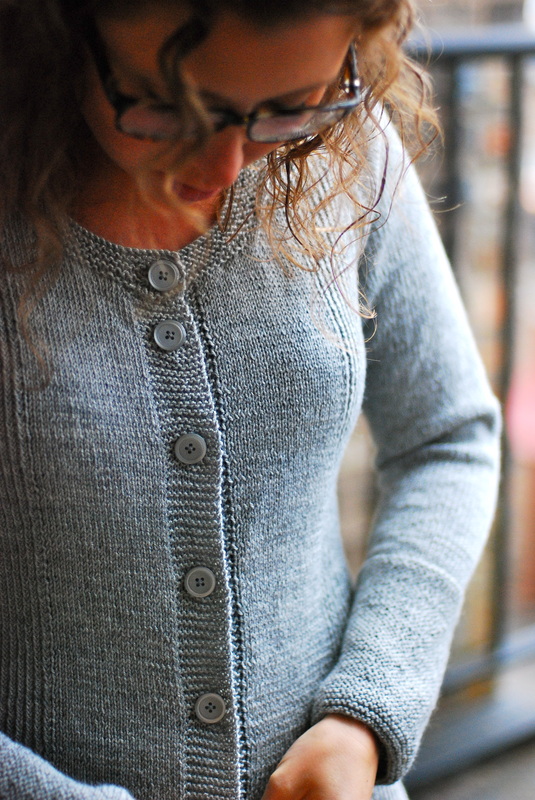
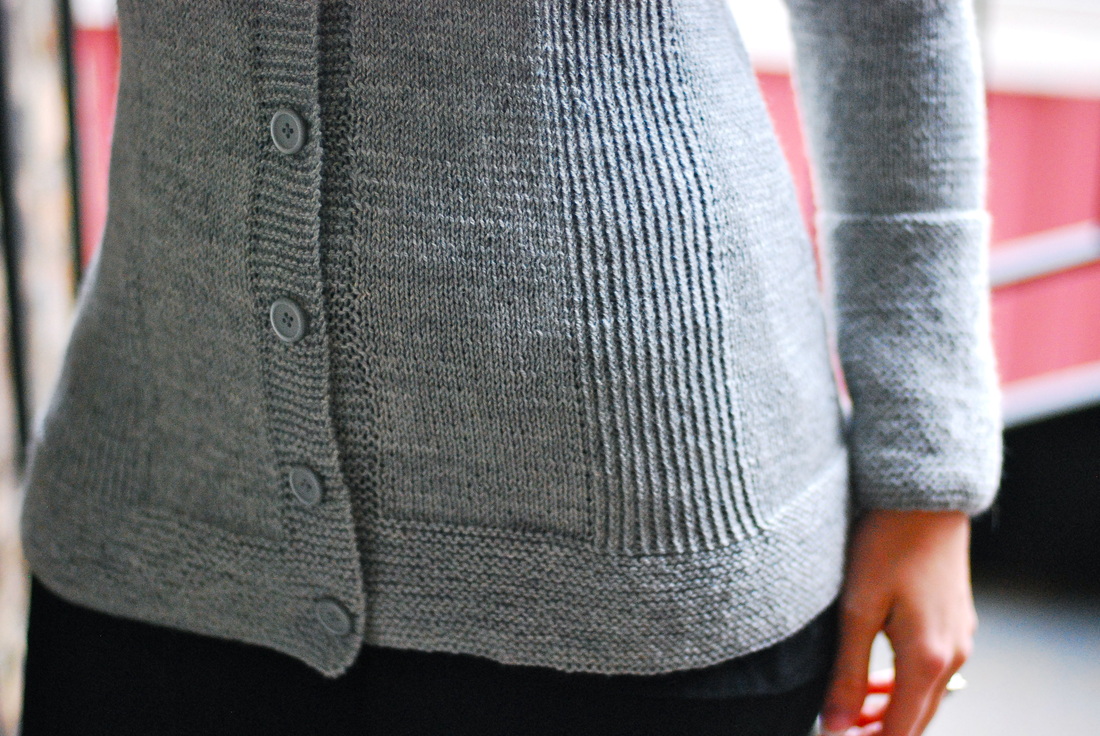
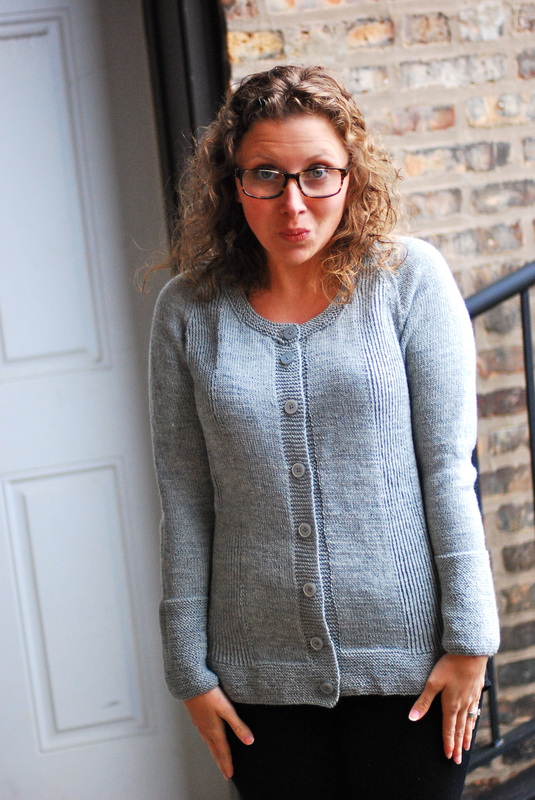
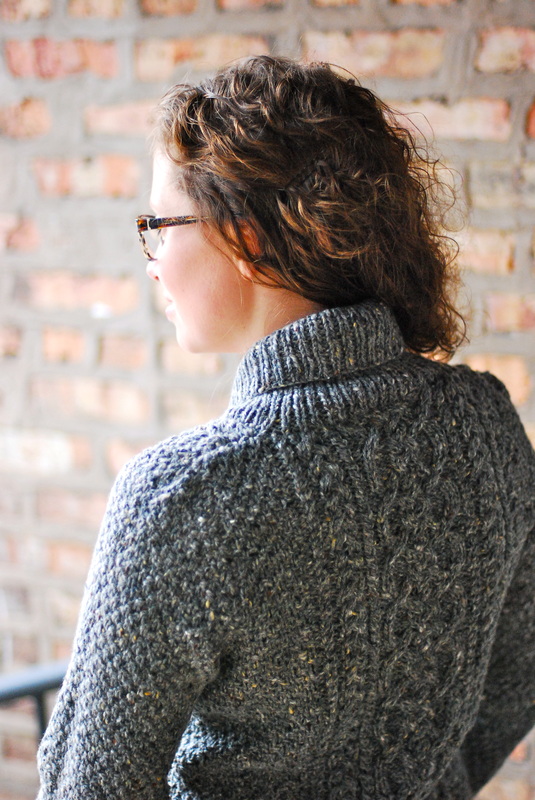
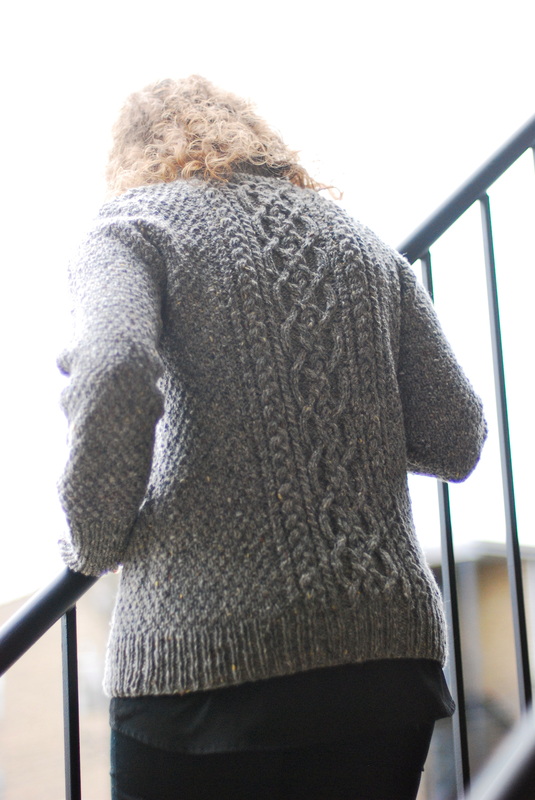
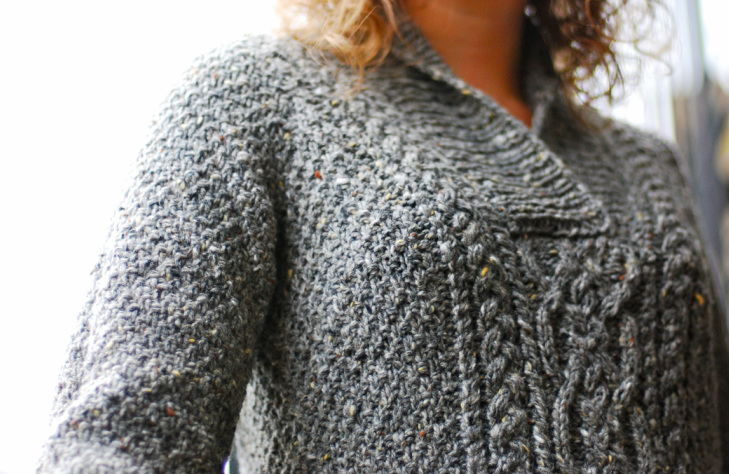
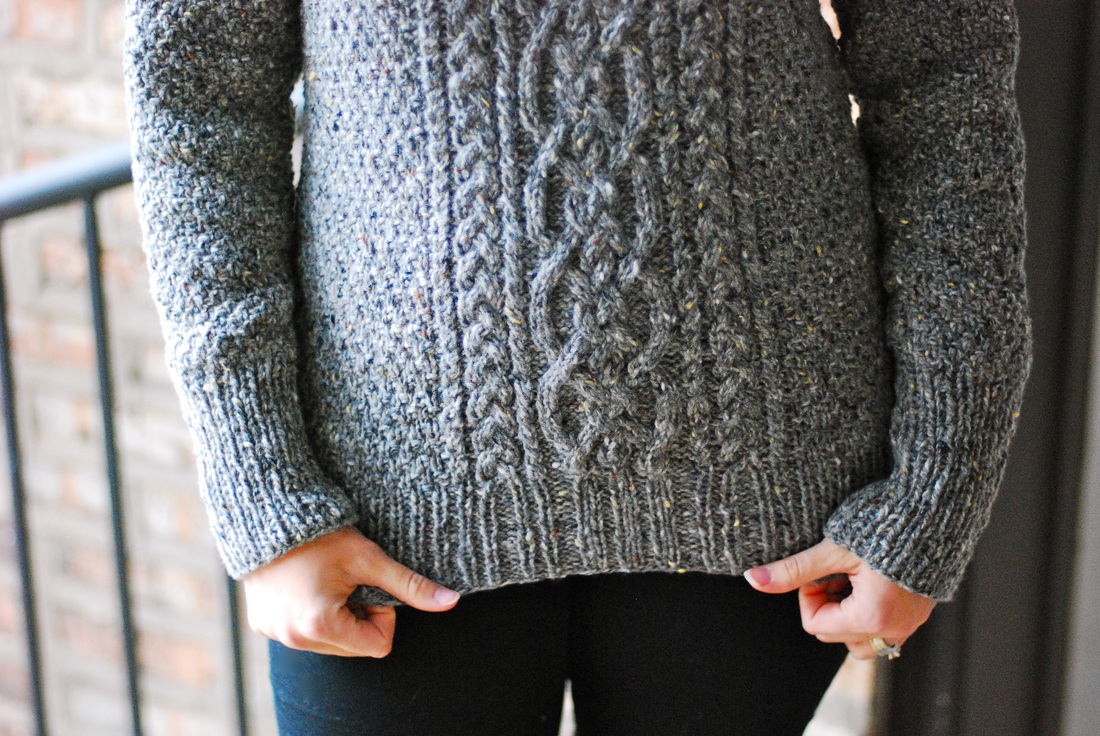
Back in December, I was lucky to win a copy of Jane Richmond's eBook Island. I knew the first pattern I would knit from it would be the Grace cardigan. I also knew that I wanted to knit it in black. My first LBC has been loved. A LOT. And, I'm long overdue in adding another classic and versatile black cardigan to my arsenal of sweaters. After all, while I am inexplicably drawn to bright colors and flashy yarns at my LYS, I'm a complete neutral girl when it comes to getting dressed in the morning. These two contradictory characteristics directly led to the development of my resolution to make more wearable garments in 2013. A sock-weight raglan definitely fits into my wardrobe plans for the year. (I really should have thought-out the whole white bra black cardigan thing... sorry). Similar to Oolong, this cardigan is a great length, weight and classic design. Unlike Oolong, I knit this one back and forth and didn't seam a darn thing. I do feel a little bit bad about that... but not too bad. Yep. This one's a keeper. Oh, and can I point out how great a job Mike did photographing the detail on this black sweater. I mean, That's not an easy thing to do. The dogs felt the need to participate in pictures this time around. They didn't think it was fair for Mike and me to be outside without them. While we're on the subject, do any of you knitters with dog/cat/bunny/furry friend companions have secrets for de-furring hand knits? I mean, besides using tweezers to individually remove caramel colored hairs from your black sweater... *sigh*
29 Comments
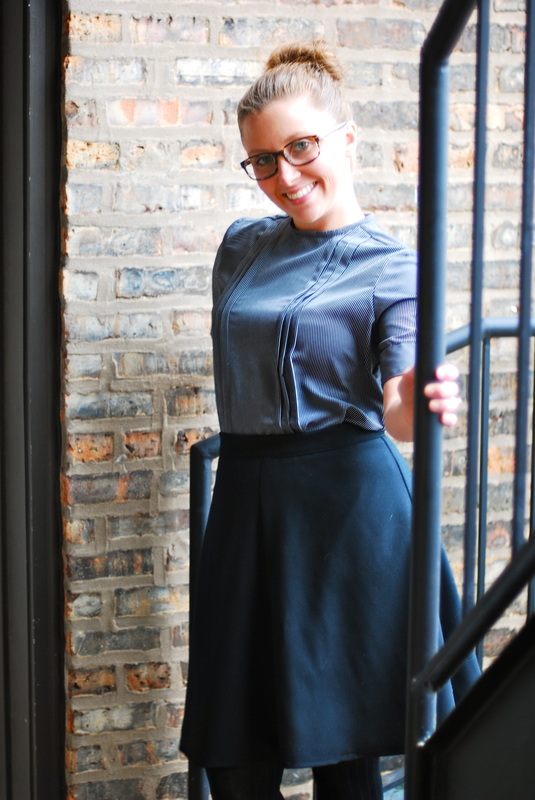
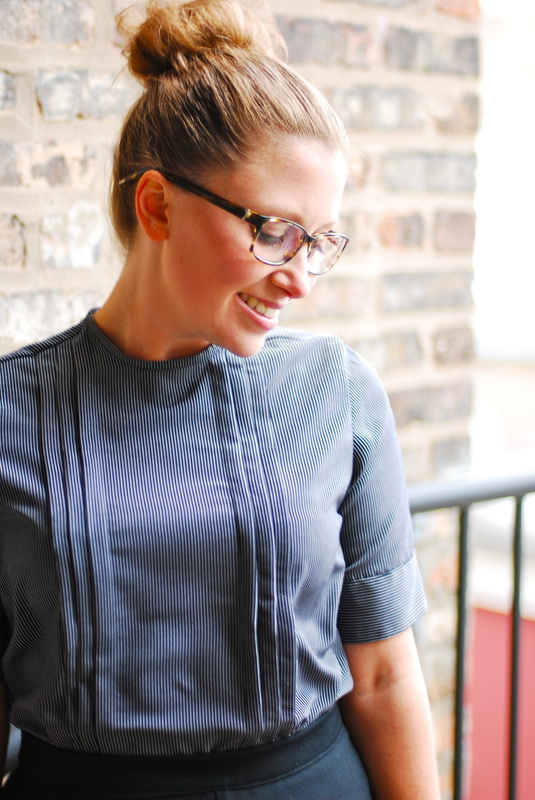
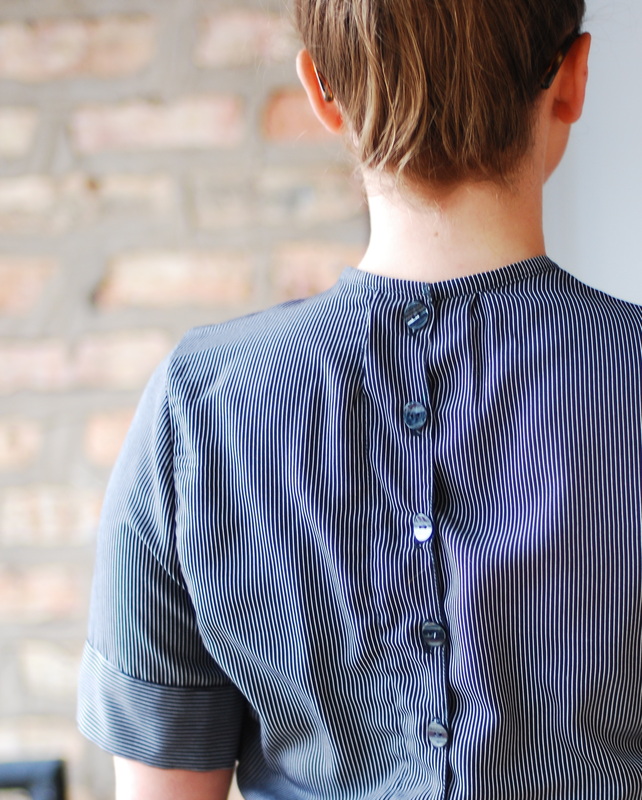
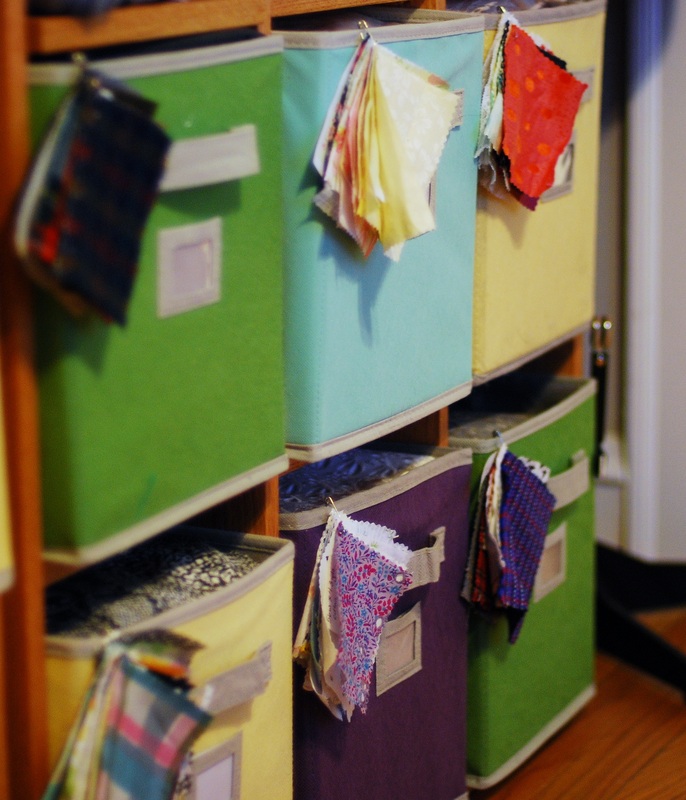
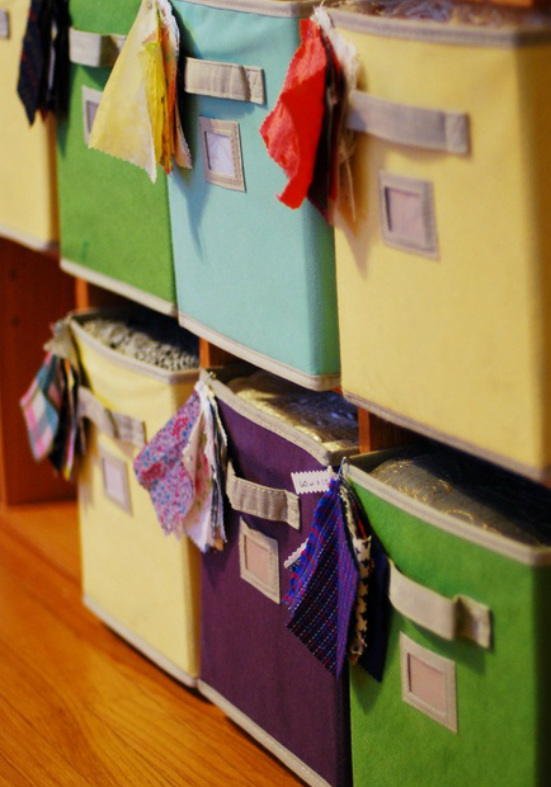
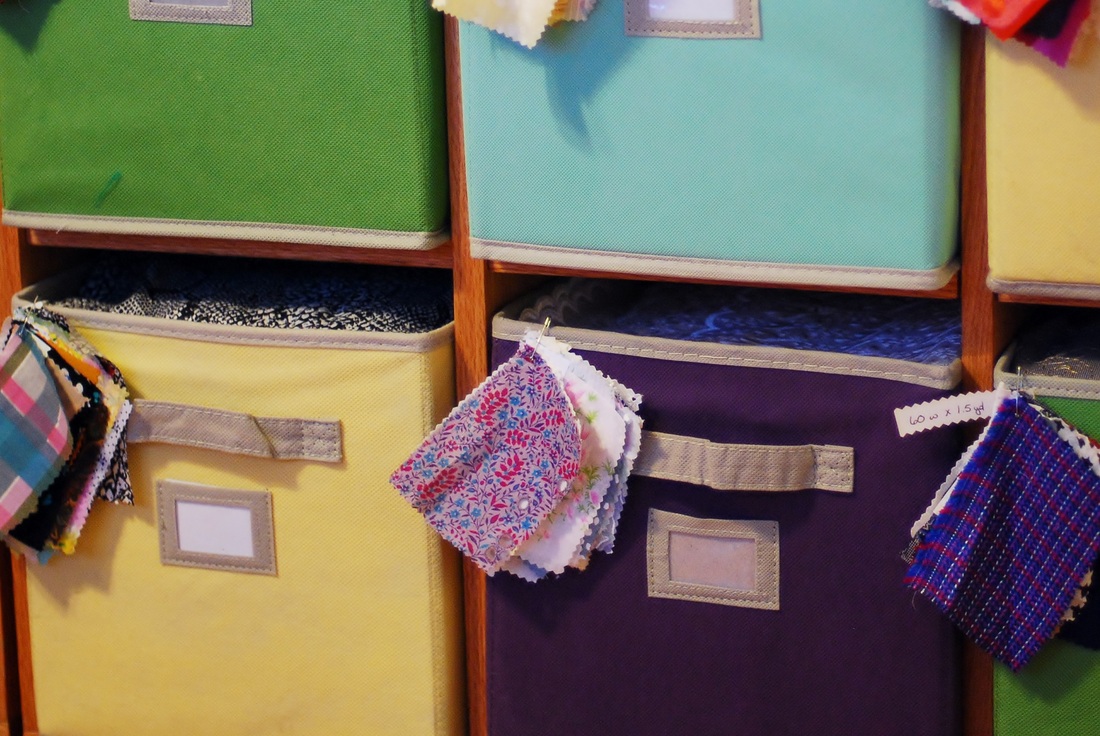
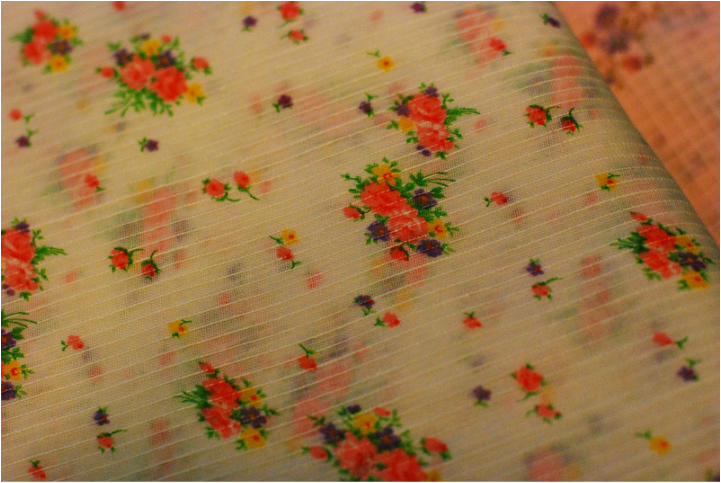
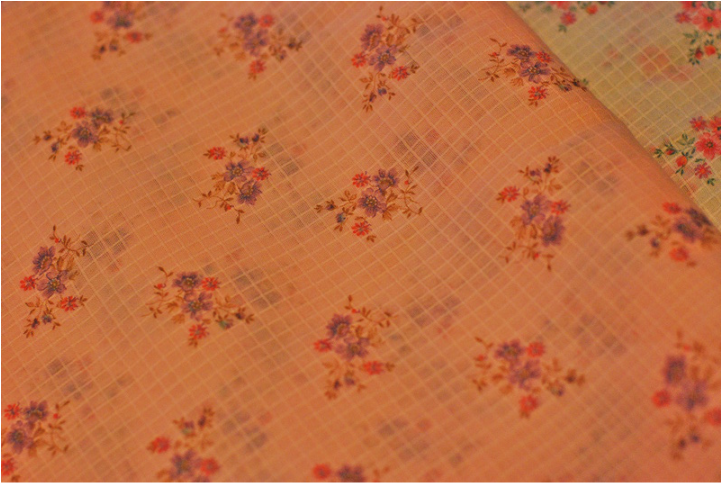
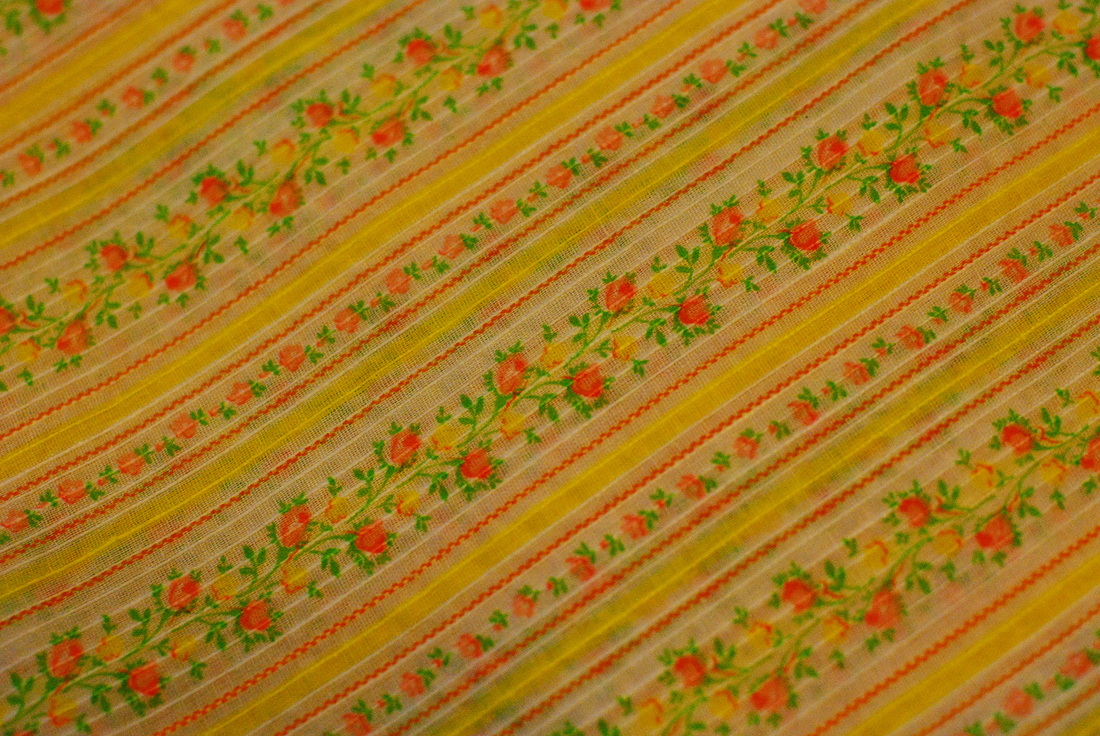
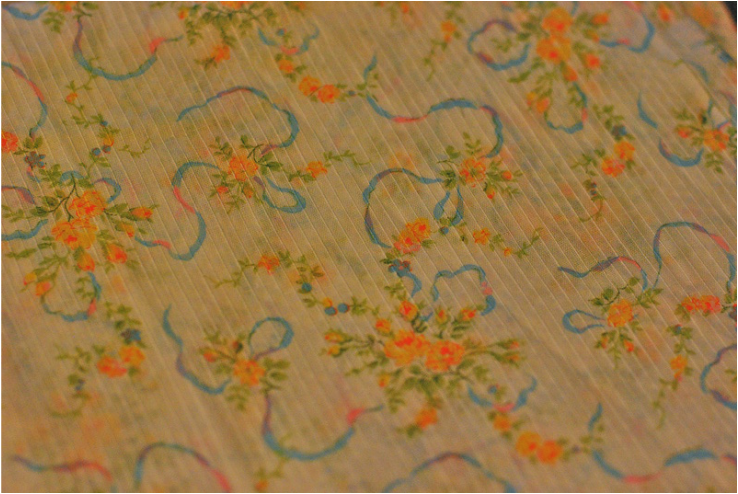
When Rochelle announced her Sew for Victory SAL, my mind immediately went to a special pattern I have in my stash. I'm completely in love with the tulip/sweetheart bust line, but I'm not certain it's a style of dress I would actually wear. Some of the ladies in the SAL flickr group suggested sewing the dress in a cotton print in order to make it more casual and, in effect, more wearable. It's a wonderful idea; however, I'm not sure it would change things for me. Ultimately, I decided to sew the dress AND a more practical garment, because I like to have my cake and eat it. Largely, for me, the appeal of a sew along is the idea of creating within the parameters of a theme and sewing with some frivolity; which is why I decided to go ahead and make the dress. But, the spirit of this particular sew along is 1940's war time. A period of rationing and make-do and mend. It's much more appropriate to the theme to make a garment that is functional and practical; that's where the blouse comes in. And, I do think this blouse achieves exactly what I hoped it would. 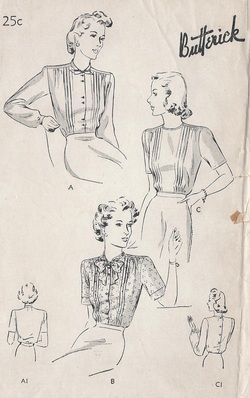 Butterick 2094: 1940's, year unknown. This blouse looks exactly as the envelop drawings would lead the sewer to believe. I sewed View C, adding the cuff detail from View B. The stripe pattern is so narrow, it's dizzying, so I chose to change the direction of the pattern on the cuff to break-up the hypnotizing effect. The fabric is viscose and has a lovely peach-skin feel. It was incredibly easy to work with. The inside is completely finished with French seams; neckline and waistband finished with self-bias tape. The blouse is straight cut with a fair amount of ease through the waist and hips, and I can see pairing it with skirts and untucked under a blazer with skinny jeans. Last year, I responded to an online posting by a woman claiming to have a large quantity of vintage fabrics available for sale. When I showed up at her house, she had, literally, HUNDREDS of yards in fabric and trim. She also had a pile of factory folded women's patterns. The deal was $75 with the stipulation that I had to take it all. I didn't bat an eyelash. I handed her the money and had Michael load the car. We filled the entire hatchback of our Prius. At home, I had a few cuts of fabric, nothing remotely resembling a fabric stash (especially compared to the yarn, HELLO!). I spent that whole weekend sorting and burn testing my treasures. To my extreme delight, a large number of pieces were cottons and linens. Even better, there were several yards of each piece. I washed, dried, measured, labeled and neatly folded each cut before stacking it in my cubbies. If I had stopped then, there'd be no need to go on. Of course, I didn't. I bought Fabric in London, Edinburgh, and Dublin. I took advantage of great online fabric sales. And, I went shopping with Meg. And, on none of these occasions did I use the same care I had previously. I just kept stuffing fabric into storage cubes. I've pulled fabric from my stash to make some projects (1, 2, 3, 4), but I still buy a good deal of project specific fabric; I think that has a lot to do with the fact that there's never been an easy way for me to see what I have. I thought my storage system was pretty ace. I had incredible storage cubbies (built by my talented in-laws) equipped with storage cubes to maximize containment capability, but something was missing. I couldn't figure it out. Then Gertie, that lovely lark of a sewing angel posted photos of her sewing room organization. It made so much sense. I knew then that I was going to play copycat. The concept is brilliant. And, it looks really pretty. At least, I think. But, I'm also the sort who think balls of yarn are spectacular home decor. I'm not sure why it took me so long to get this project started. It wasn't nearly as difficult as I'd imagined. It did, however, take a good deal of time. No joke, I invested a good 8hrs (+) sorting, measuring and folding. In the process of sorting, I was able to clean house a bit. There are a couple pieces of fabric I know I'll never use; they deserve new homes. There were also little bits of left over fabric from projects past that I had to acknowledge, didn't need to be held on to. I pared it down to seven cubes. It's so nice being able to quickly see everything I have available to work with. Thanks to Gertie, I think I now have a functional fabric stash. Before I wrap up. I wanted to show you some fabrics from that haul last year I never got around to blogging. There are about a dozen different fabrics labeled Peter Pan Fabrics, Inc that I find particularly interesting. From what I can determine, they're cotton. They're also incredibly light weight and semi-sheer. In addition to being printed, they're textured. The lines, or in some cases, grids are raised. I've tried to do some research online to see if I could find more information about them, but there doesn't seem to be a lot available. Based on what I was able to find, Peter Pan Fabrics, Inc. did file a series of copyright infringement suits against several clothing manufacturers, starting in 1960. And, it appears, they may still produce quilting cottons today. I've found some listings on Etsy and Ebay selling fabric boasting the same maker's mark, but they're all flat finished, and heavier. I'm pretty positive these aren't quilting cotton, but I can't say for sure. Is there a name or classification for textured fabrics like this? Do you have similar fabric in your stash? Do share! I'd love to know more about them.
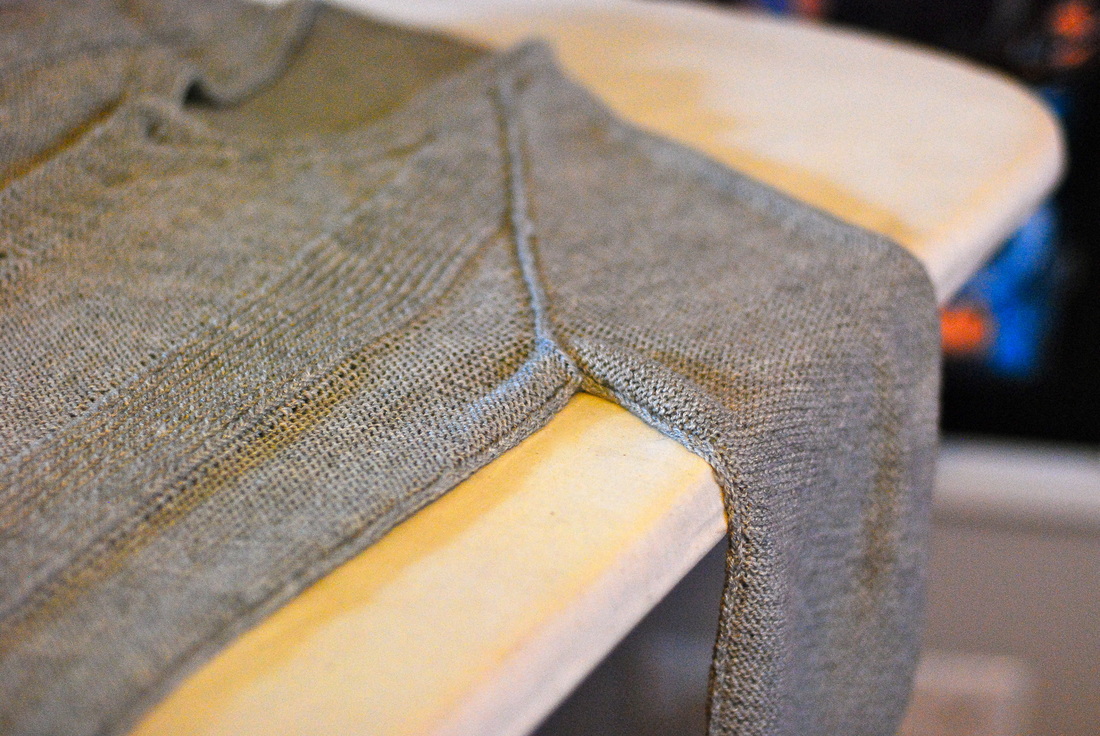
It's FINISHED! It only took.... actually, I have no idea how long it took me to knit this sweater. I must have started it in November, because I had already run out of yarn (True Story. At this point, it's a flaw of my personality) in December. Then I got more yarn. But, I had shifted my attention to other projects; I have the attention span of a gnat and am insanely impatient. Then, I did finish knitting. However, if you recall, I had Josh Bennett brain and decided to work this entire project flat and in pieces, which meant I had a lot of seaming ahead of me; this is 4-ply knit on U.S. size 2 needles. That took some time. Piece-work ended up being a great thing. When I ran out of yarn, Tara had to special order my supplemental supply, which meant a different dye lot. *GASP* I'm no rookie at running out of yarn. I used an old fool's trick: fronts/sleeves (lot 1) back (lot 2). I'm too lazy to alternate skeins if I can avoid it. I think it worked. It probably worked to well for me to learn my lesson. I certainly don't notice any distinctive lines of demarcation. It was a lot of work to seam this sweater. In a sick way, I enjoyed doing it. My seams aren't perfect, as evident by my misaligned decreases, but they look pretty frickin good, no? My favorite element is the neckline; just a slight scoop. Michael went to the fabric store and bought buttons for me. BY HIMSELF. Ladies & gents, I don't mean to brag, but he did a really good job. He matched the color by memory. He probably deserves more hand knits than he has currently... My second favorite element is the length....and the fact that I can button it over my bum- no small feat. It continues to be really, really cold here. Having a couple new sweaters to throw into rotation is nice. Speaking of nice, this yarn, Spud & Chloe Fine, is really nice; that touch of silk feels pretty fantastic against the skin. I couldn't end this post without a picture of those seams. Sides. Sleeves. Raglan. I would do it again. For the record, the pattern is written in back and forth knitting with standard raglan decreasing and sleeves knit it the round. If you're thinking about giving it a go, there's no need to go all "Second Rite of Ascension". Pattern: Oolong by Laura Chau
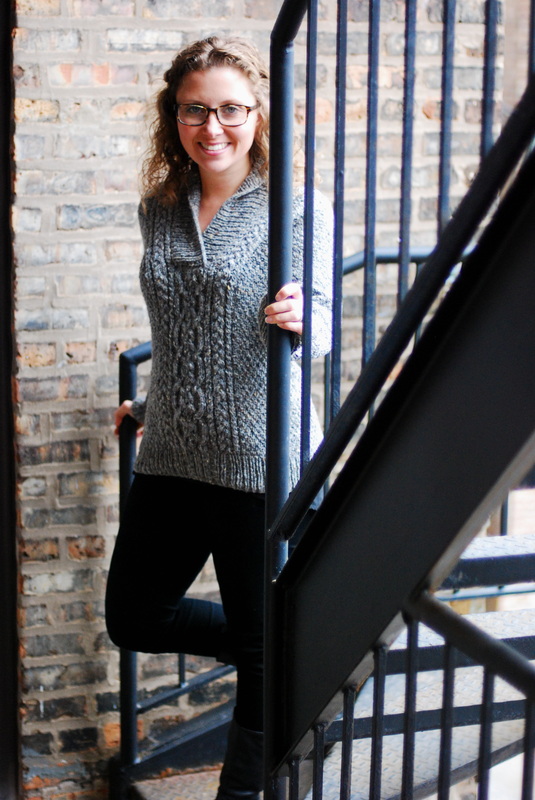
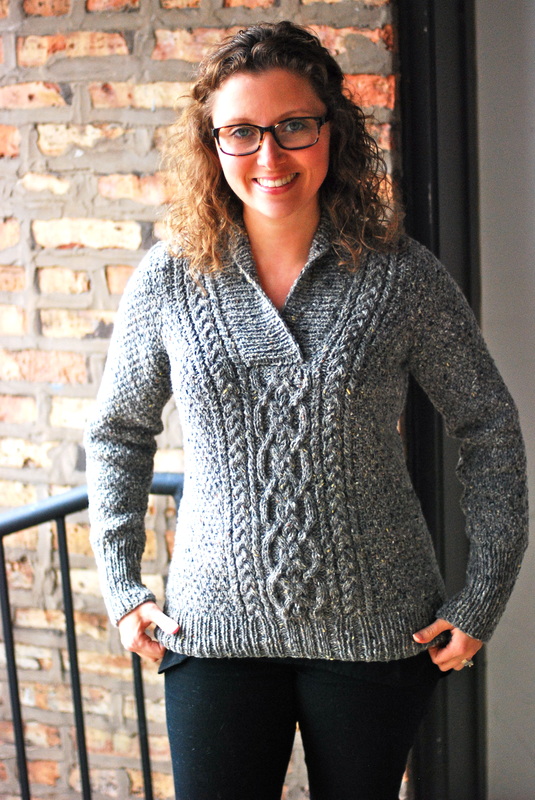
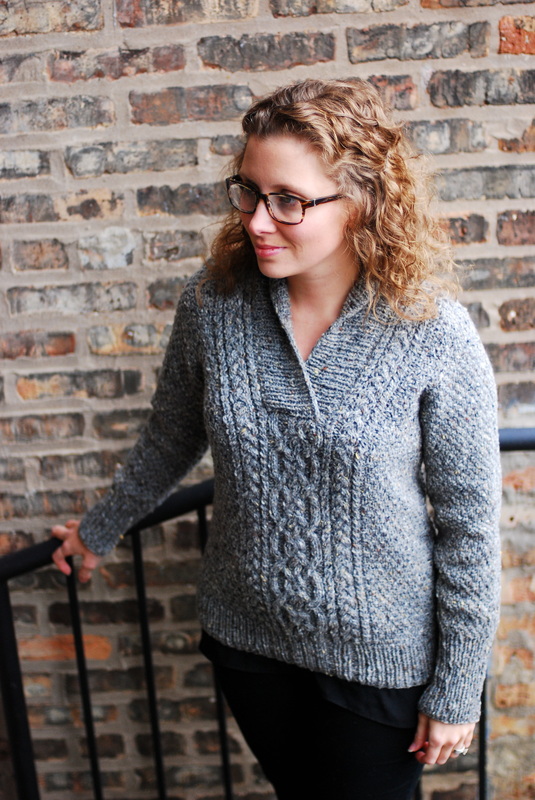
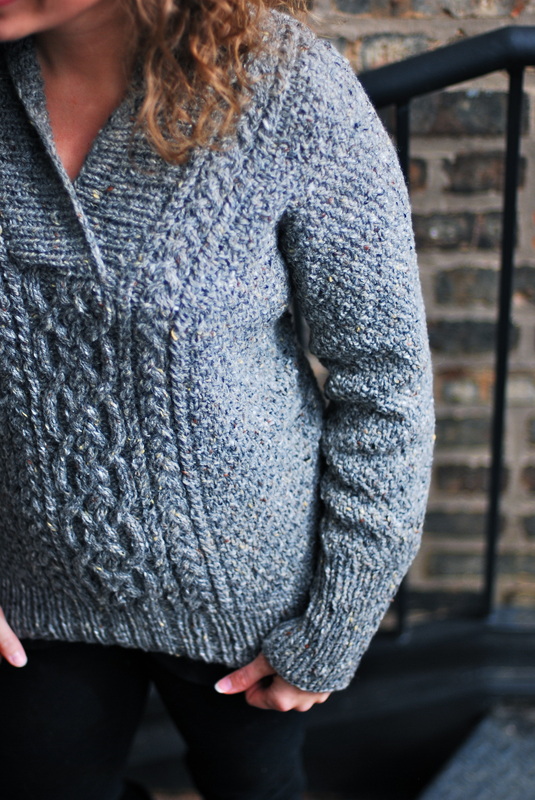
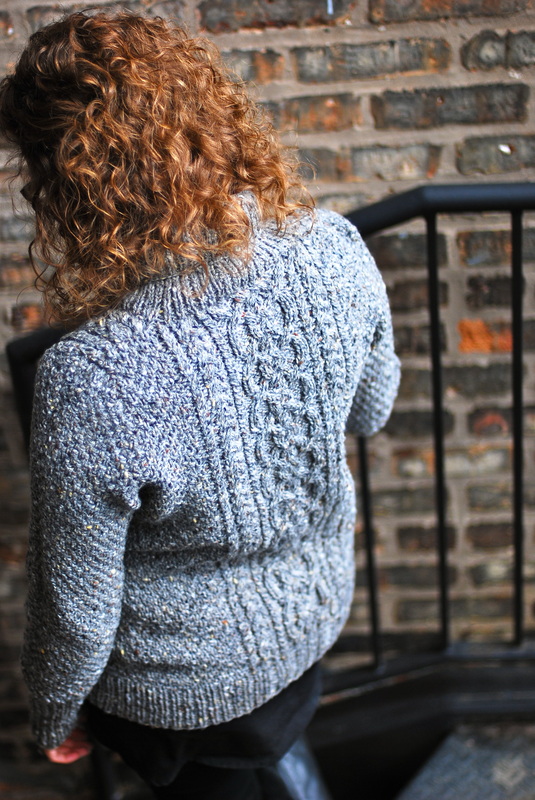
Yarn: 7 hanks Spud & Chloe Fine in Color #7822, Sidewalk. Needles: U.S. size 2 I am the realization of the American melting pot. A dash of Italian, a handful of Polish, a generous portion of German, toss in some Austrian, (There are probably a few secret ingredients, because what family doesn't have those? Am I right?) Top with a pinch of Irish. Indeed, my second great maternal grandparents were Katie and Cornelius O'Leary. A very interesting discovery, because until a couple years ago, my mother would have sworn to you that we weren't of ANY Irish decent. Regardless of heritage, everyone in Chicago is Irish, just ask them. This is especially true on St. Patrick's Day, wherein many thousands of college-aged persons and peoples experiencing midlife crisis dress like the Lucky Charms mascot and behave in belligerent displays of drunkenness down the middle of Clark Street. I've indulged in my fair share of green beer and Irish Car Bombs, but I'm now at the interim age for St. Patrick's festivities and prefer a lower-key approach. I saw a recipe for baked eggs inside twice baked potatoes last week, which seemed appropriate for a St. Patty's Day brunch, and we busted out the distillery reserve we got last year while we were in Dublin. I also managed to block the Fargo sweater I knit using the Studio Donegal I bought during the same trip. How's that for authentic? It was a good day to be wearing an Aran sweater. It was COLD. Now, about the sweater. First the pattern. Beautifully written. Very easy to follow. I wanted a roomy pullover, so I knit to the instructions for the "36, and I got exactly what I set out for. I love the semi-seamed construction in this design. A set-in sleeve and shoulder seam provide a great element of stability to the garment. Now the yarn. Like I mentioned above. I bought this yarn in Dublin. From what I can tell, it's not for sale stateside. The perfect storm for a yarn shortage, right? By the Time I'd finished the body, I was starting to sweat. I had less than two hanks remaining to get through both sleeves and the collar. Knowing the collar was a critical feature of the design, I decided to pick-up and knit it before starting on my sleeves. Worst case, scenario, I thought, I can knit short sleeves. I knit EXACTLY the "3 the pattern instructs, and bound off. Then, using my digital food scale, I divided my remaining yarn into twp equal balls. You wouldn't believe how handy that food scale is for weighing yarn! I highly recommend having one around. Then, I had to get a little bit MacGyver. Instead of knitting the sleeves from the cuff as written, I reversed engineered them. Starting from the shoulder-cap, I worked backward down the sleeve to the cuff. I wasn't sure how long I was going to be able to knit my sleeves, but since I'd already divided my yarn, I knew they would be even, no matter the length. As you can tell, my fears were for naught. The sleeve length is kinda perfect and very proportional to the rest of the sweater. I would have liked to go back to add an inch to the collar, but no joke, this is how much yarn I have left. Luck of the Irish, no?
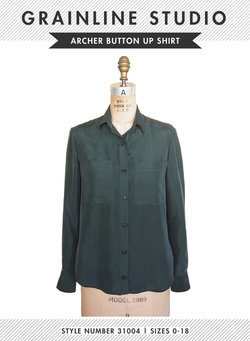
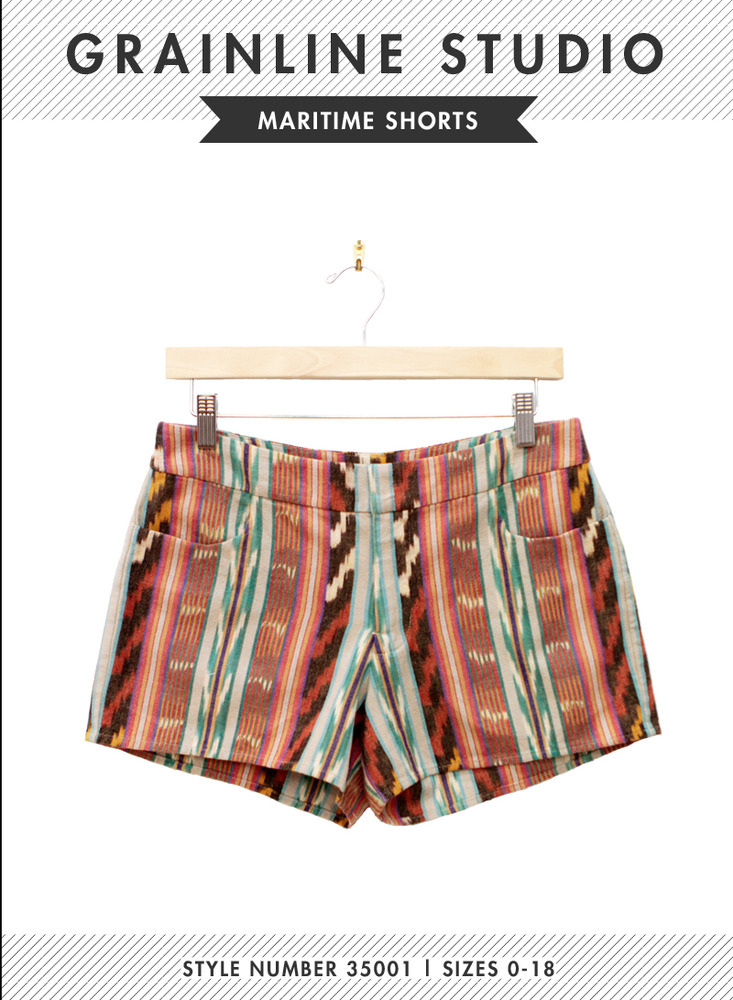
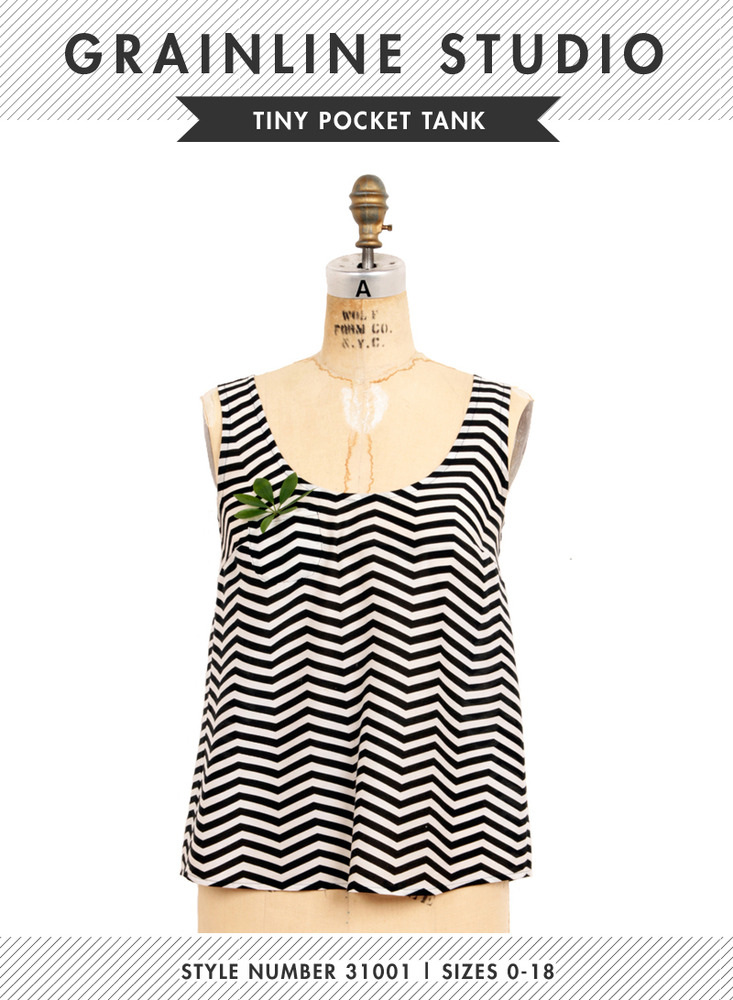
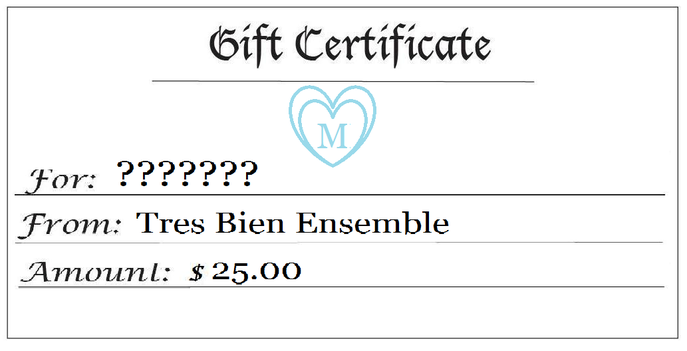
I know many of us are joined in bereavement over the impending death of Google Reader. Dearest Reader, you help so many of us keep track of our favorite online friends and distract us during our darkest (work)hours... It's going to be an adjustment. Loss is never easy. Change can be difficult... but it doesn't have to be. Sites like Bloglovin have created easy tools to import your reading list. You can also create categories for your feeds to help easily manage them. There are other options too, Feedly and Zite both look like fantastic ways to manage feeds. Whatever you choose, I hope, moving forward, You'll take TresBienEnsemble with you! I love interacting with you all and I would hate to lose touch. As a distraction, from this great universal loss, I offer you a March Giveaway. We started the year with two knitting giveaways, so this month, SEWING. I'm so pleased and excited to offer one lucky reader the chance to win a $25 Gift Certificate to Grainline Studios. If you are familiar with Jen's creations, you already know how versatile and lovely her designs are. Grainline Studio patterns are available in printable PDF format. This giveaway is open to everyone, everywhere. I know I'm excited to print and make several pairs of maritime shorts for summer. I probably need a few tiny pocket tanks and Scout Tees to go with them....
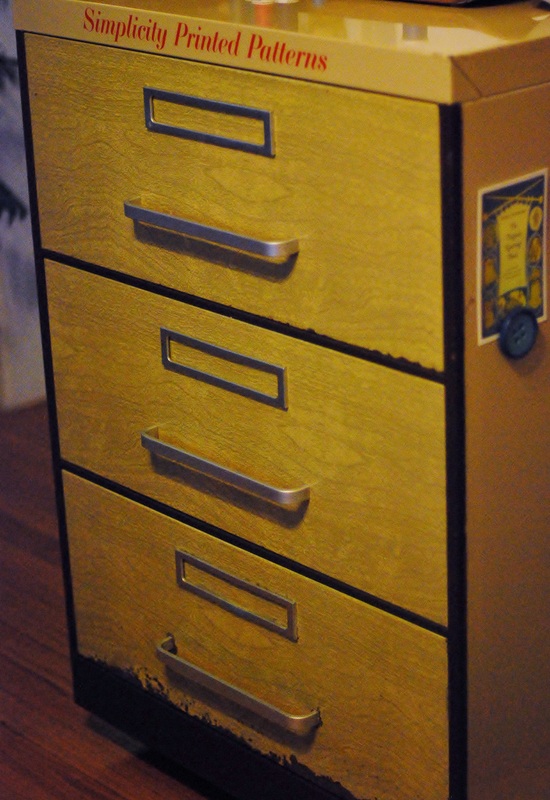
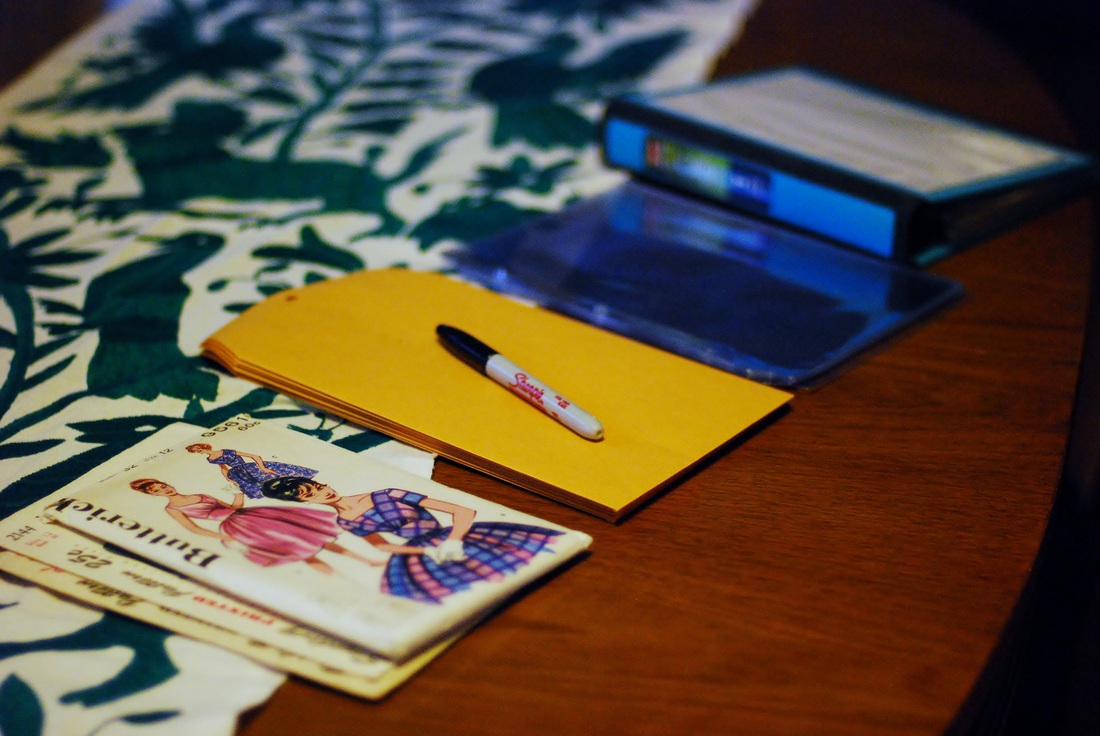
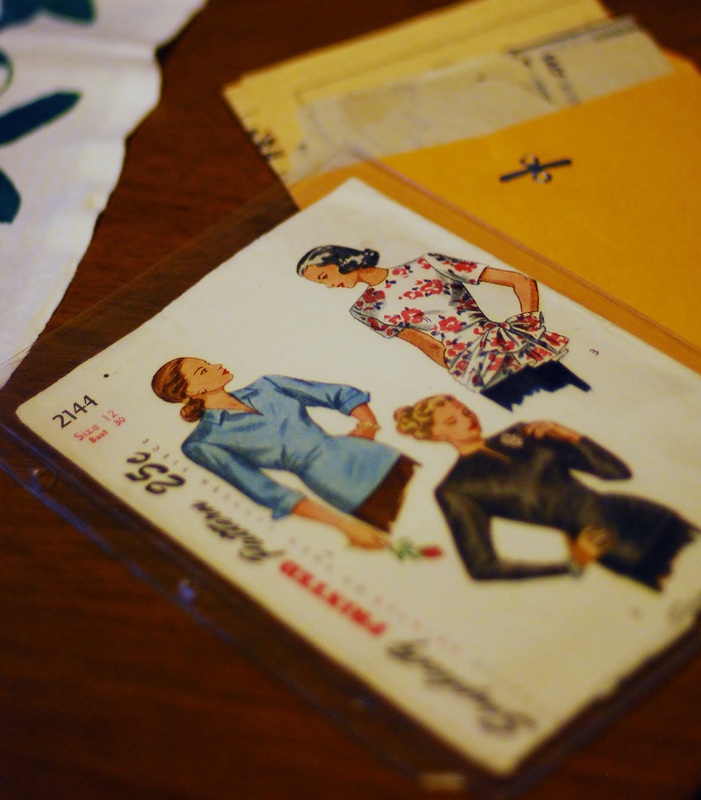
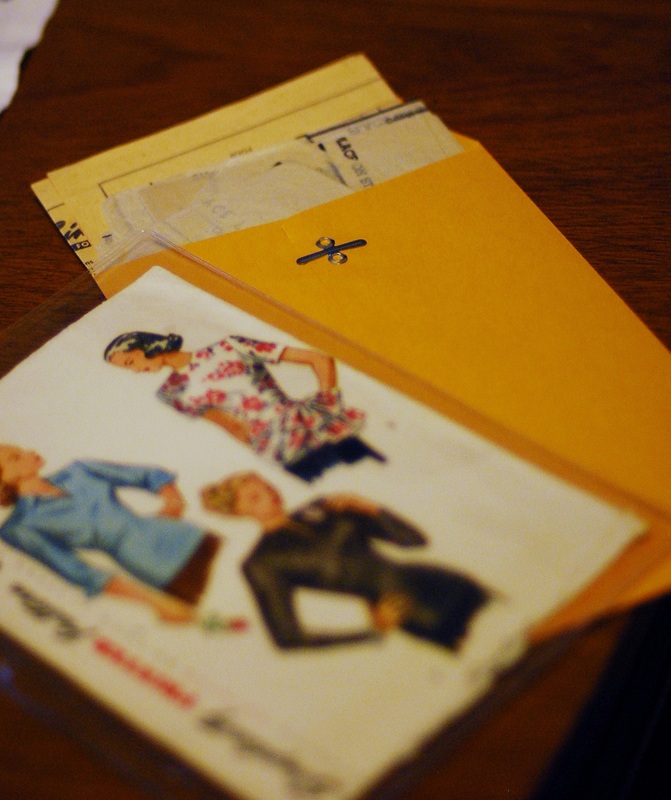
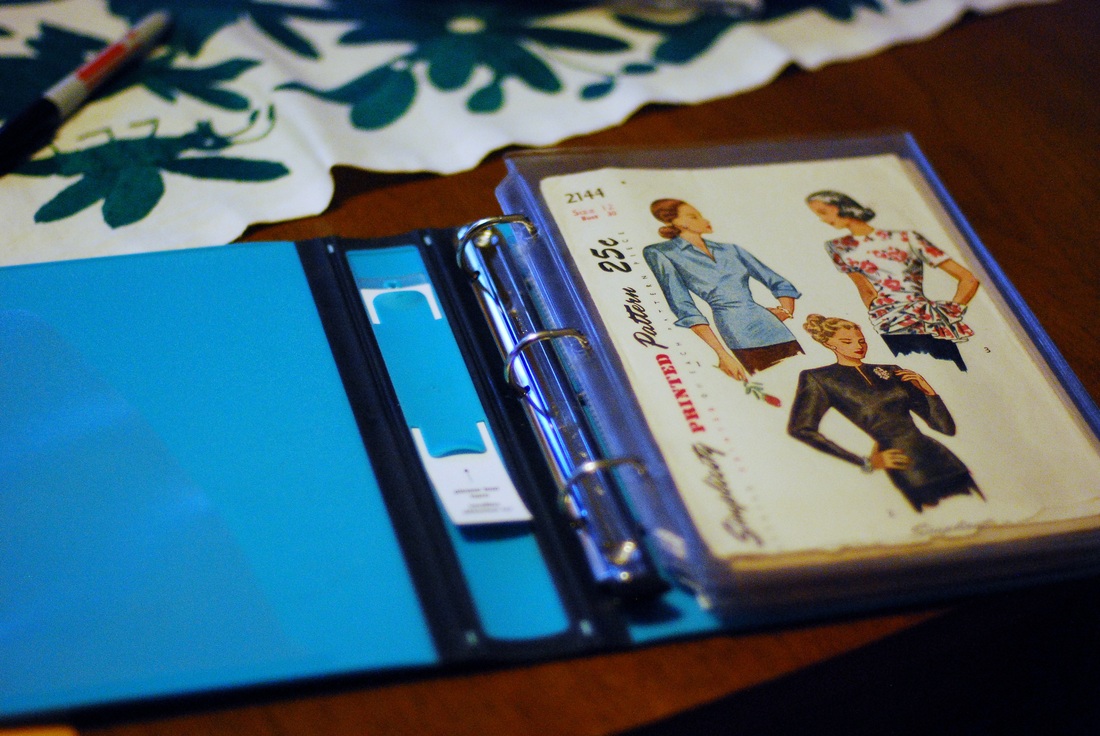
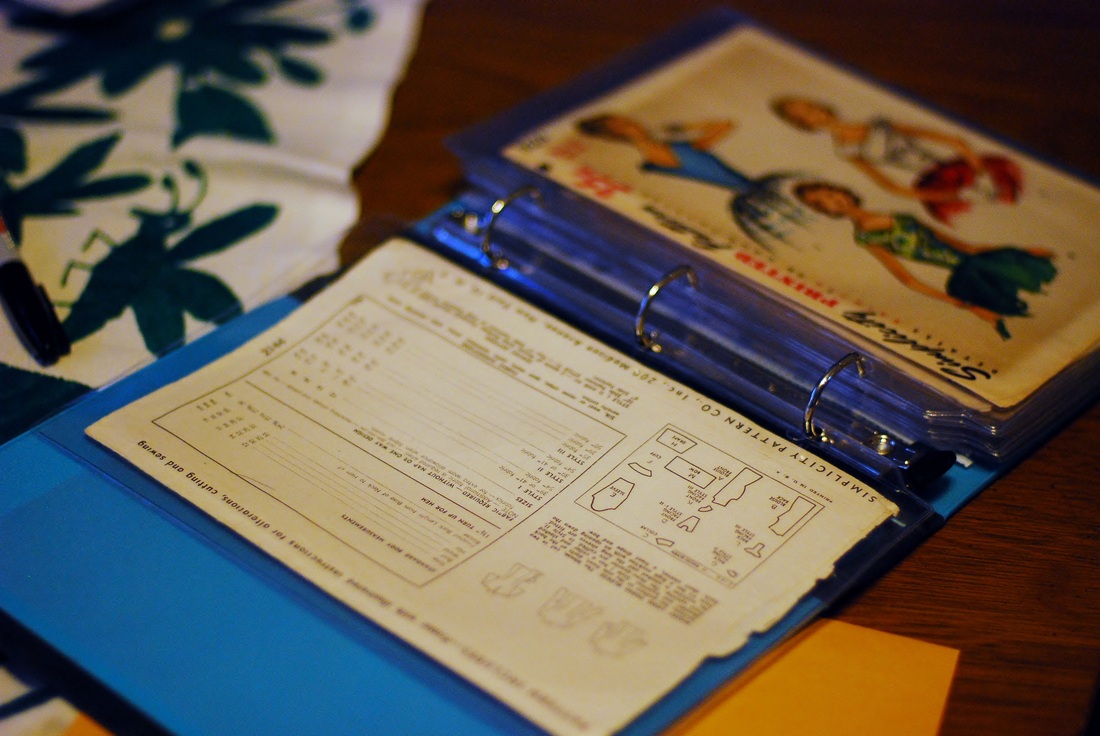
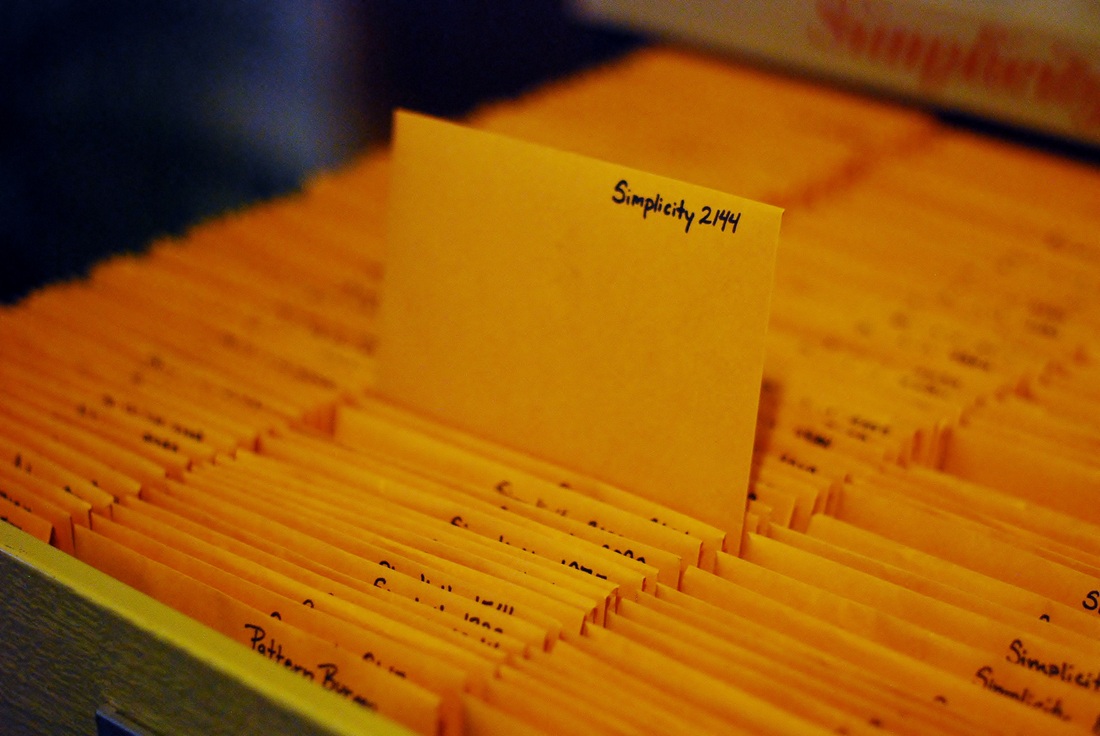
For your opportunity to win, leave a comment below. Be sure to provide valid contact information, so I can reach and send your gift certificate. If you're a gambling gal/guy, increase your odds by Tweeting a link to this giveaway @tresbienmichell (+2 entries). Entry is open until midnight (CST) on March 30, and a winner will be randomly chosen and contacted on March 31. Happy Friday! It's no secret that I have a major-league addiction to sewing patterns, primarily vintage sewing patterns. Last month, I set-up a Pinterest account and started boards to keep track of my personal collection. While my initial momentum on the process has somewhat fizzled (on the list of things to finish) it has already proven to be a really great resource. It's incredibly convenient to have an online database to reference during the planning phases of a project; I can very easily cruise my boards to choose a pattern. Also, when I come across a MUST HAVE pattern, I can quickly cross-reference with Pinterest to make sure I don't have the same or a similar pattern at home. It's a marvelous organizational tool. Then there's the matter of the actual patterns. Because a lot of the patterns I have are vintage, preservation is important to me. My patterns span from the early 1930's to present date. Many have lead rough lives. Envelop wear is among the most common condition issues I have encountered. It's paper- It tears. It creases. It cracks. It crumbles. It's pretty fragile; increasingly so with age. To minimize the amount of handling and additional wear to my pattern envelops, I took a page from the book of my comic collecting friends and started storing them in protective sleeves. I began by dividing each pattern into two components: 1. The Envelope & 2. The Pattern Pieces/Instructions. The envelope gets placed into a vinyl sheet protector (use the code 5OFF to save $5) and the pattern pieces/instructions get placed into a 6x9 clasp envelope. Using a sharpie, I marked the upper right hand corner with the maker's name and pattern number. Then, I put the sheet protectors containing the envelopes into mini binders, and I put the envelopes containing the pieces and instructions into my Simplicity pattern cabinet in alphabetical/numerical order. I've linked to each of the places I purchased my materials above. The standard Avery sheet protectors sold at Staples and Office Max weren't wide enough to house many of the pattern envelops, especially McCall envelops. I won't discourage you if that's what you have available, but I've found the MyBindings sheet protectors are considerably more substantial in weight and thickness, and the variety of sizes they offer is comprehensive. The pattern cabinet isn't as easy to point a person in the direction of. I've read that you can get them directly from stores that are relocating or going out of business; I got mine off Craigslist; I think a standard filing cabinet might work comparably. Admittedly, the cost associated with this method of organization can add-up pretty quickly (especially when I continue to buy more patterns...like this and this). I consider it a worthwhile expenditure. I think it's really amazing that some of these patterns have survived nearly a hundred years, lived through a World War, seen the first man on the moon, and traveled the expanse of the internet before landing in my hands. I want to see them last another 100+ years. Also, while I tend to spend toward the low end of the spectrum in terms of the market for vintage patterns, I've seen some of the patterns I have in my possession selling on Ebay, Etsy and other vintage pattern websites for MUCH more than I paid. Definitely a solid reason to keep them in good condition. I've chosen to put each envelope in its own sleeve, so I can see both sides without fiddling with it. As I write this, I'm not finished with this aspect of organization. I'm at a standstill for the time-being while I wait for more sheet protectors. Regardless, this element is going to be an ongoing process. Hopefully, once I get caught-up with myself, things will happen much more organically- at least, that's the plan. I am struggling with one last facet of this organizational project. My Pinterest boards are categorized by manufacturer. My pattern pieces and instructions are, as mentioned, in alphabetical/numerical order. How should I go about ordering the pages in my binders? Some ideas I've tossed around are: Manufacturer, Garment Type and Decade. I'm not decided on any particular method yet and would love to hear you weigh-in. What works for you? More Craft Room Organization:
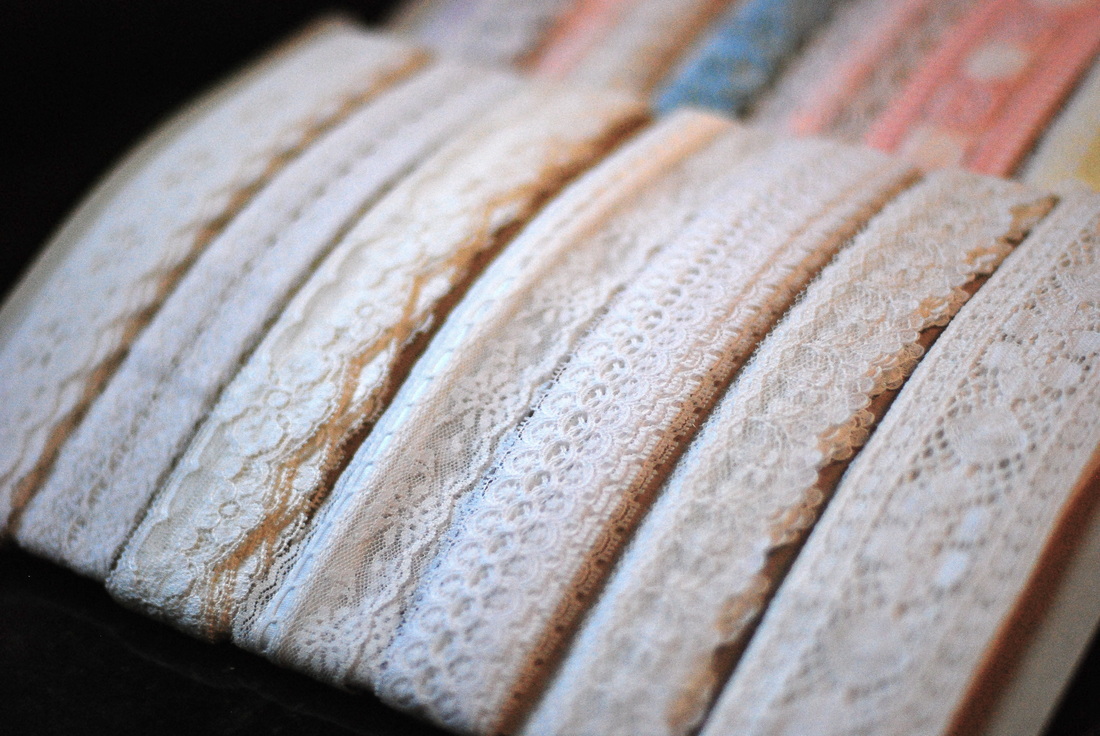
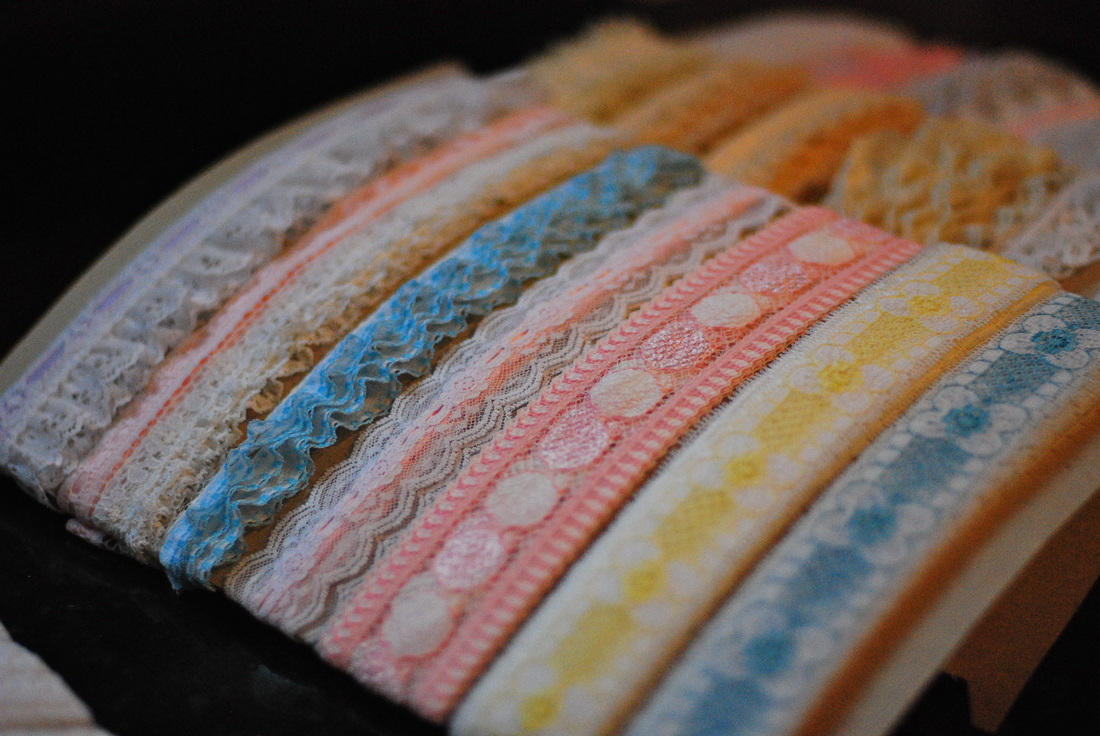
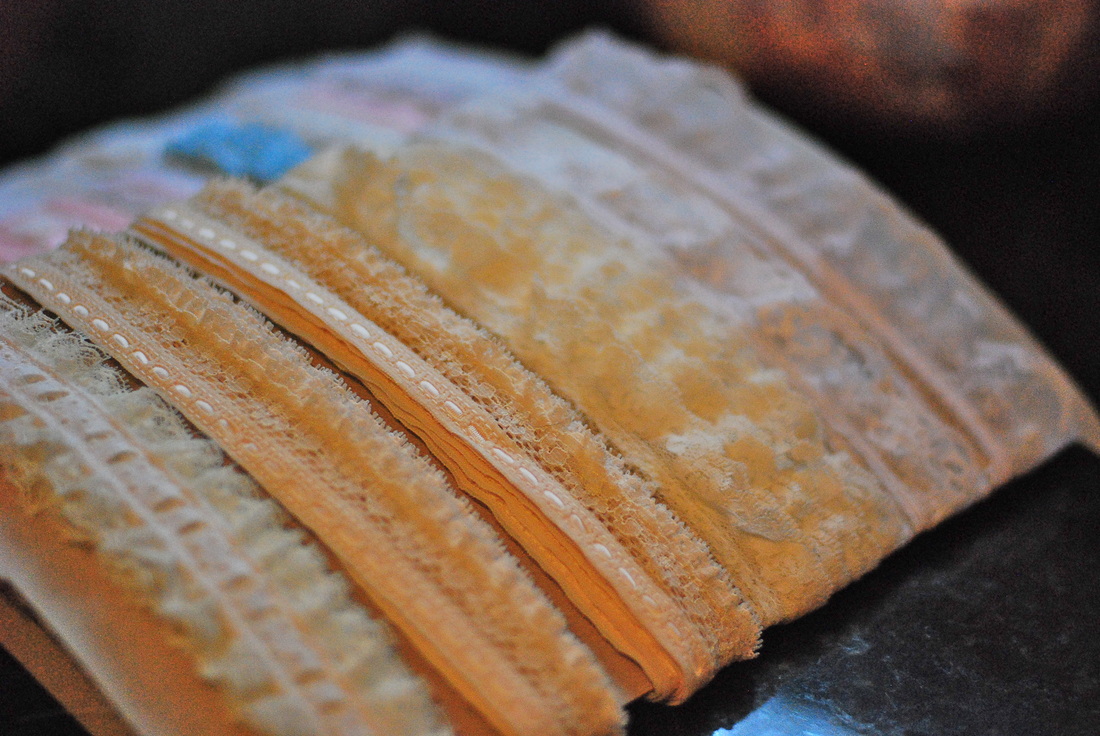
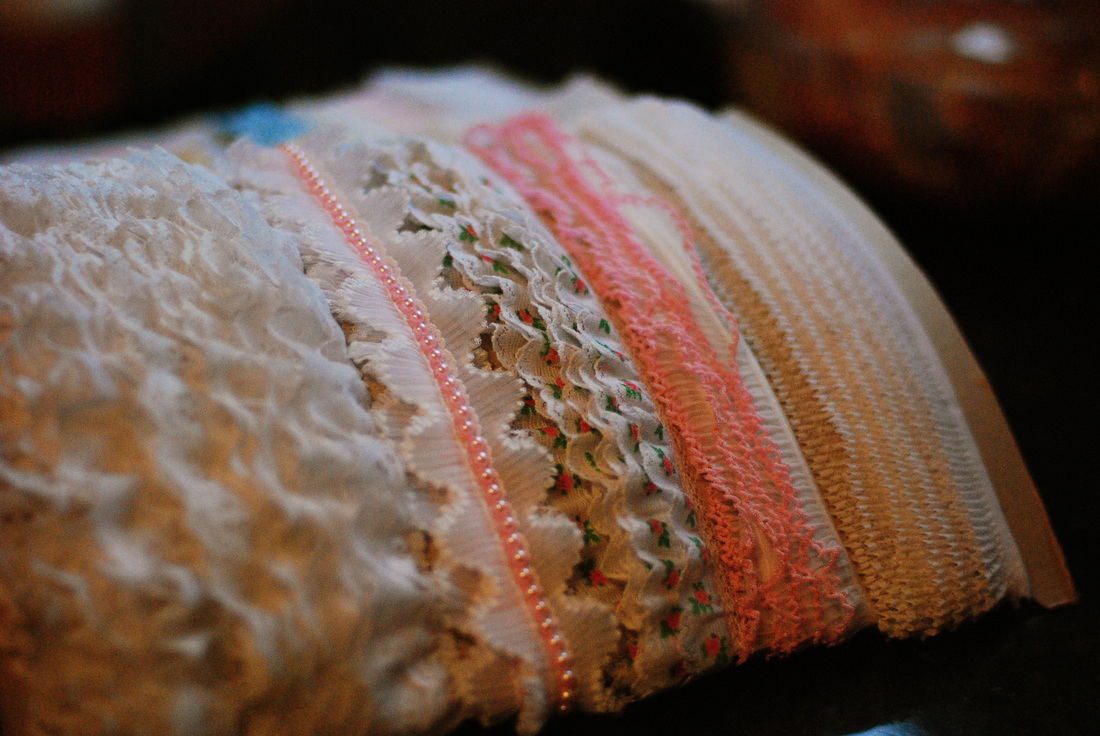
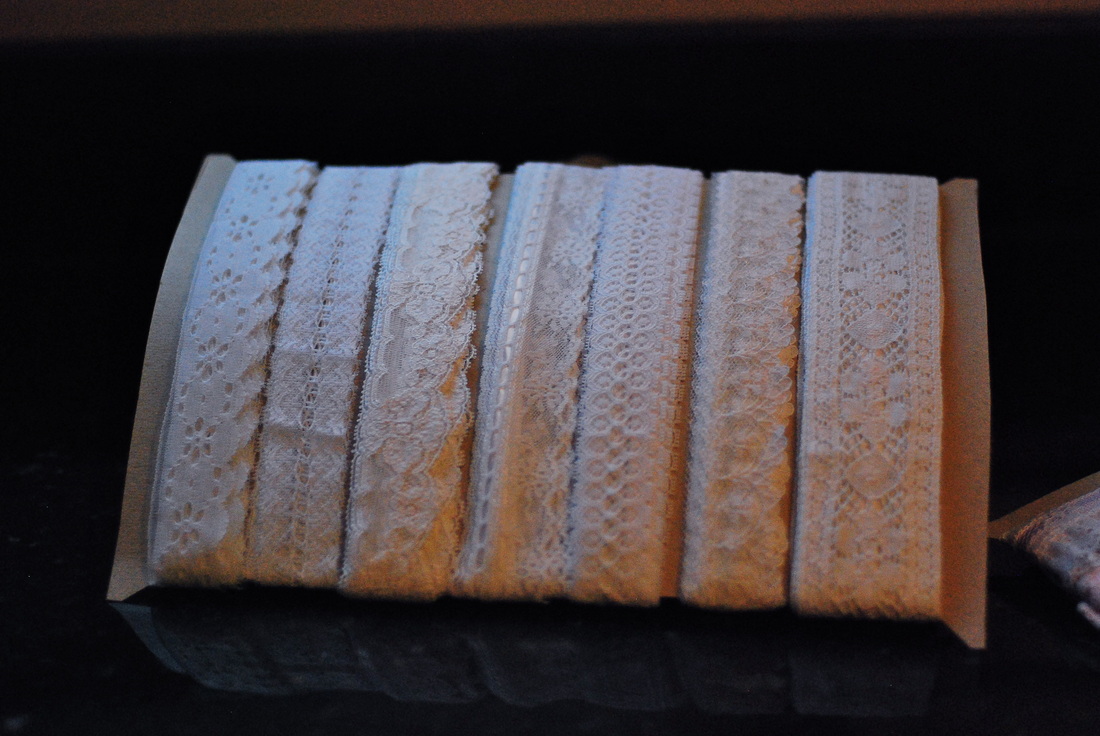
Lace Trim Organization We set our clocks ahead on Sunday. A sure sign that spring is coming. It's been raining for two days, the snow is almost entirely melted, and the temperature has started a slow climb. Spring is in the air. I used my free weekend hours tackling household chores. Between work and running around, we're still trying to get ourselves washed, folded and put away following vacation. In the process of playing catch-up, I seem to have caught a very desirable and long sought after case of spring (cleaning) fever. You see, I have these piles that never disappear. They drive me absolutely crazy. To be more precise, they are tote bags. Three Large Tote bags. Full. Filled with yarn/fabric/pattern overflow and abandoned WIPs. These bags are constantly relocated but never properly addressed. They're out of control. They're an eyesore. And, their existence is completely, 100% my fault. We don't have a lot of living space in our one bedroom Chicago condo. It's absolutely imperative that everything in our physical possession has 'a place' or things get chaotic. Consequently, I run a pretty tight-ship. (In the interest of full-disclosure, it's worth mentioning, I would NEVER, NOT EVER let Mike get away with the type of accumulation I've amassed.) So, why haven't I cleaned up my mess? Like so many small problems, there's a bigger problem buried underneath. In order to empty my tote bags, I need to completely overhaul and organize my stash(es). Over time, they've become unkempt; disguised by the cubbies that contain their masses (Out of sight, out of mind, right?). As a whole, the idea of sorting and organizing my supplies is an insurmountable mountain. There's so much to do. Ideally, I want to do this once; completely and orderly enough, I never need to do it again. So, with a divide and conquer outlook and the accountability that this blog demands, I've started. The first mole hill I managed to climb is the organization of my trim. I came into a quantity of lace trim during a fabric acquisition last year (never blogged- more on that later). I'd never purchased trim before- I'm lucky I can produce a wearable garment. Adornment is still beyond me, (but not out of reach). Some of the pieces are really beautiful, and I can see finding uses for them in the future. So, after I washed and hung each piece, it got carefully wound, placed in a bag and, you guessed it, landed in one of those wretched tote bags of torment. I didn't have a clue how to go about storage. I knew that I wanted to be able to easily see what I have. It's very difficult to work from a stash that doesn't readily present itself. I also knew I wanted my trims to be well contained and have a small footprint. I took a cruise around Pinterest looking at some of the solutions other crafters have posted, but I don't have the space to to create some of the set-ups I saw (here, here, here, here), and as my craft space doubles as an office/dining area, I was looking for a solution that was less of a focal point. At the fabric store, trims are spooled. I liked the concept and borrowed the idea. To create the spools, I used a gift box/shirt box leftover from the holidays. First, I cut away the sides. Then I cut the center rectangular portions into two halves. Using no exact science, I notched the ends to create a spool shape. And, Voila! One gift box yields four spools. I'm pleased with the result. One project down....
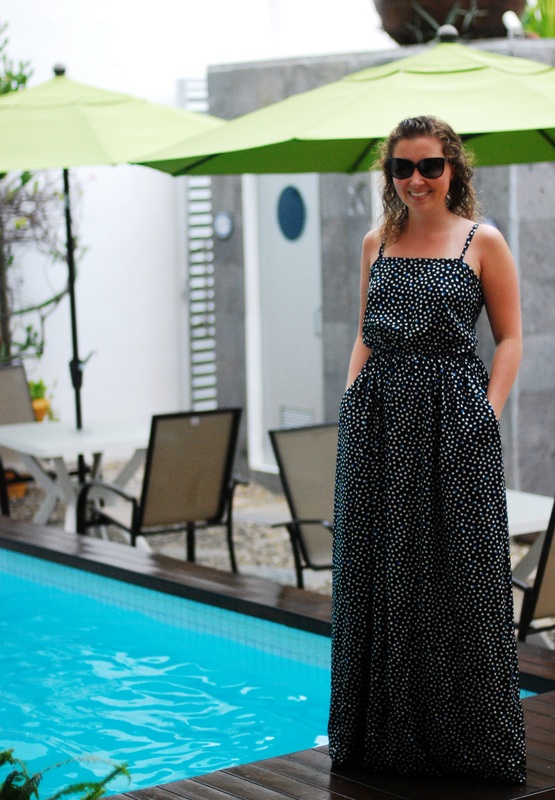
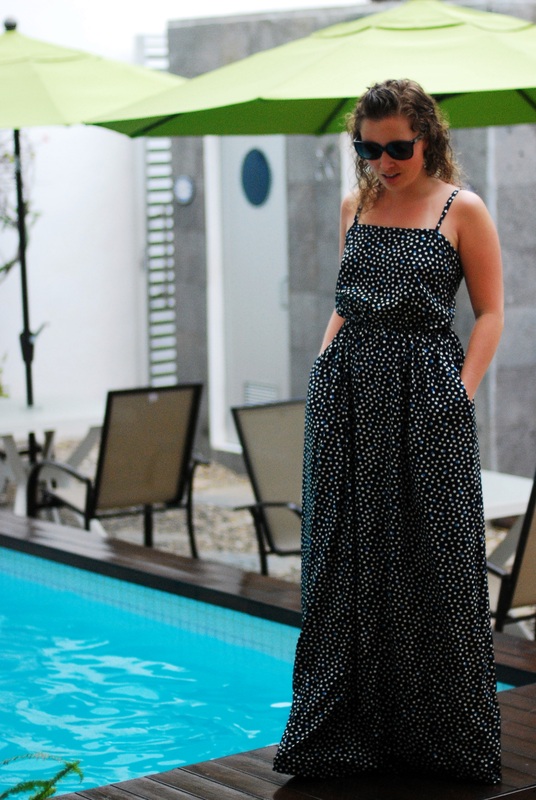
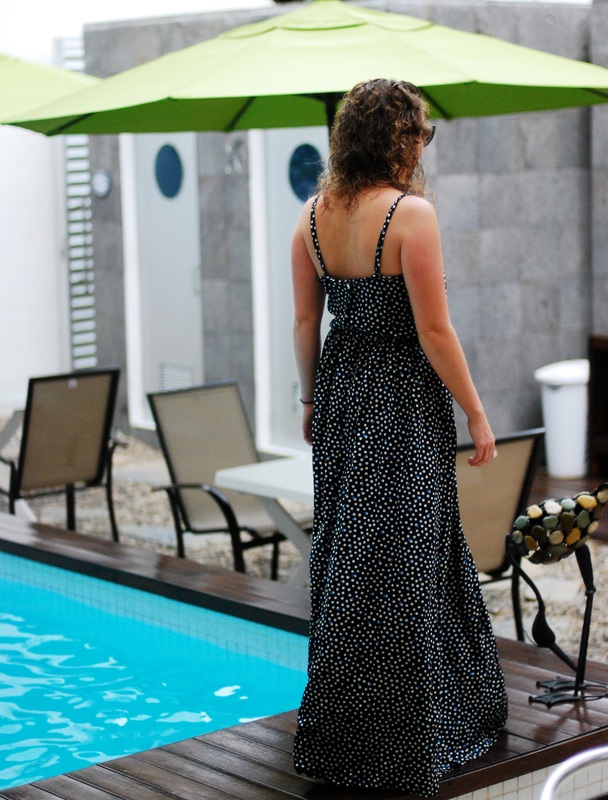
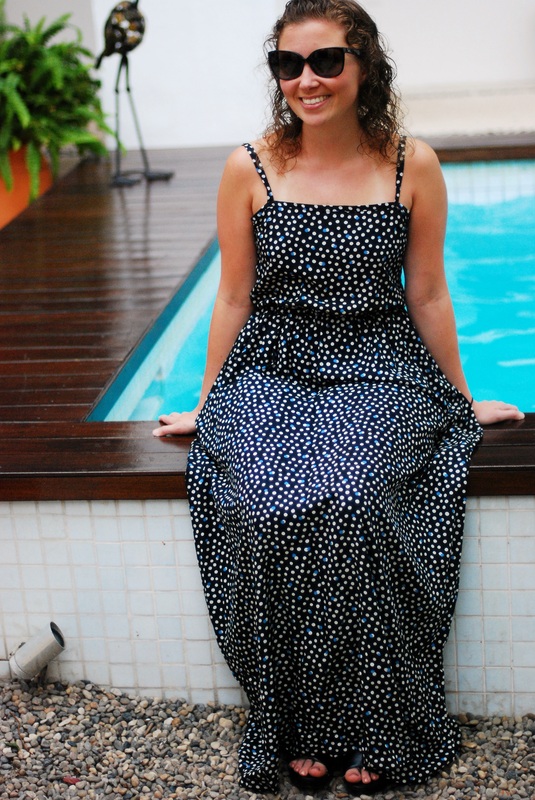
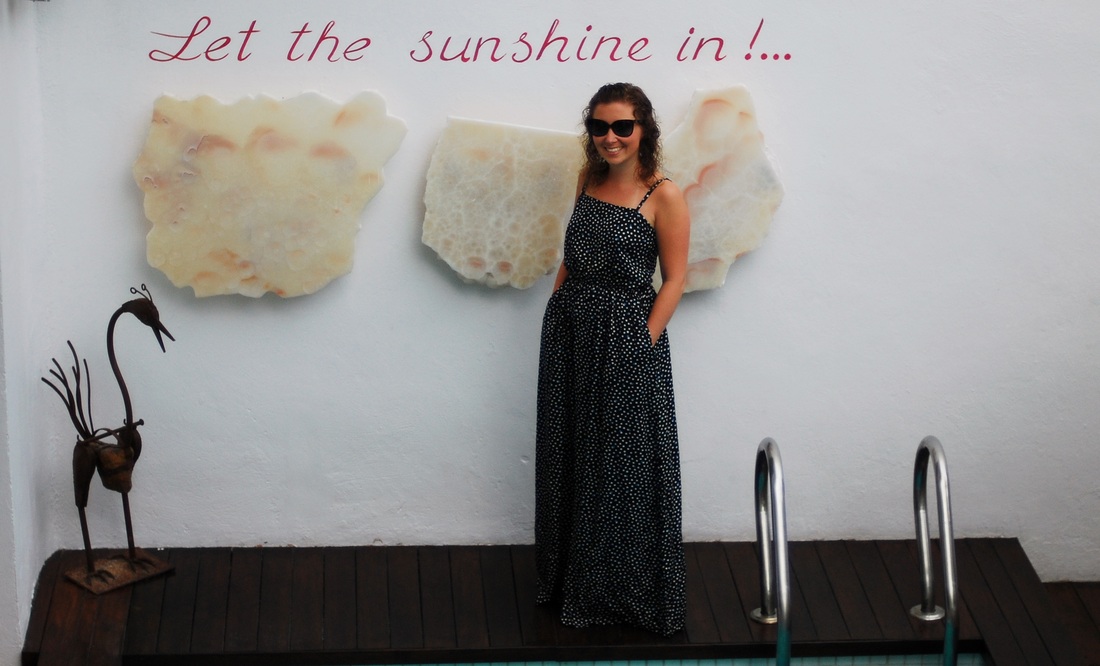
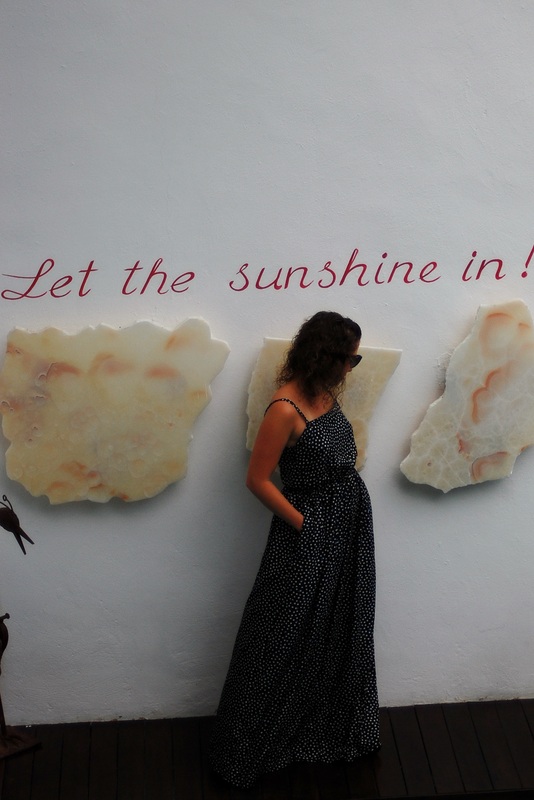
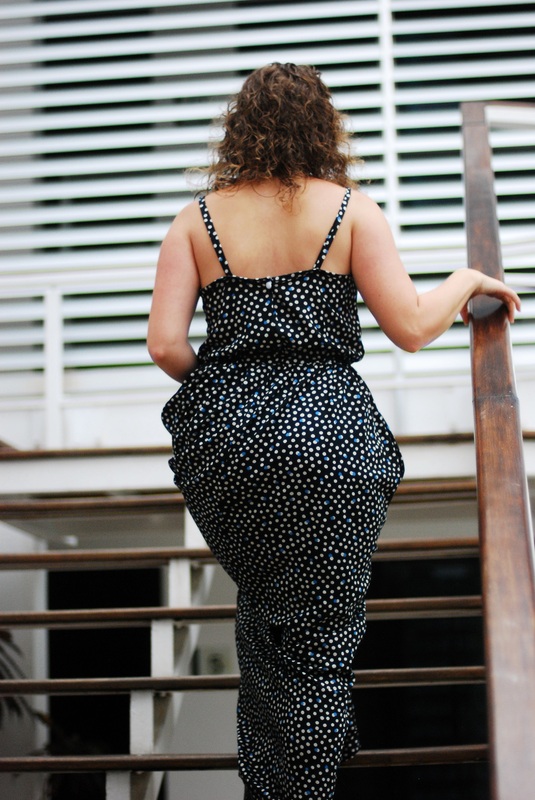
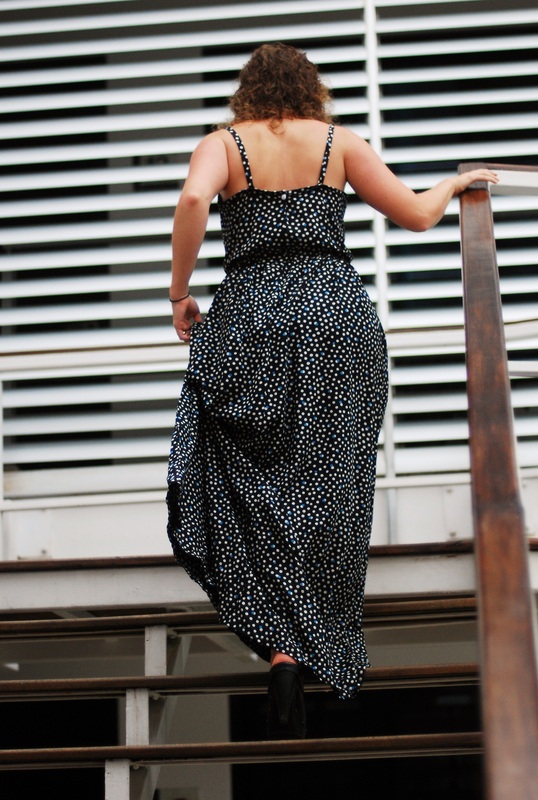
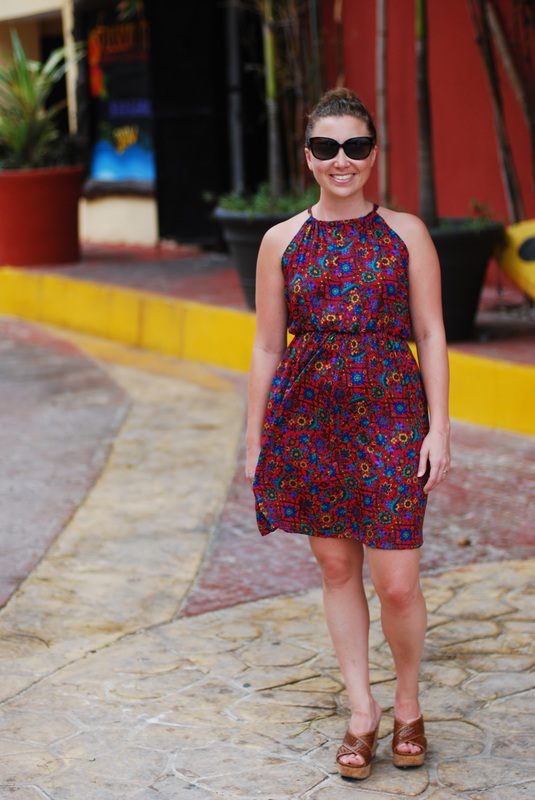
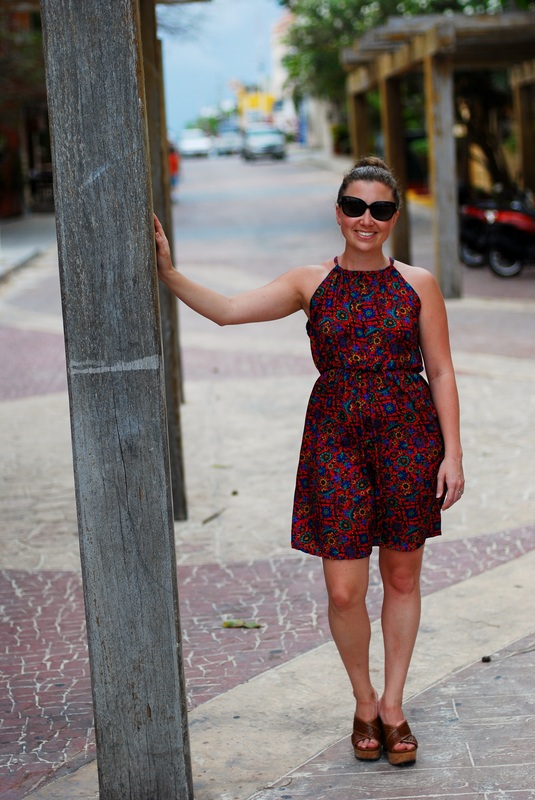
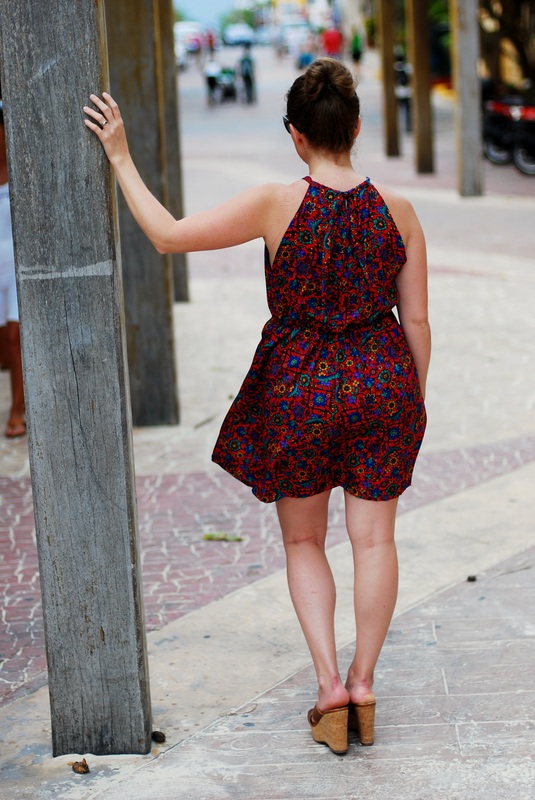
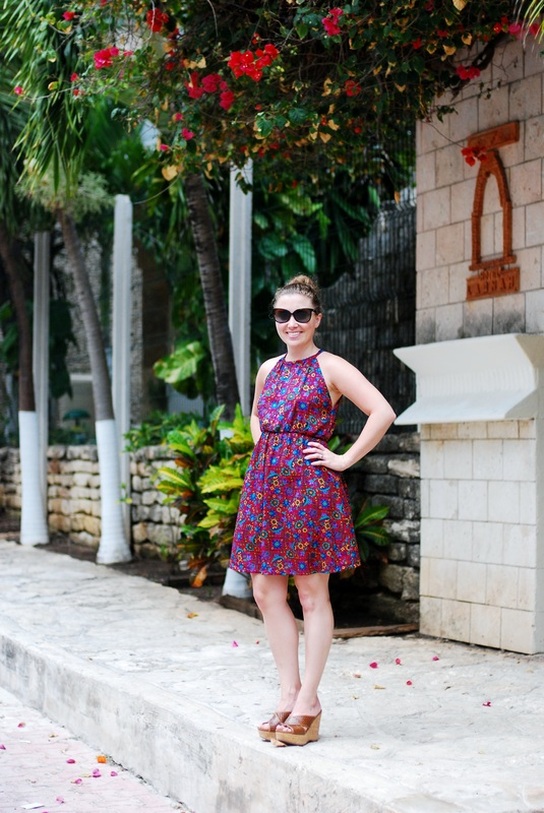
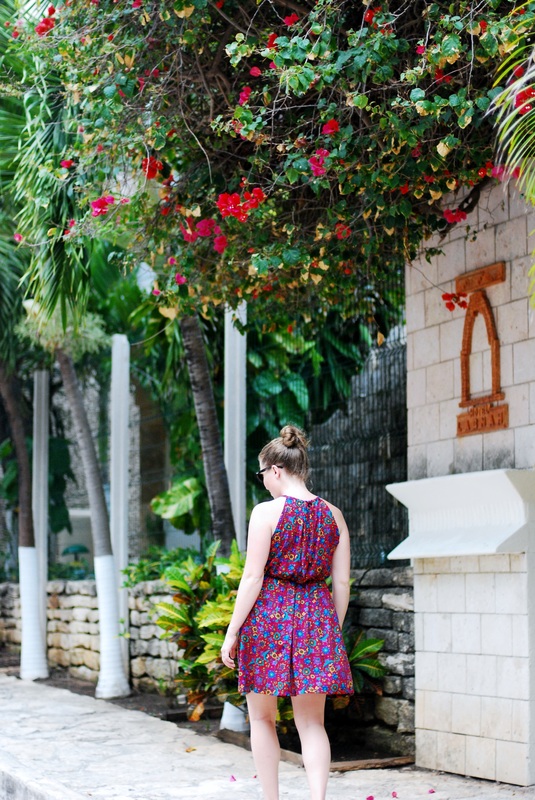
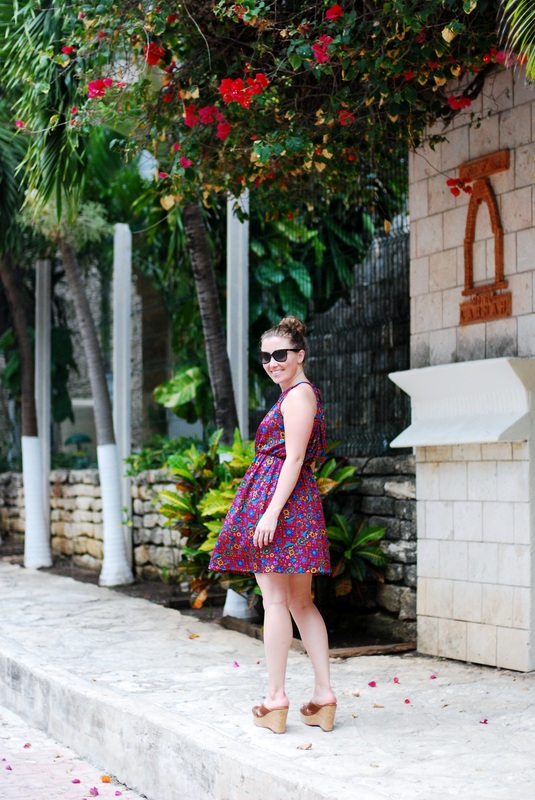
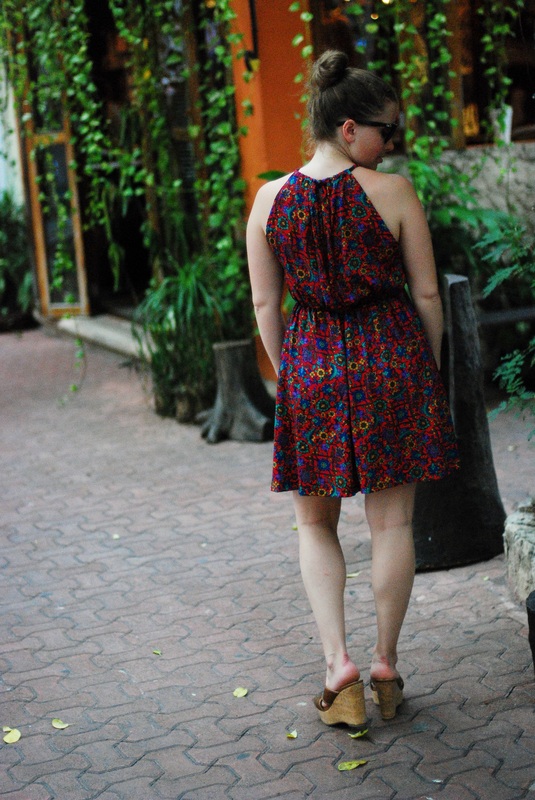
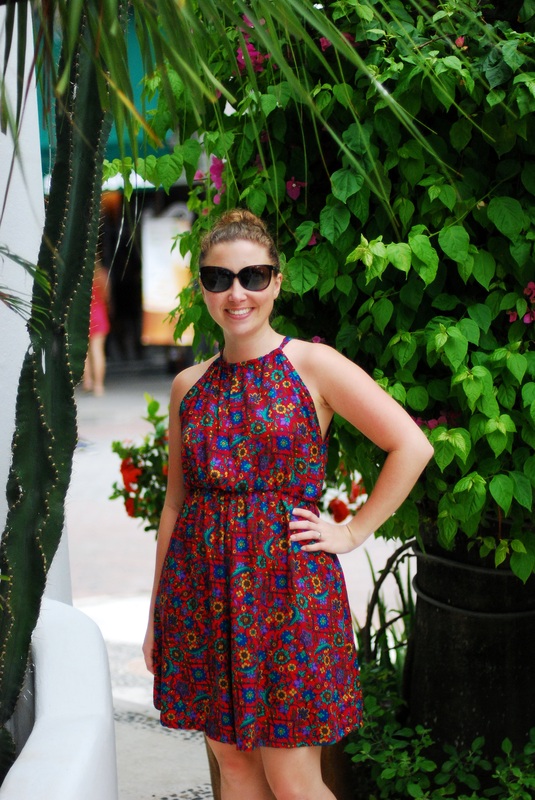
This is my favorite. Of the five, I love this dress most. The fabric is a very luxe feeling rayon. The skirt is incredibly full and moves beautifully. And, the pockets are deep enough to plunge my hands into or safely hold my phone. When I showed my mom the pictures of this dress, she told me I look tall. I like that. The print reminds me of and makes me feel like a butterfly. And, when a girl in a shop stopped me to ask where I'd purchased my dress, my heart fluttered like one. 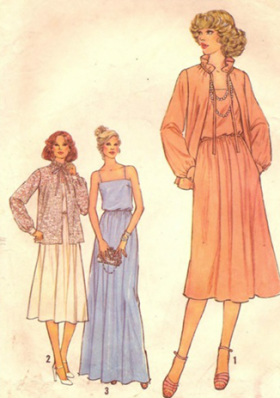 Simplicity 8701, maxi dress View 3, c. 1978. I wanted this dress to kiss the ground while I wore it, but I will likely bump my hem an inch to prevent any drag on the fabric during future use. And there will be future use. This dress is amazingly comfortable. I felt very glam wearing it. The sewing was simple and very straight-forward. An assembly of police cars, lights flashing, gathered in front of our hotel was a moderately alarming sight from afar. But, we were amused when we realized a parade was forming. We found a low garden wall and sat to watch the display. The parade featured local businesses. In lieu of candy, participants shoved brochures into our hands as they walked by. We accepted them, smiling, but I would have preferred candy... Still, it was fun to see the brightly colored costumes, dancers, stilt walkers, and the oiled/glittered bronzed bodies of this very eco-friendly float. 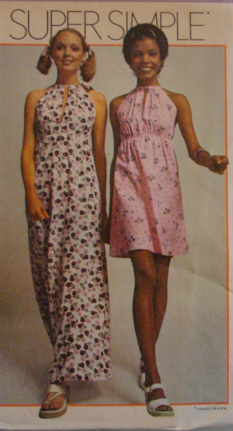 Simplicity 6829, from 1975 is, indeed, a Super Simple dress to make. It's hard to see the split at the neckline and center-back on the top of my finished project, probably because I could have gotten away with less fabric there, but I assure you, they exist. A tight deadline leaves little room for modification making. Of the five dresses I made, this was the absolute easiest dress to wear. Which is saying a lot, because none of them were 'difficult', really. I could easily see making multiple versions of this pattern to wear around on summer weekends. I think with a little cardigan (and a bra of course) it might even pass for the office. |
Archives
March 2017
|
