|
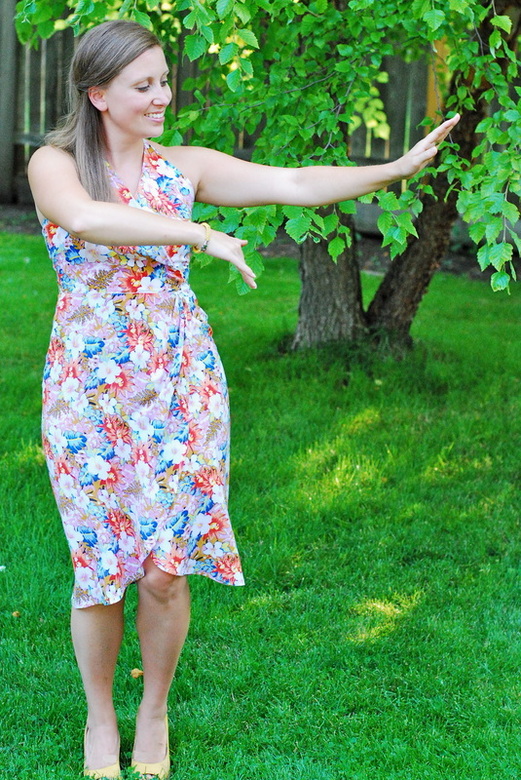
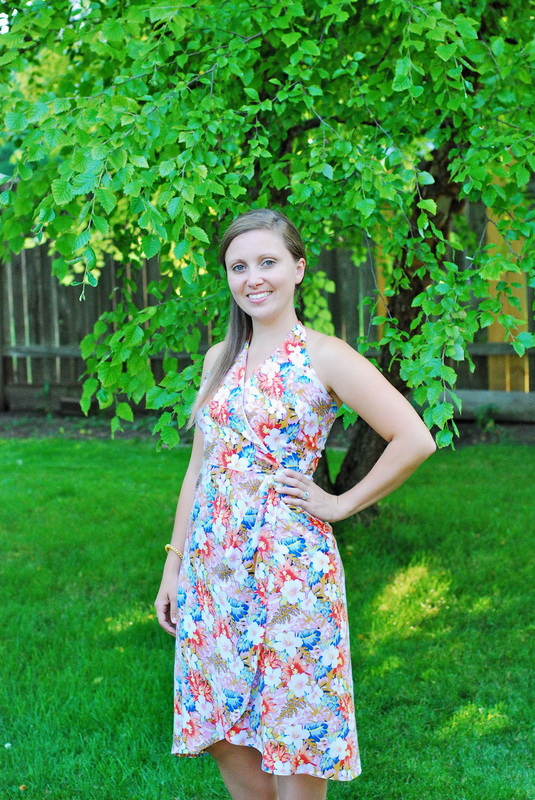
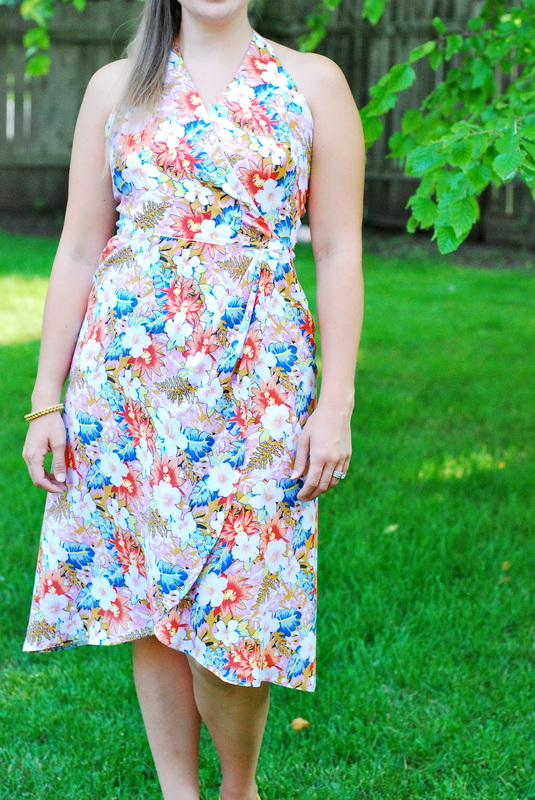
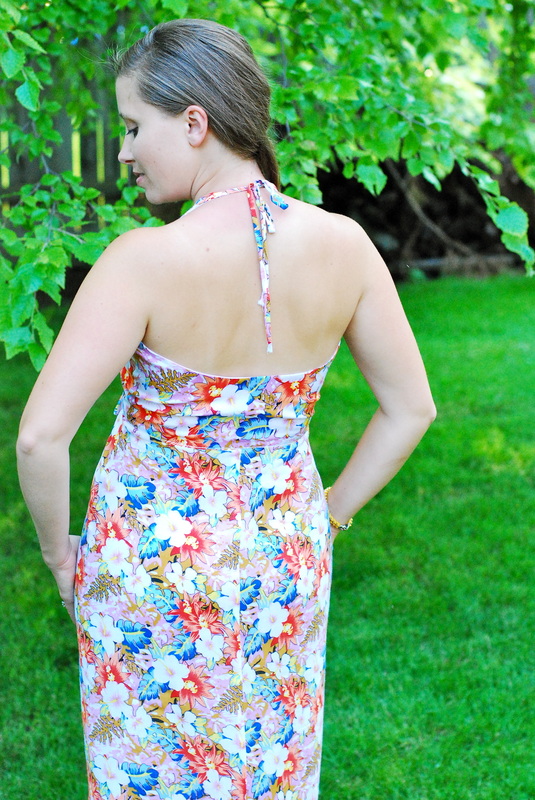
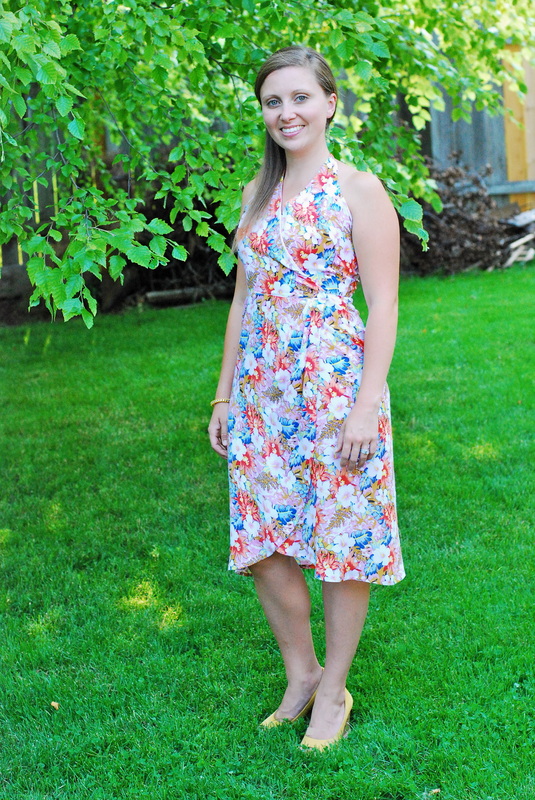
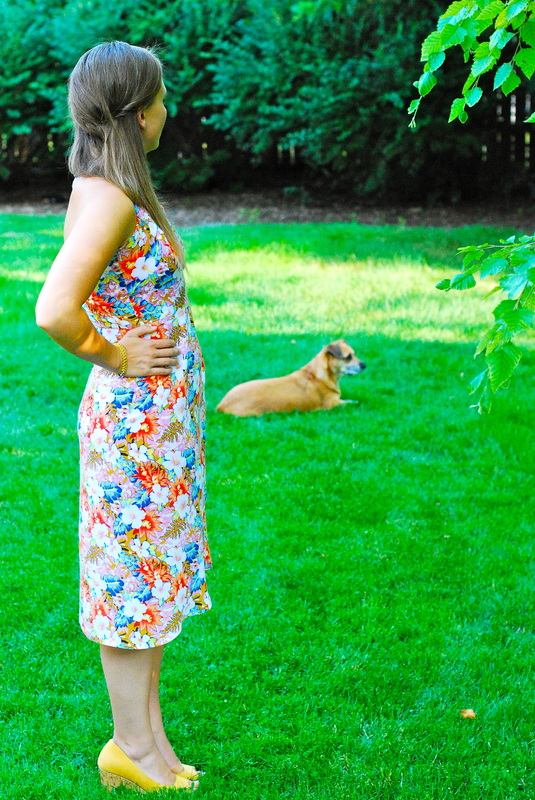
Behold, my pathetic attempt at a hula. Sure, I'm in my backyard, not Hawaii, but never mind. This dress makes me feel like dancing. A couple weeks ago, while unpacking fabric (yes, still), I found this hibiscus floral print. It made me pause. As you well know, I buy the majority of my fabric at estate sales where selection is limited to the curations of the previous owner. But this fabric, I bought on purpose. And, I can't, for the life of me, figure out why. Nothing about this fabric is my taste. I bought it during an end of season sale from Fashion Fabrics Club, at a deep discount, no doubt. It's rayon challis, and it has a beautiful drape. But, the colors are.... interesting, to say the least. I was at a loss with it, so I resorted to my new fall-back plan for questions of uncertainty, Instagram (I'm not sure this approach works for decisions outside the realm of knitting and sewing, precede with caution). I asked Instagram to weigh-in on whether this fabric was fabulous or fugly. They came through. Joelle suggested that I sew a Tiki-style dress, and that sparked my memory that I had a pattern in my stash that I've been meaning to sew, Simplicity 9704. It was a perfect storm. I have no attachment to this cut of fabric, so there was no risk to using it as a wearable muslin for this pattern. It exceeded my expectations. The fabric is transformed into something far more beautiful now that it's sewn. Sure, there's still that baby-poo color fern in the mix, but the pattern and the fabric cooperate wonderfully. The dress is simplistic in design. Simplicity 9704 from either the late 80's or early 90's is a front wrap dress with a curved hem and three small pleats at the right skirt front. There is only one seam in the skirt, located at the center back. Shaping through the sides is created using long darts. The bodice is underlined to create neat finishes along the edges. And, the dress fastens through a combination of ties and hook and eyes. I had two yards of fabric, and I used it all to make this dress. So, unfortunately, I didn't have the option to match prints across the seams. It also means, I don't have any of this fabric sitting on the shelf staring accusingly from the depths of the stash. WIN! There are things I will change in my next go-round. First, I need to shorten the bodice. As you can see above, I will have a better fitting dress if I remove a half inch or so. Also, I will modify the contour of the side skirt darts to better fit my body. I think the only other change I will make in my next attempt is to attach the straps prior to attaching the skirt. The pattern instructs to wait until the end of sewing before attaching the straps, but I think it would be easier and cleaner to attach them to the seam allowance from the inside of the lining. Speaking of straps. Do you see how teeny and awesome the straps on this dress are?! I bought a tube turner. It changed my life. It's completely worth the $4. I see a lot of spaghetti straps in my future! Overall, I rate this project a success! I was able to use a pattern I've been intending to sew, I saved a piece of fabric from a slow death in the stash, I learned some valuable fit information, and I ended-up with a wearable garment in the process. Win. Win. Win. Win. Do you have questionable purchases sitting in your stash? Do you sew them, swap them, or stare at them in confusion?
33 Comments
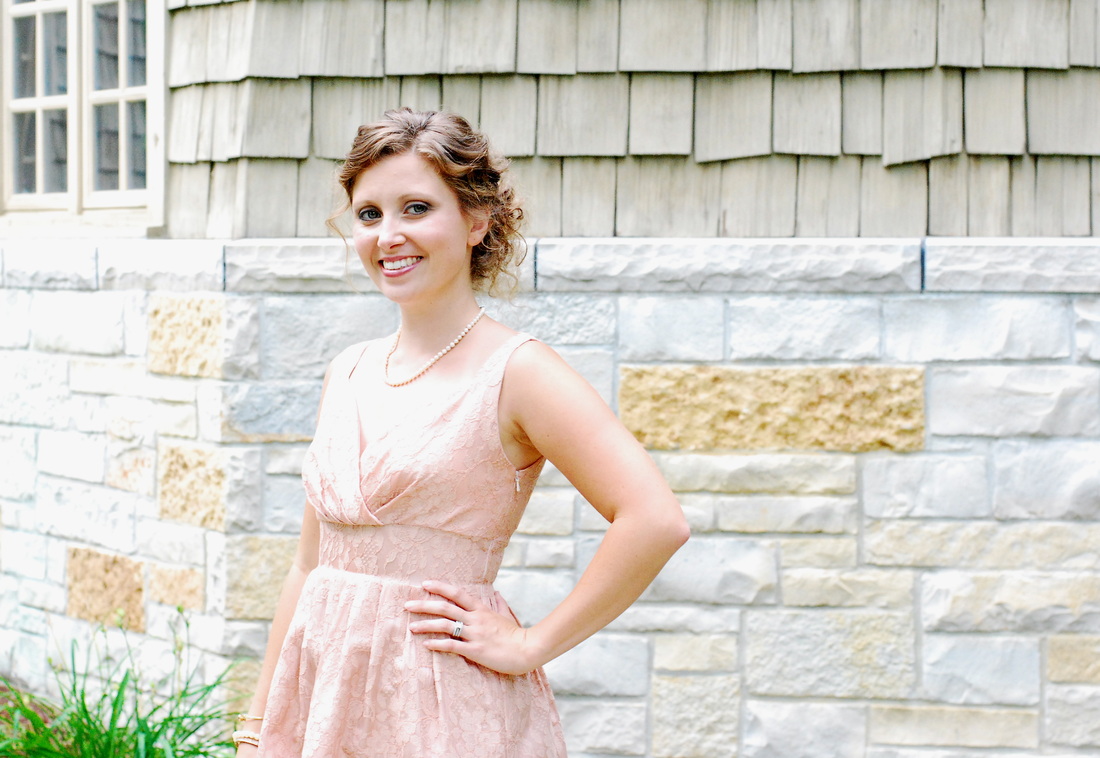
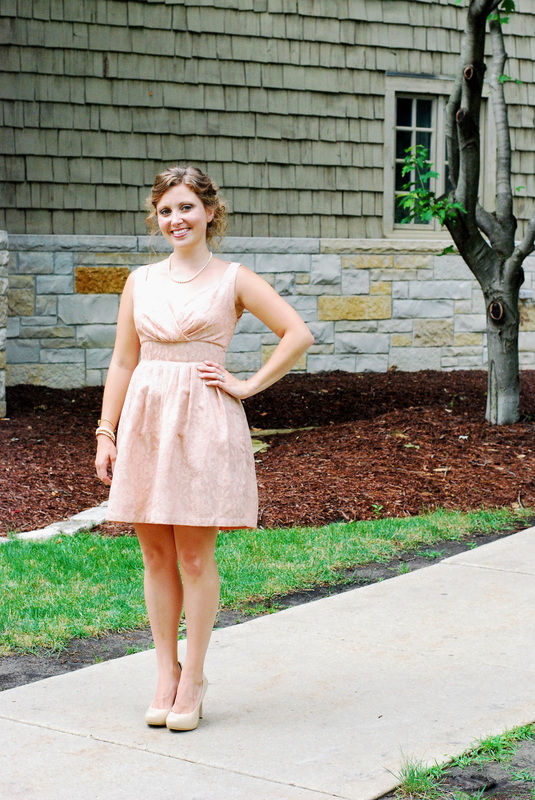
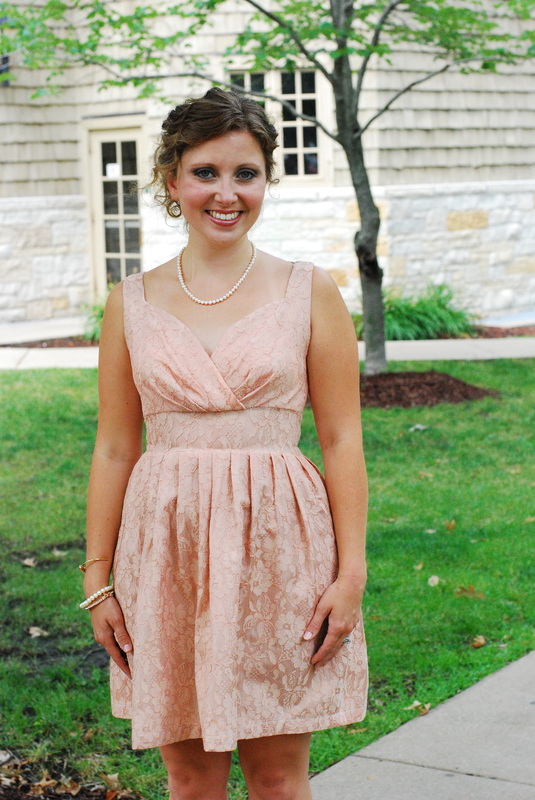
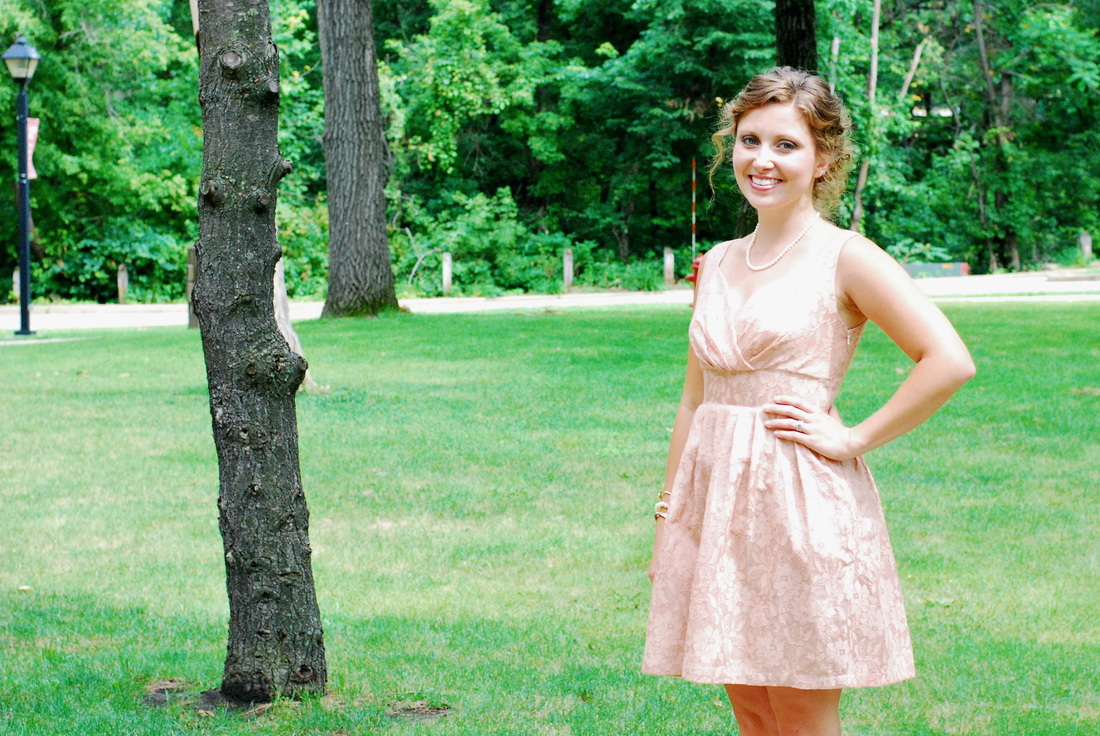
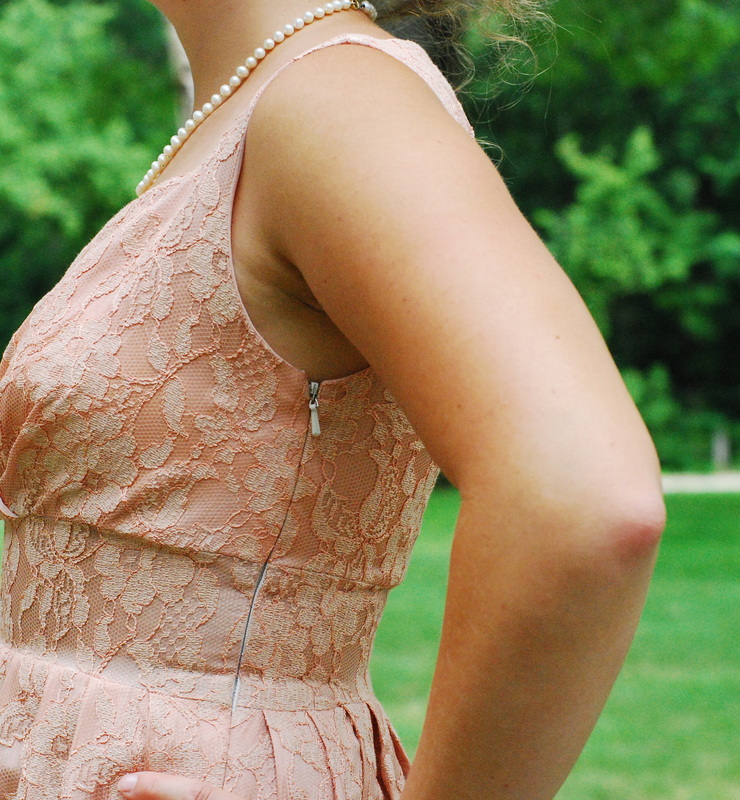
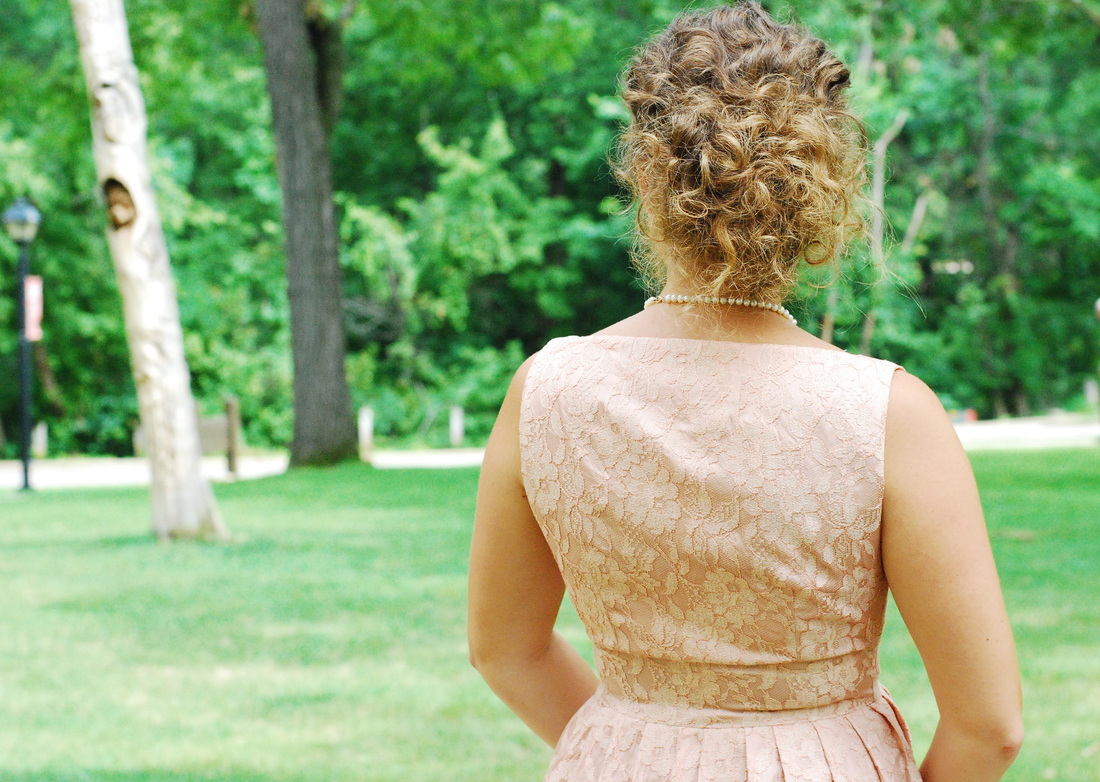
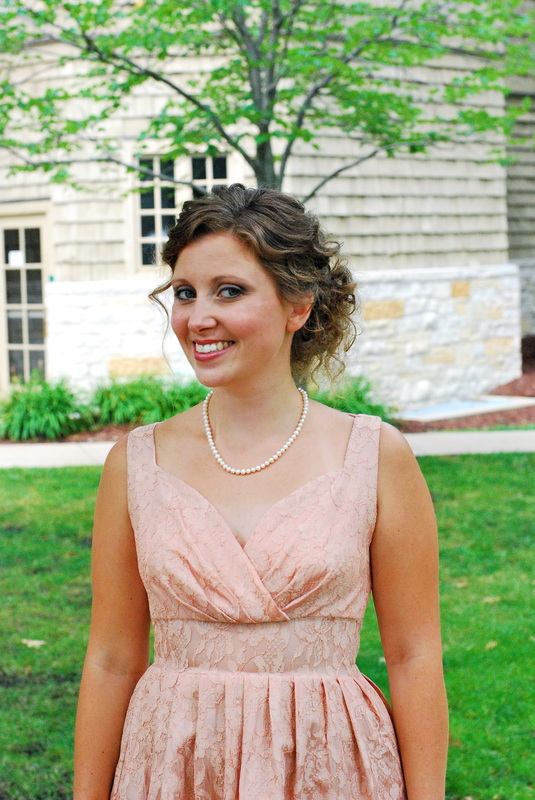
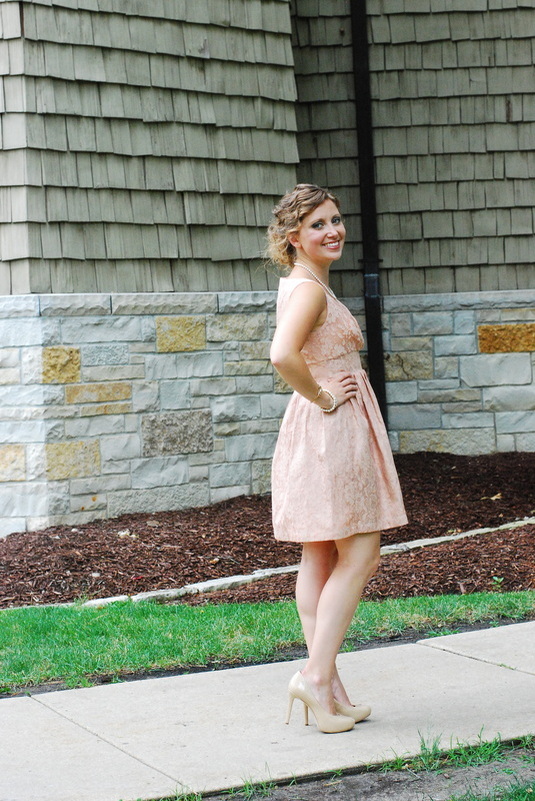
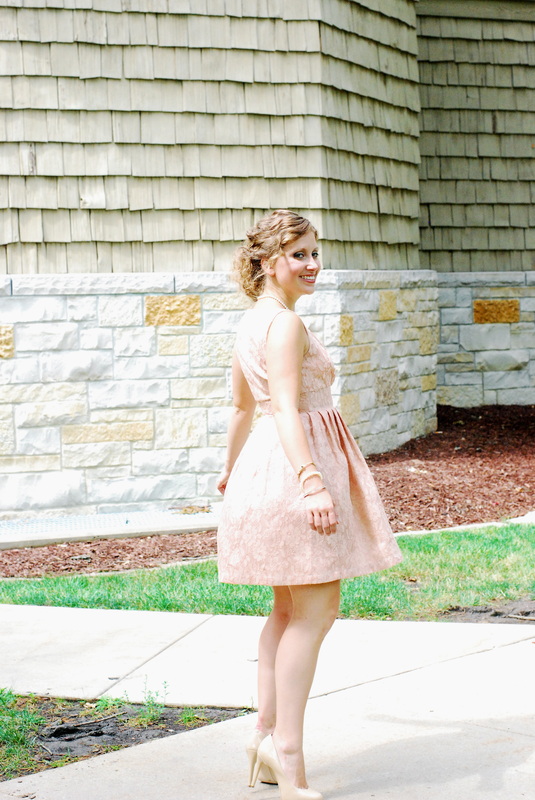
The very first vintage patterns I added to my collection are all various party dresses from the 1950s and 1960s. Practical? Not for my life, unfortunately. Still, the gorgeous envelope art and the attention to detail incorporated into designs from these eras strongly attracts me. Most of my vintage treasures have sat, under-loved, in my pattern cabinet since the time I bought them. I swear I want to make each and every one, but I never seem to have a reason. Then, my good friend Molly got engaged and invited me to be a member of the bridal party. Unlike all of the weddings I'd been in previously, Molly challenged each of us to find a dress for ourselves. She chose the color, equipped us with swatches and set us free with the instructions that she wanted to incorporate pattern texture and varying shades into the line. At first, I wasn't sure I wanted to make my dress. A friend's wedding is a pretty important occasion. I had serious fears about being immortalized in her wedding photos as a giant craft project- especially after the first pattern and muslin I made were a complete disaster. Then, while I was folding fabric and organizing my stash, I found the perfect piece of fabric. Who am I to ignore fate? The fabric is a double layer- lace adhered to a more stable and opaque fabric. It's likely from the 80's, if I had to guess, and it was certainly intended for a yardage heavy formal garment(s), as I started with close to 7 yards of it. I sat down and flipped through my pattern binders before landing on Butterick 9561. I chose view 1, and omitted the modesty panel, as I have limited risk of indecency with low cut tops. I did make a fit muslin and made some adjustments prior to cutting into my fabric. First, there are no bust darts in this design. All of the shaping through the bust is created by the pleating at the center of the bodice. I had more ease than I needed in my muslin bodice, so i removed width from the side seam and re-contoured the armscye. Next, I had no intentions of wearing any form of corset or girdle, so I straightened the angle of the midriff section to zero-ease for easy wearing. For my skirt, I used two panels instead of four panels and shortened the hem by nearly "18 in order to achieve an above the knee dress length. Also, I pleated my skirt instead of gathering it into the waistband. Finally, I omitted the facings on the bodice. Instead, I self-faced it with a light Georgette. I attached the bodice and skirt seams with French seams. And, I replaced the lapped zipper with an invisible zip. For as nervous as I was to sew this dress, I am really happy with the way it turned out! I felt confident and comfortable throughout the entirety of the day. And, most importantly, I give it high marks in the swirl factor department. Have you made your own formal attire? Share your experiences in the comments!
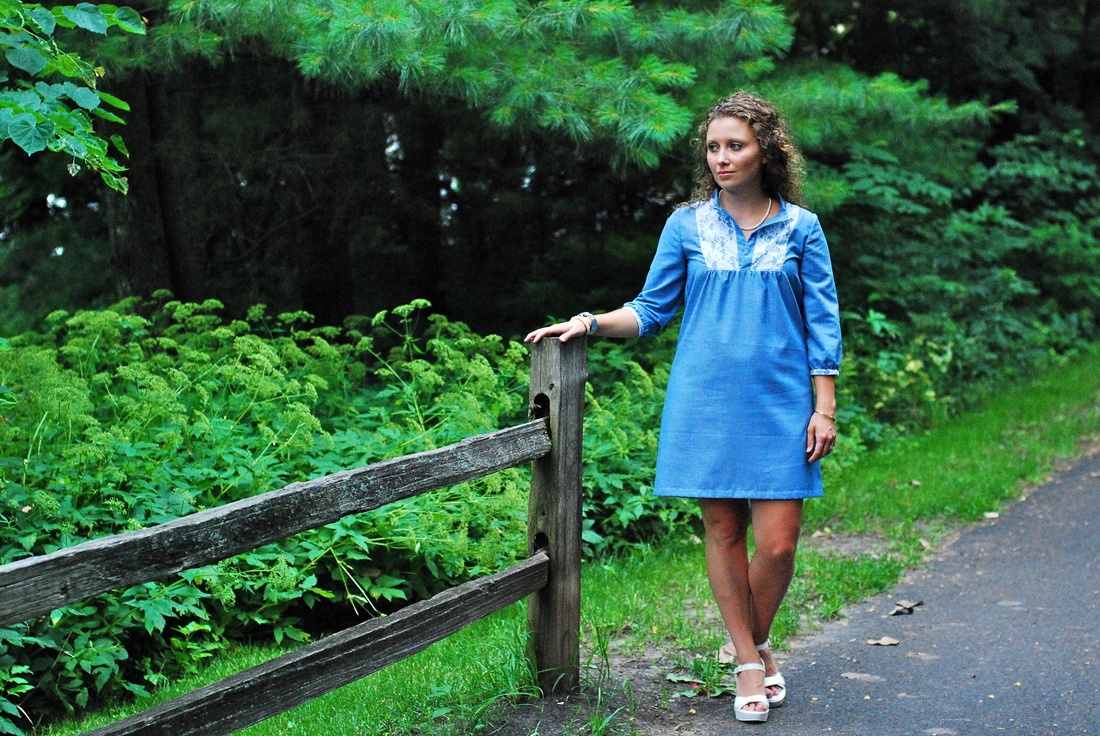
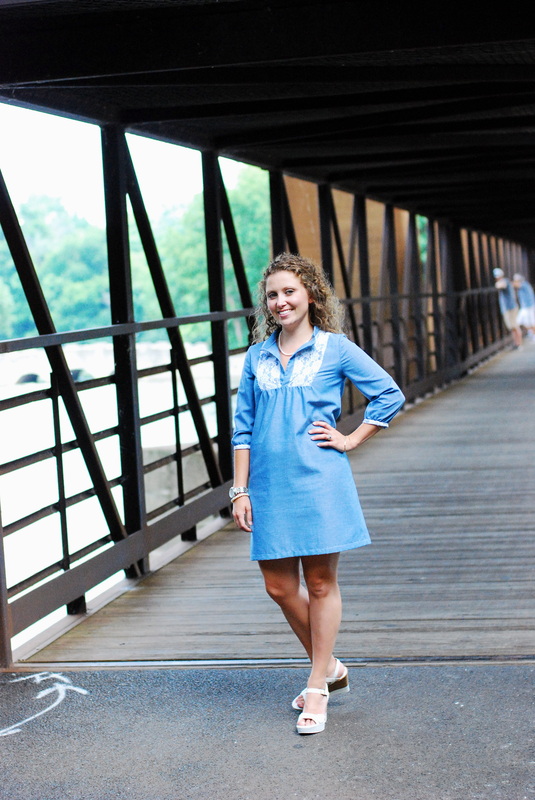
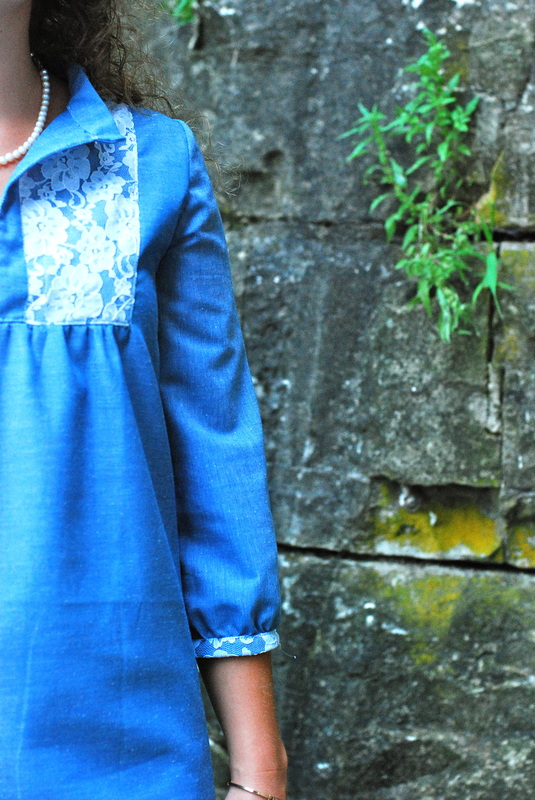
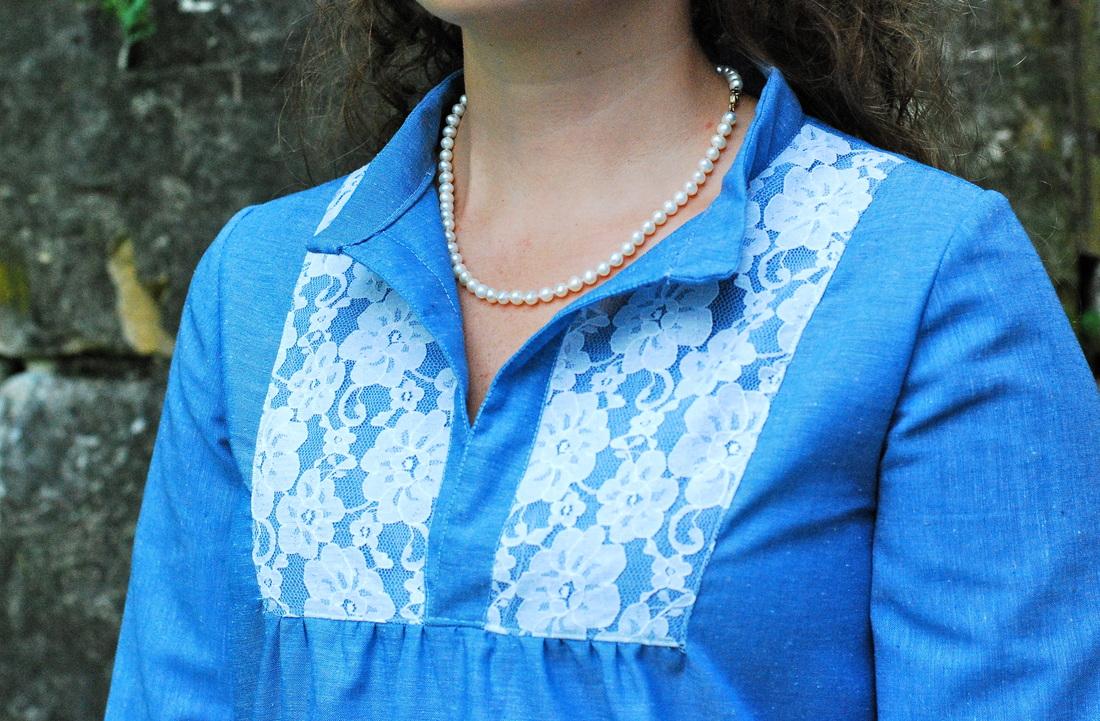
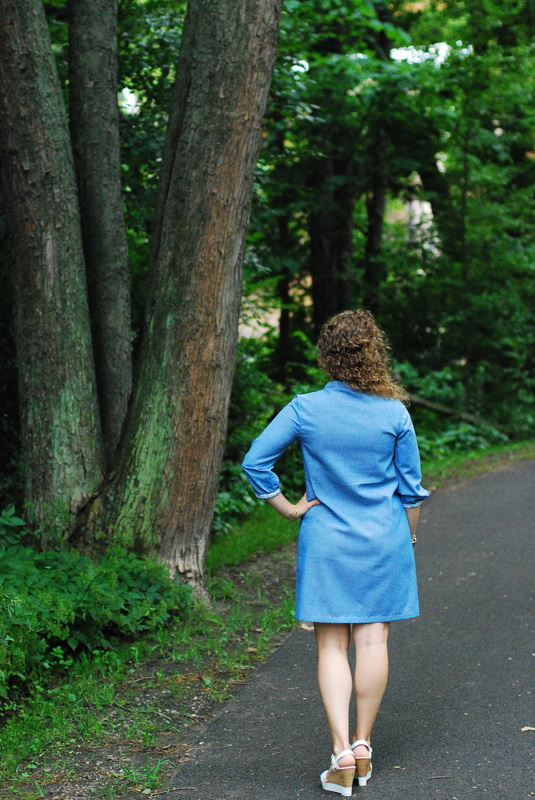
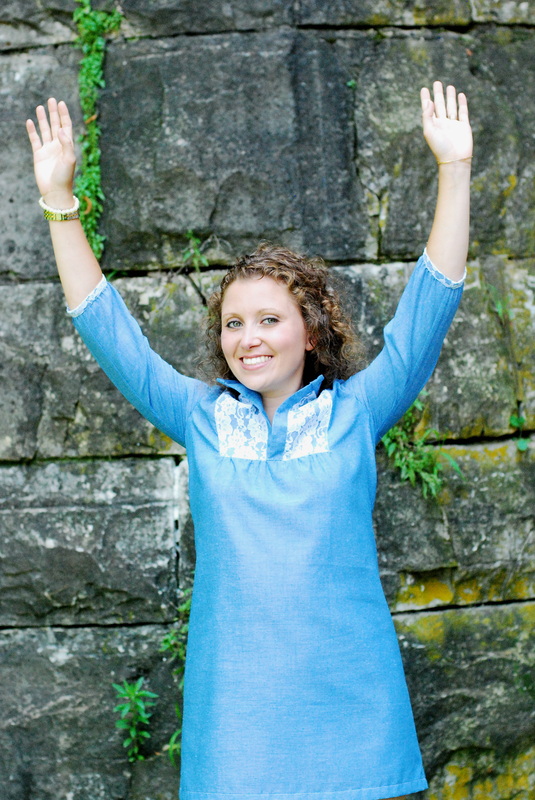
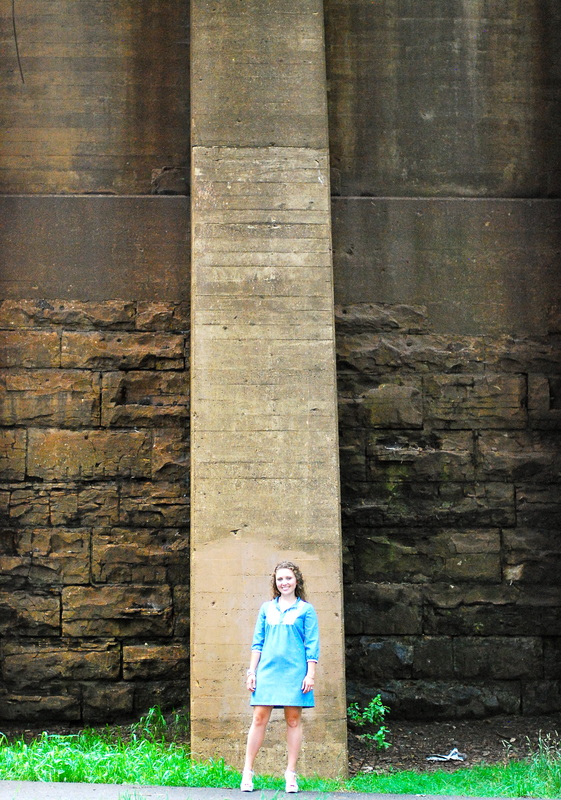
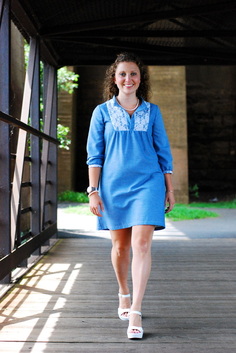
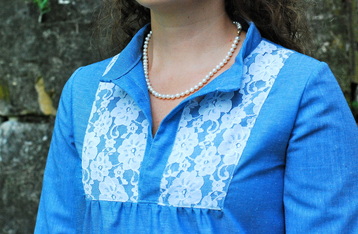
Have you ever had a pen pal? When I was small, I had several. We used to write and send letters between different states and continents. It definitely wasn't as easy to keep in contact then as it is now. All my correspondences transpired in the days before the internet, (that makes me feel ancient). And, unfortunately, I lost contact with all of my pen pals over time. Nowadays, its easier than ever to make friends and keep in touch with people in different parts of the world. One of the biggest benefits, for me, about blogging is the opportunity to discover people with common interests and hobbies. It's like having pen pals, but better and with instant contact! It's funny to refer to a person I've never met as a friend, yet that's exactly the way I feel about Nathalie. I met her through her blog a couple years ago and have had increasingly more contact with her as time goes on. Recently, we discovered that we have more in common than a shared interest in sewing and knitting. We learned that we have very similar body types and share many of the same complaints with fit and flattery in clothing. When Nat contacted me to ask if I would be interested in sewing projects together virtually, I immediately accepted! There have been a few changes, well, one major change since that first conversation, but our plan remains. Our first project is the Wiksten Tova top/dress. I'm embarrassed to admit, I was completely unfamiliar with this pattern at the time Nat suggested it. I'm so happy to know about it now, because I definitely see more of these in my future. Aside from grading between sizes, I didn't make any changes to the original pattern. The sizing confused me considerably. Prior to cutting I had fears regarding the amount of ease built into the dress; it seemed like there would be A LOT. Instead of following the recommendations, I measured the pattern pieces, subtracting seam allowance, and settled on the xs at the bust and the small through the hip. I never cut patterns in such small sizes, so I did a fair amount of second guessing. However, my measurements indicated that I would have four inches of ease through the hip using the size small, which is exactly what I wanted. As a person who is both short (5'2) and hippy, I was concerned that excess volume might make me look heavy and shapeless. Im very pleased with the shape and fit through the hip area. The top of my Tova fits a bit snug through the chest and shoulders, so I will likely cut a straighy size small when I revisit the pattern. Based on my measurements of the flat pattern, I had expected a little more than an inch of positive ease through the chest, but I ended up with less. I may also incorporate an underarm gusset, because I like to have good range of motion without feeling constricted. My dress fabric is a beautifully light chambray I pulled from the depths of the stash. It's crisp and drapes gorgeously. I rescued it from an estate sale a while back, and I'm certain I didn't pay more than $1 for the 5+ yards I brought home. (There's enough left to make an Archer!) For the placket, I knew I wanted to add a bit of 'pop'. I cut a small remnant piece of lace (also estate stash) to match the placket and sleeve cuff pieces. During making, I used both sets of placket and cuff pieces as if they were one piece of fabric and sewed per the instructions (It might be helpful to baste the lace to the dress fabric, if you're interested in trying this for the first time). With regard to construction, I really appreciated the finishing techniques directed in the pattern. They make for tidy innards; however, I chose to use french seams in lieu of serging at the shoulder/side seam/armscye. I did stay within the 3/8 seam allowance, so I didn't have to make any adjustments. For the insert, I basted first, then sewed. I had a little difficulty getting the square neckline to be... square. But I managed in the end.When I basted, I did both sides before sewing the bottom, so I had two points to connect and less opportunity for fabric slipping. Having both the front and back of the dress on the fold makes for a really quick and easy garment, but it eliminates a lot of possibility for fit adjustments. I have some fabric pooling at the small of my back, and I have no idea how to eliminate it without a seam to work it into. I have this same fitting issue with a lot of RTW dresses. Do you have any recommendations for me? Sway back, maybe? My hem is a one inch hem. As I mentioned previously, I am 5'2. The length of the dress, as drafted works for me. If I was any taller, I would definitely add length! When I raise my arms, things border on indecency. Oh, and this happens.... It's a small irritant, truly, but I do have to give a little tug to adjust the placket anytime I raise my arms above shoulder level. This may resolve when I cut the larger bust size in future versions. I'll report back. Ultimately, I love this dress. It's insanely easy to wear. I've worn it twice since making it, and it stands up to my daily activities with ease and provides constant comfort in the heat. I think that the gently folds at the collar give this a very timeless look; a take on the shirt dress, almost. And, I think that there is a lot of potential for versatility in a garment like this. Be sure to jump over and visit Nathalie to see her maternity version of the Tova top!!
*Only Nat is pregnant! :-) I am sewing the regular pattern version and she is adapting the pattern to accommodate her bump. :-) This question was never intended to be what these posts were about. The original idea was to sew 'together' (that is virtually as we are on different continents) - and learn from each other. We have similar height and shape - and therefore similar issues with patterns (bum, hips mainly). Fast forward three months from the original idea, a little adapting had to be done - to accommodate a (fast) growing bump. So the aim is still to sew the SAME normal pattern, but the choice is probably more limited as we have to be able to adapt for maternity wear. In between the posts, we email each other of course talking about the process, what we learn, how we get on, modifications we are considering but also potential new patterns we should try. We will probably post one post together with our final garment, and another one explaining the modifications made to adapt them to our current shapes. Our first pattern is the TOVA from Wiksten. The patterns has already been adapted by pregnant sewers a few times, so we knew it was possible - a safe bet. And as expected it works for both of us, with a minimum of modifications to be honest, and without changing the look/shape of it. It is an easy to wear top/dress, full of beautiful finishing touches. There are a couple of tricky sewing points (attaching the front and the collar mainly). It is of course a shape that works very well for our shape - a A-line top with good proportions, a nice neckline, and it is really super comfortable to wear.It is a simple tunic, a gathered yoke and gathered 3/4 length sleeve - that can be easily adapted to any style. This is both our first time sewing Jenny’s patterns. We already talked about finishing details but the attention to them is amazing: the way she finishes hems & cuffs for instance. Her design feels refined and it felt like we were making high quality garment as we worked through her instructions. We would rate this an intermediate pattern - there are few tricky bits and a lot of finishing to do, especially if you go for French seams as we did. However it is quite a quick sewing project to get a top that will always be a classic shape in the end. We can definitely see more Tovas in our future! Have you made a Tova? What was your experience? For our own modifications, check out our blogs in the course of the week! We have chosen our next pattern, now comes the choice of fabrics - always an exciting part! |
Archives
March 2017
|
