|
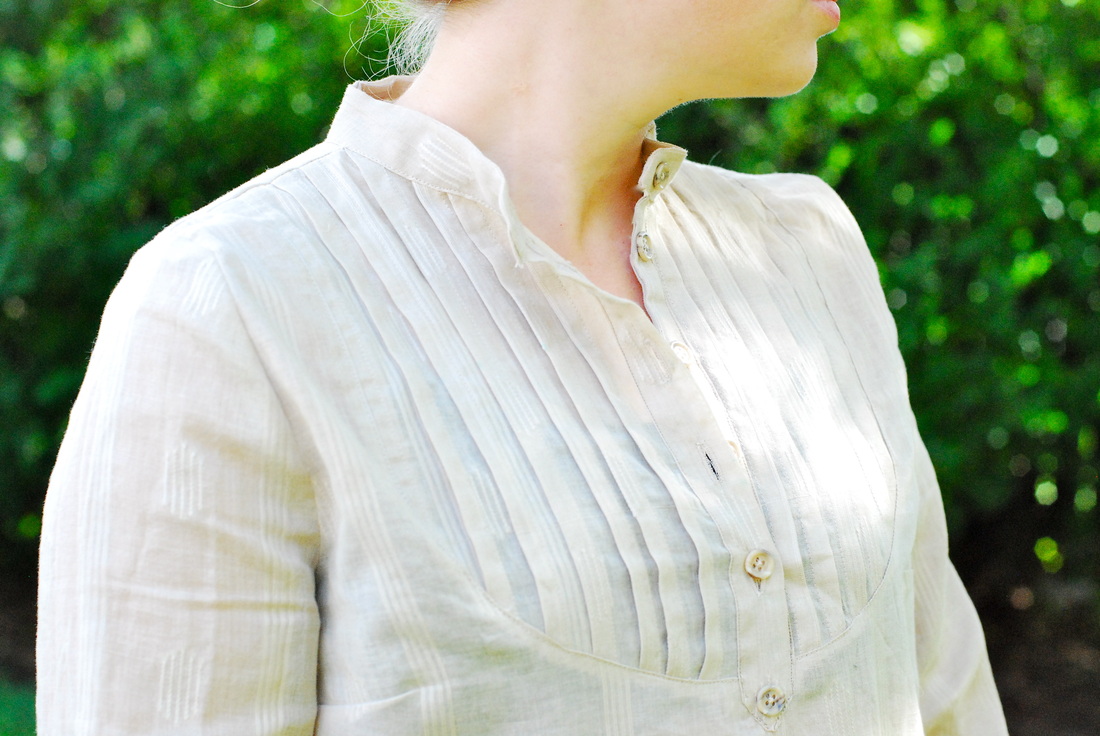
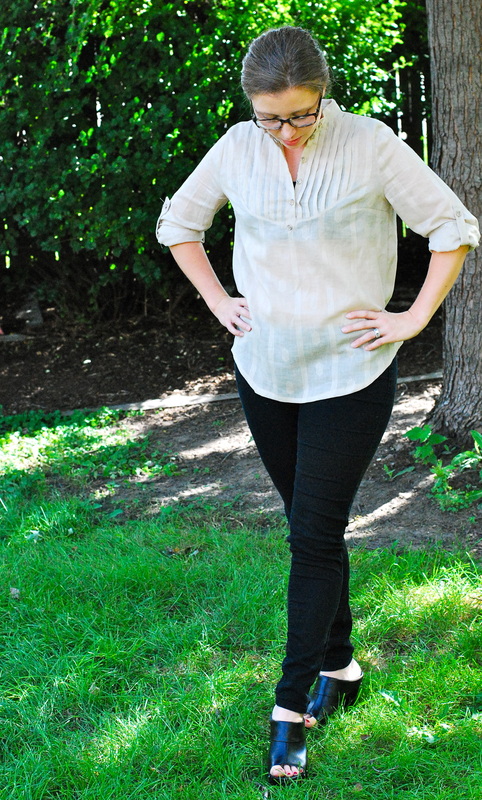
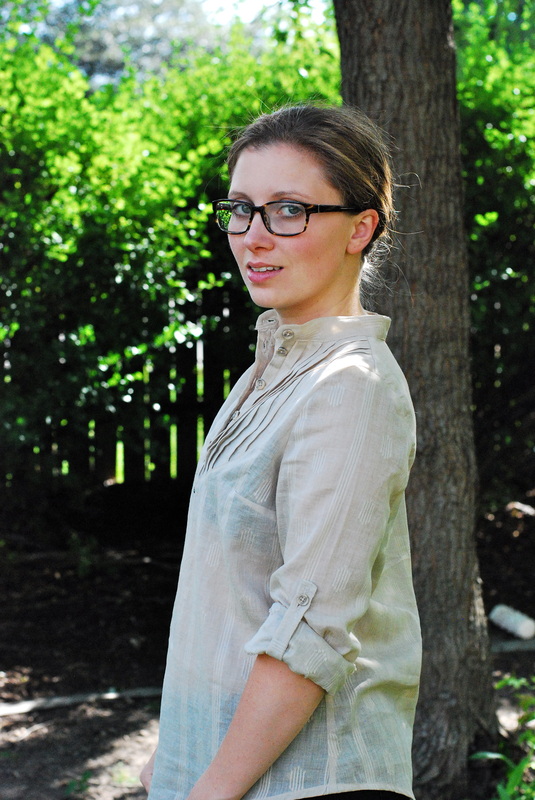
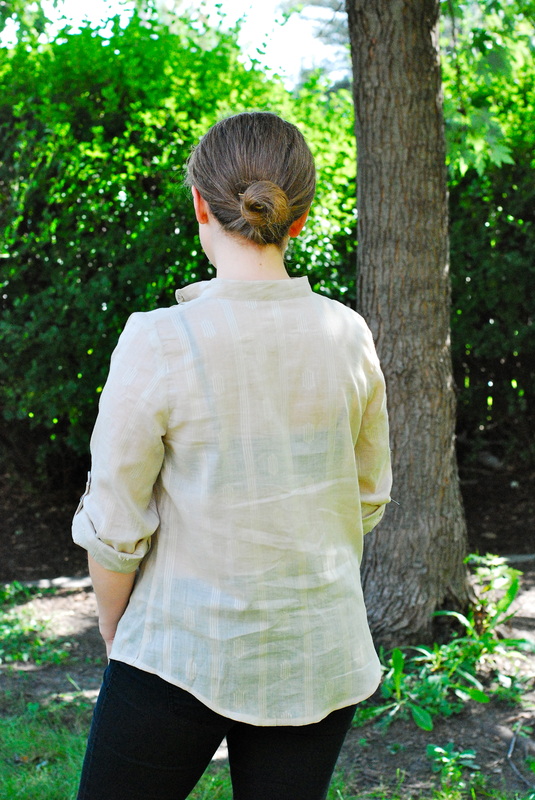
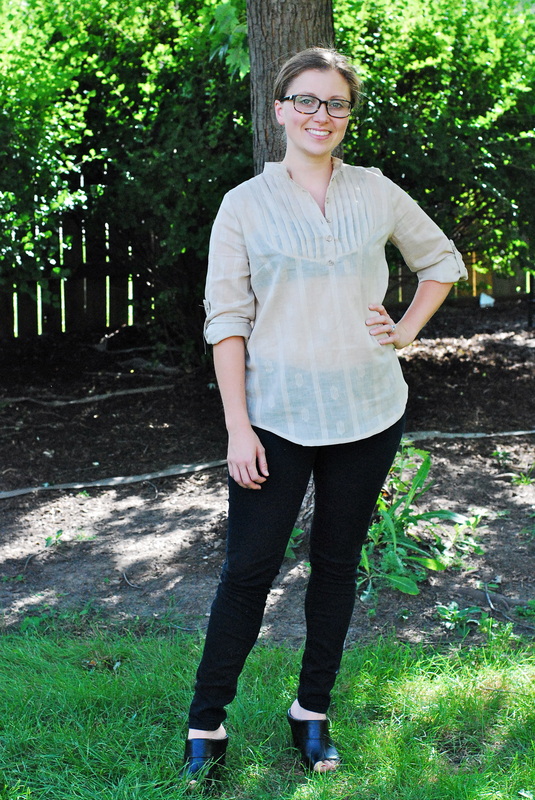
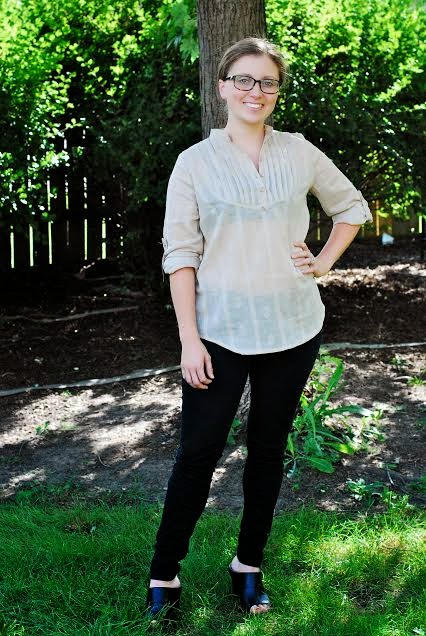
As soon as I'd finished this blouse I slipped it on to take a look. The style is very different from anything I've sewn for myself previously. I stood in front of the mirror and stared for a minute. Turned. Stared some more. Then Mike walked in. I asked him what he thought of my new blouse, and he responded that I looked perfectly dressed for a renaissance fair. Not exactly the response I was expecting. I turned back toward the mirror. He was right. We laughed. I took the blouse off and set it aside. Oh, well, I thought. You can't win them all. I decided to give it a chance, after all, Carme did take a little bit of effort to complete with her pintucks and placket, abundant edge stitching, sleeve ties, collar and cuffs. She deserved a spin around the block. I tucked the blouse into my black Hollyburn skirt and stood in front of the mirror. I felt nothing. I had Mike snap a few photos for the blog. When I reviewed them that evening after work, I had the same BLAH reaction. It just wasn't working. The photos of my Carme/Hollyburn combo were uninspiring to the point I decided I needed a do-over. I rolled up my sleeves, undid a few buttons and let my hem hang out. Just like that, it clicked. Suddenly, Carme made sense. And, I really liked like her. In fact, I think we'll be spending a lot of time together this fall as layers become a key component of my daily attire. Will I make this blouse again. Maybe. Probably. Someday. This was my first experience working from a Pauline Alice pattern. I chose to purchase the PDF version. The pattern pieces went together exactly as they should. Everything lined-up, and it was fairly quick and easy to assemble. I used the body measurement charts provided to determine which sizes to cut. For my shape, I needed to grade between three sizes from the bust to the hip (38-42). It seemed like a lot, but it was an easy blend, and I feel like I have an even amount of wearing ease throughout the garment as a result of the grade. The instructions and illustrations provided with the pattern were very nicely drafted and clearly explained. I followed the instructions, mostly. I did use French seams on my side, shoulder and sleeve seams; I do this as a rule. Paired with the finishing techniques in the pattern, I think the end result is very professional and holds up to wear and tear. The fabric is estate sale stash. It's a semi-sheer embroidered cotton.
Nathalie has a lovely post on how she modified her Carme blouse to accommodate her bump. I'm excited for our next project together, Roxanne. The weather has shifted here and all I can think about is FALL. So, I'll definitely be making mine suitable for cool weather wearing! I'm dreaming about fall textiles, how about you? P.S.- Do you live in New York? On a whim, Liz and I have decided to take a day trip and have been making plans via Twitter to meet-up with some lovely sewing bloggers while we're there on October 4.
12 Comments
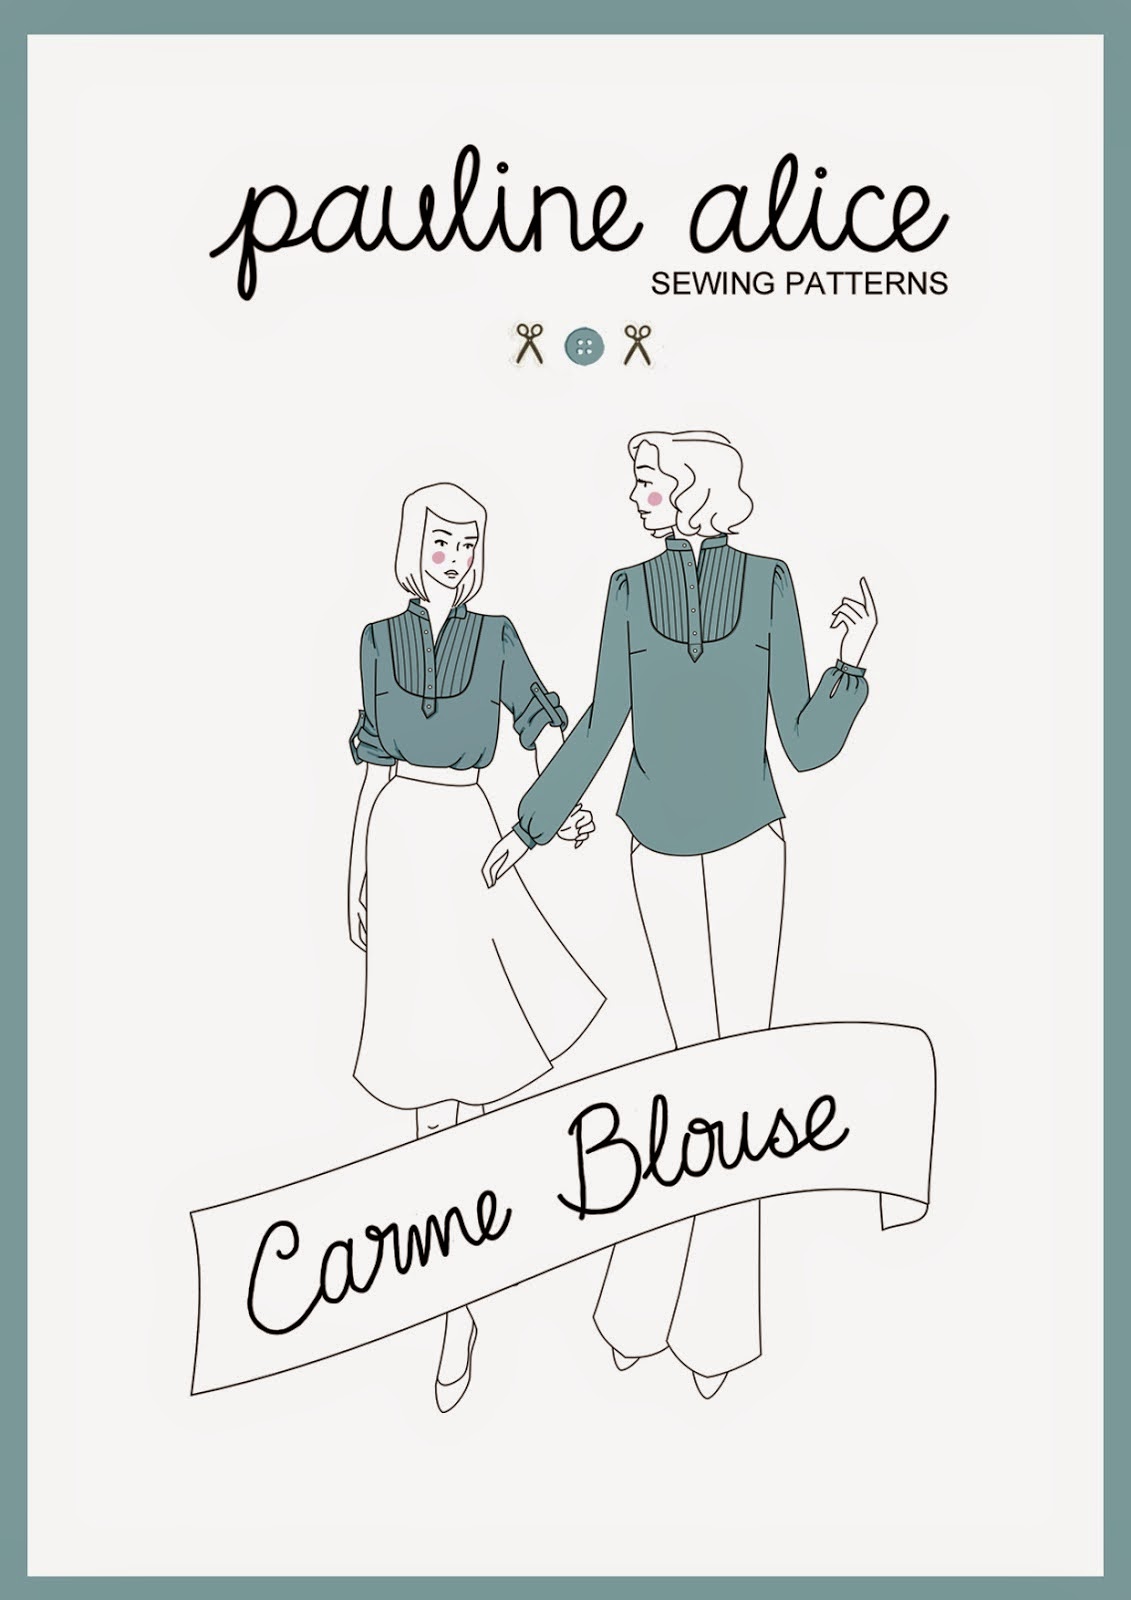
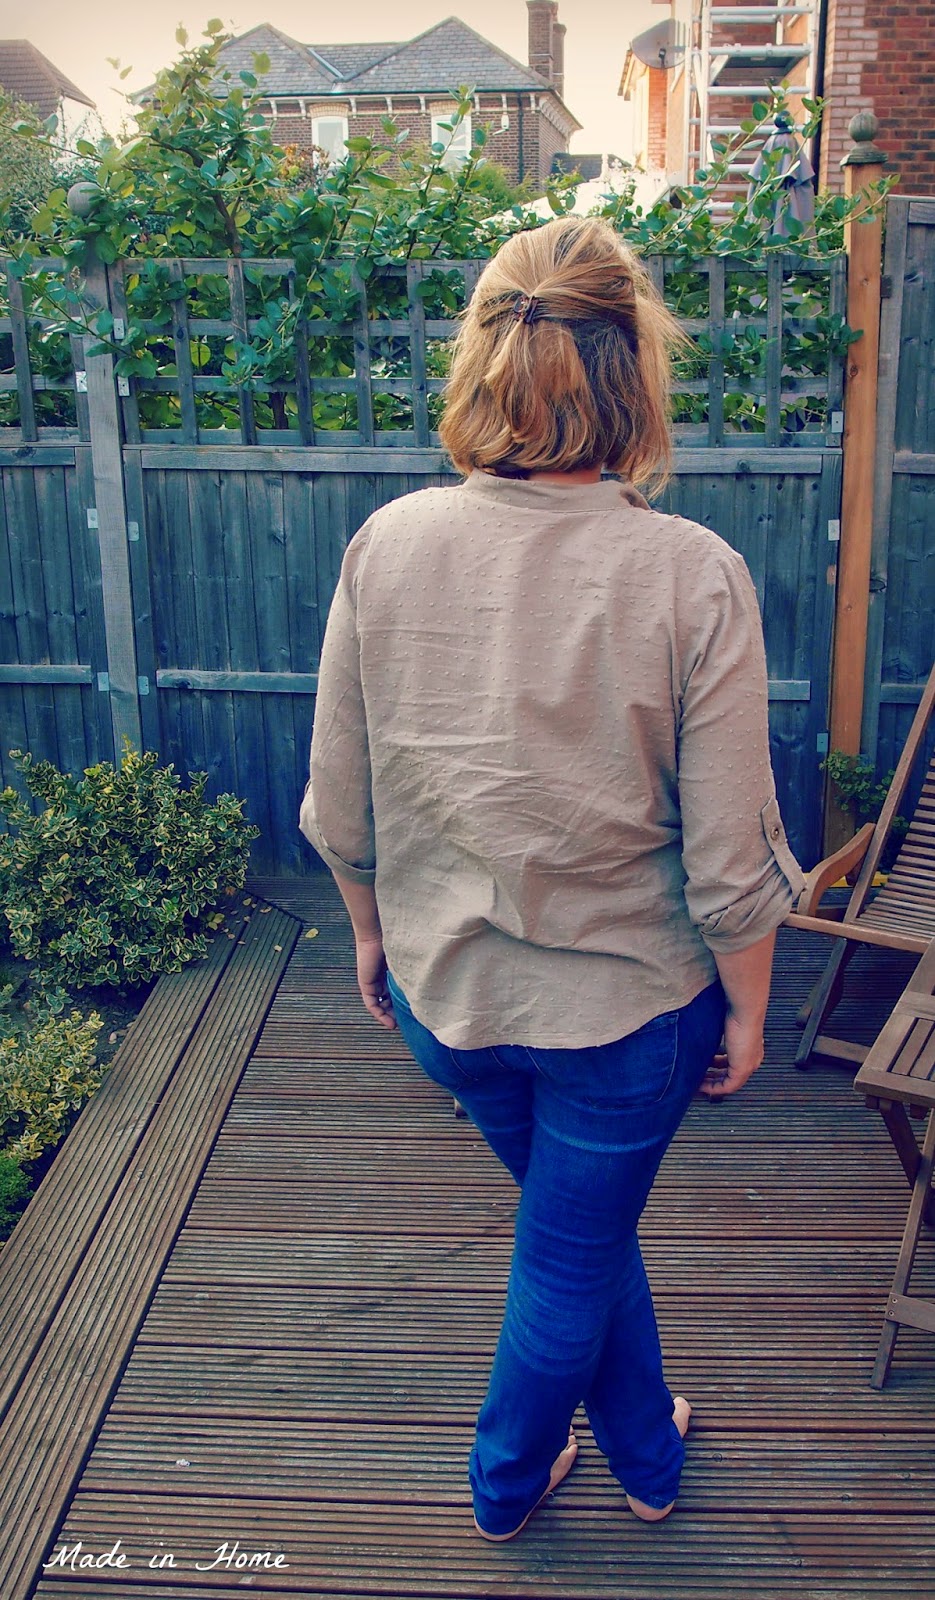
After the fun and success of our first project, we decided to sew together again. So the aim is still to sew the SAME normal pattern, but the choice is probably more limited as we have to be able to adapt for maternity wear. In between the posts, we email each other of course talking about the process, what we learn, how we get on, modifications we are considering but also potential new patterns we should try. We will probably post one post together with our final garment, and another one explaining the modifications made to adapt them to our current shapes. Our first pattern was the TOVA from Wiksten. The second one is the Carme Blouse by Pauline Alice. There is a sew-along on Pauline's blog, and it provides instructions on how to modify the pattern for pregnancy wear. The Carme Blouse is a feminine shirt with a small mao style collar and lots of details! Depending on the fabric you choose, it has the potential to be very versatile, perfect for work or weekend wear. The pattern is definitely the most challenging one that we have used (ever), notably in terms of number of pieces you have to deal with but also the finishing (the pin tucks of course, but also the sleeves). All these details make the shirt look very professional in the end, and the sew-along makes the process as painless as possible. The instructions for this pattern are very detailed and full of illustrations. Now that the Carme is done, it really gives us confident to tackle more advanced projects. As for the fit, we both had to grade it, and still wondering whether the fit is right. It may be an idea to go one size smaller than the measurements suggest to make it more fitted, which will work better (even for the maternity version). A lot of bloggers have made a few versions of the Carme blouse for their wardrobe. The look is quite distinctive, and there may be some many Carme you would want to have in your wardrobe. The process may also deter us from making more of them, but it is probably not a definite no - just a no right now. We would rate this an advanced intermediate pattern - there are few tricky bits and a lot of finishing to do (and many trips to the ironing board for those pin tucks!), and many pieces to handle (and try not to lose). Do choose a fabric that marks easily - there are a lot of things that will go on it. Have you made the Carme blouse? What was your experience? For our own modifications, check out our blogs in the course of the week! We have chosen our next pattern (with less pieces), and now comes the choice of fabrics - always an exciting part! |
Archives
March 2017
|
