|
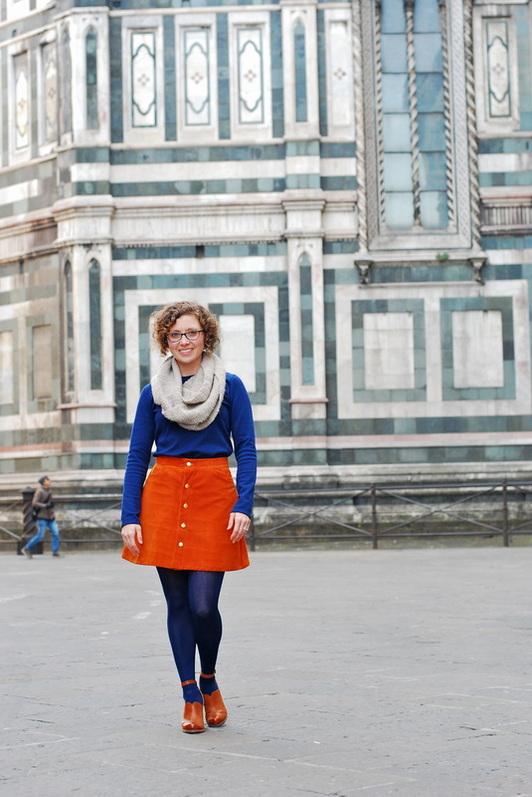
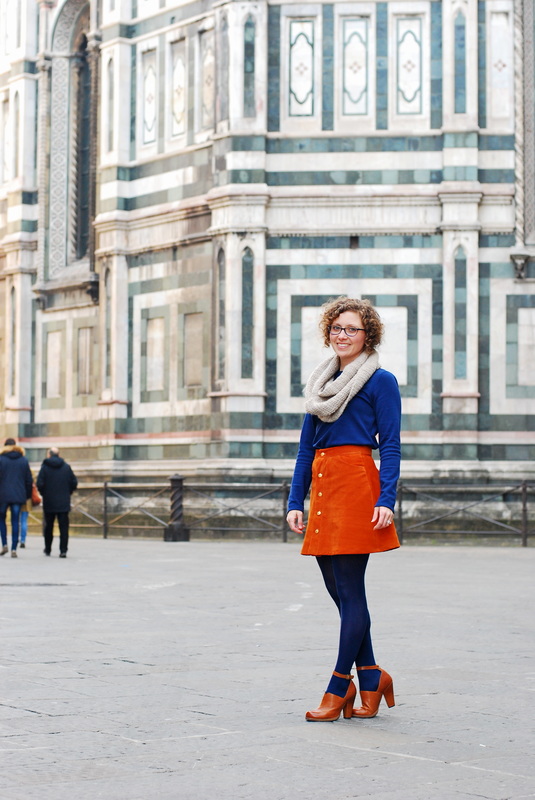
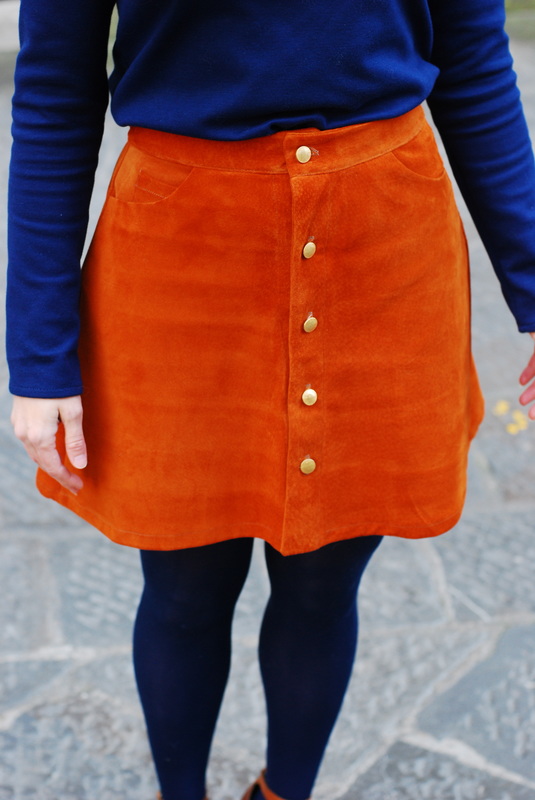
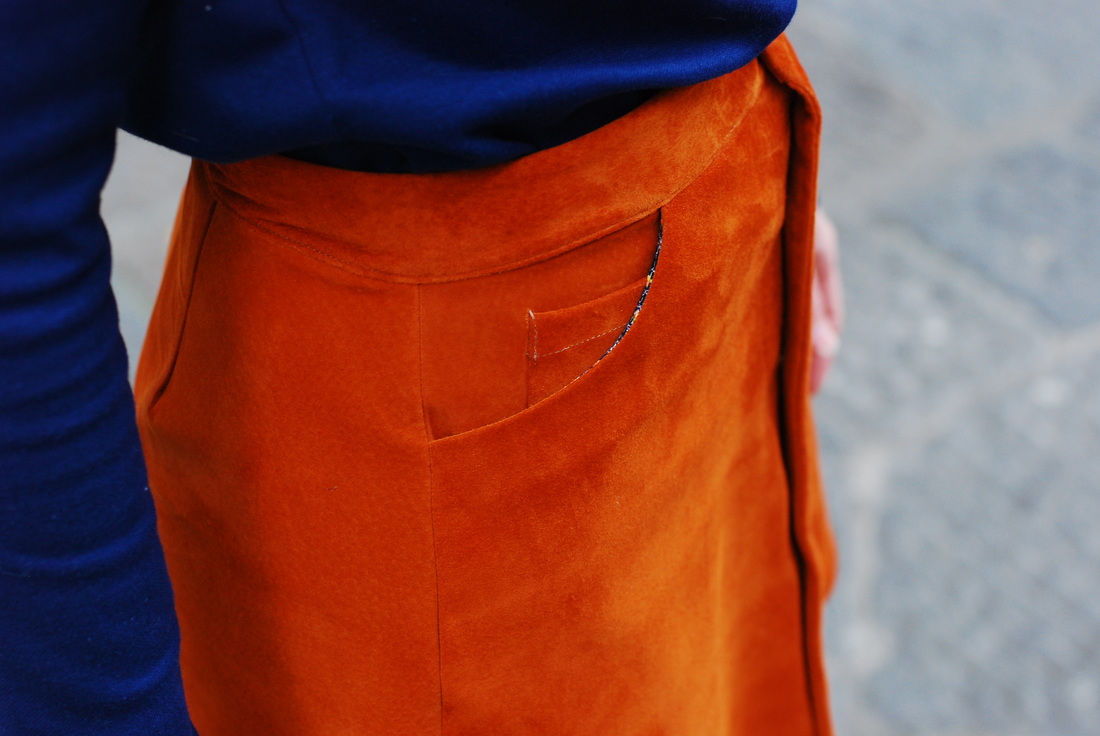
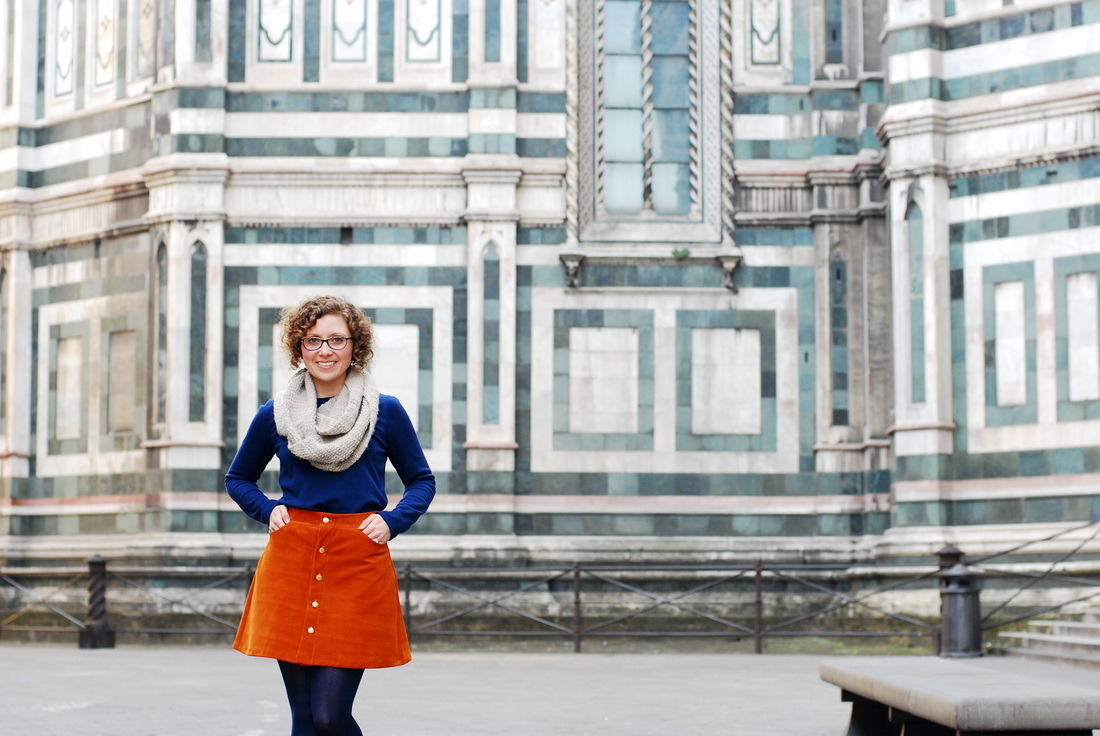
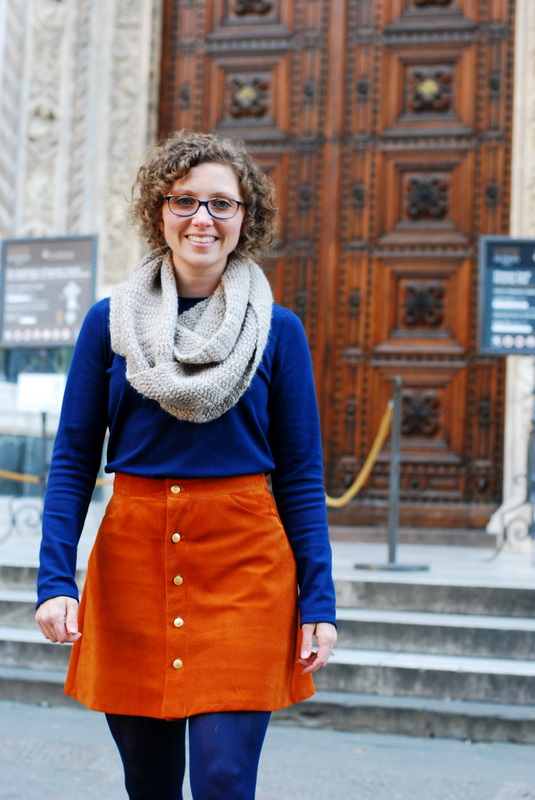
This is the type of skirt I would have been sent home for wearing in high school. Really. we had a dress code. There was kneeling and measuring involved (nothing shorter than 2" above the knee). It was altogether humiliating and awful. As long ago as that was, long hem lines have pretty much been permanently ingrained in my brain since. This skirt feels rebellious. And, I kinda like it. This skirt is the Rosari skirt from Pauline Alice. I immediately fell in love with its seventies vibe. When I saw her suede version, I nearly fell off my chair. I knew that I needed one. I've worked with leather before. I have three classes from Chicago School of Shoemaking and Leather Arts under my belt, and I felt confident that I could apply the skills I'd learned at home. I'm also fortunate to live about 20minutes away from a Tandy Store, so supplies were easy to come by. I chose sheepskin suede for my skirt. It's a thinner leather with more drape than some other hide varieties and it seemed like a nice garment weight. I knew that my machine would be able to handle sewing it, unlike some leathers that require an industrial grade machine to sew. There are some differences between sewing with fabric and leather. To start, there's no such thing as yardage. You buy hides. For this skirt I used two. Next, leather has no grain. You can place your pattern pieces very closely together and without regard to direction, just make sure you're avoiding blemishes and thin areas. You can really Tetris your pattern pieces together, which means there is less waste. There's no seam finishing, because there are no threads to unravel. Also, with leather, once it's punctured, the hole is permanent, so there's little room for error, and you will want to avoid pinning. During my projects at leather school, we glued our seams prior to sewing. I skipped this step at home, because I didn't have any glue handy, but I definitely intend to do this in the future, as I think it will be a huge benefit in the structure of the waistband and hem. There's also some differences in the tools you'll want to use on a project like this. You don't iron leather. To get crisp seams you hammer them open with a mallet. I used a rubber mallet and a block of wood. You could also use a wooden mallet. Whatever you decide, be careful not to hammer any indentations into your work. I was extra cautious and hammered over the top of a piece of scrap suede to make sure I minimized potential for marking. The most difficult areas to hammer out, I thought, were the darts. I don't have a firm, curved surface that could handle me beating on it, so they aren't quite as flat as I'd like. In these pictures, I'm wearing my Rosari with a Grainline Lark Tee. When this pattern was introduced, I was a little underwhelmed. It's a basic tee pattern. No bells. No whistles. BUT, I didn't have a solid tee pattern. I've sewn Renfrews before, and I like them well enough, but they don't fit the way my RTW tee shirts fit. That, I think, is the biggest difference between the Lark Tee and the Renfrew. The Lark tee looks and fits like the type of tee you might find at a major retailer. I sewed three Lark Tees in a row, because I was so pleased with the result. At some point, it might deserve its own post, but the versions I sewed for this trip are super basic and I think you can see what I'm talking about in these outfit pictures. As a final thought, I know leather is a highly contentious issue for a lot of people. I absolutely respect that it's not for everybody. It might surprise you to know that I eat a vegetarian diet; it's something I'm very passionate about. I also come from a long line of hunters, and I take no issue with the practice of hunting for food (trophy is another story). And, as part of that mentality, I believe that the best way to honor the sacrifice of an animal is to utilize it to the fullest, in a very Native American sacrifice/preservation sort of way... At any rate, I hope I haven't offended you, it's certainly not my intention.
12 Comments
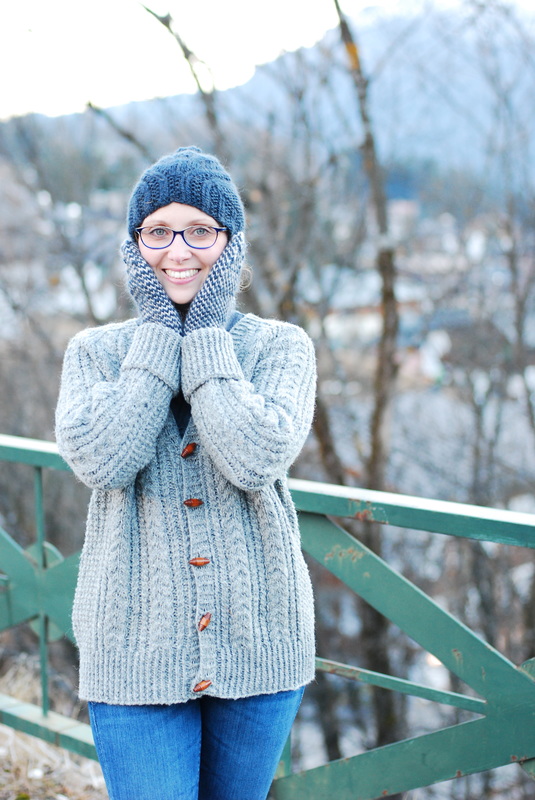
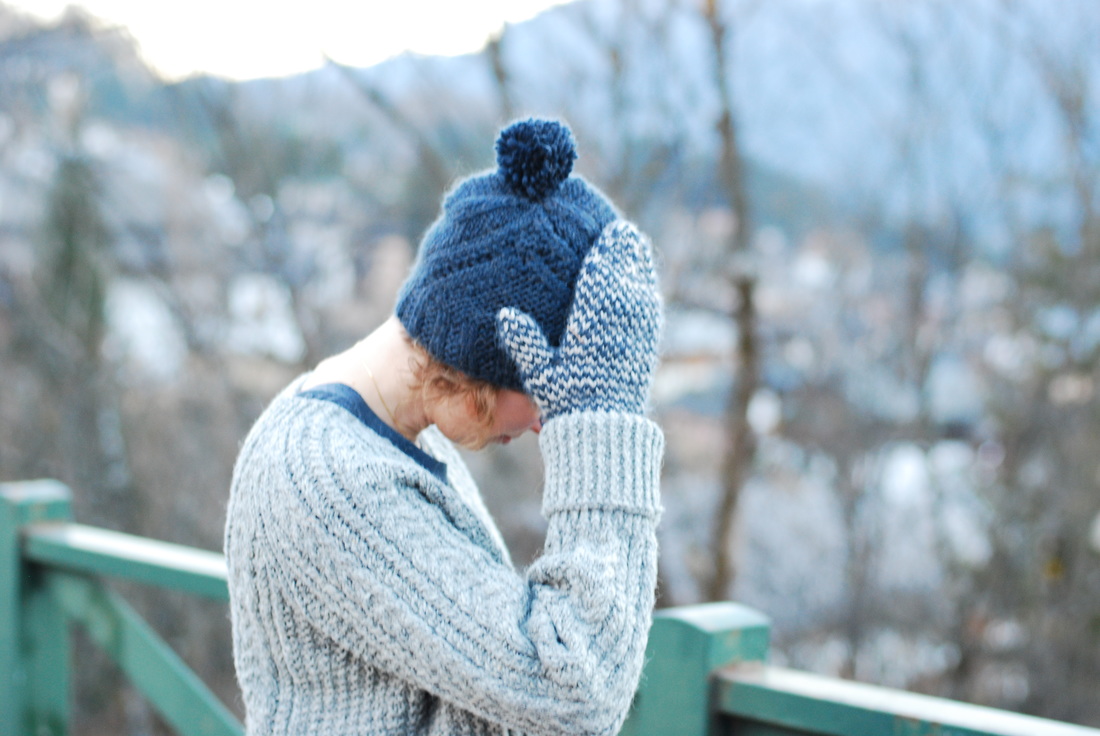
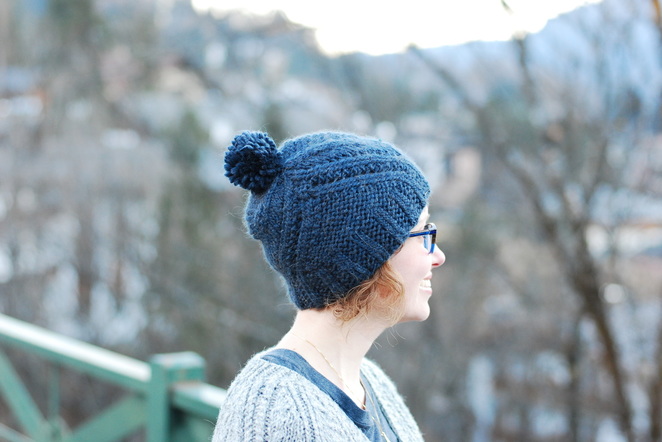
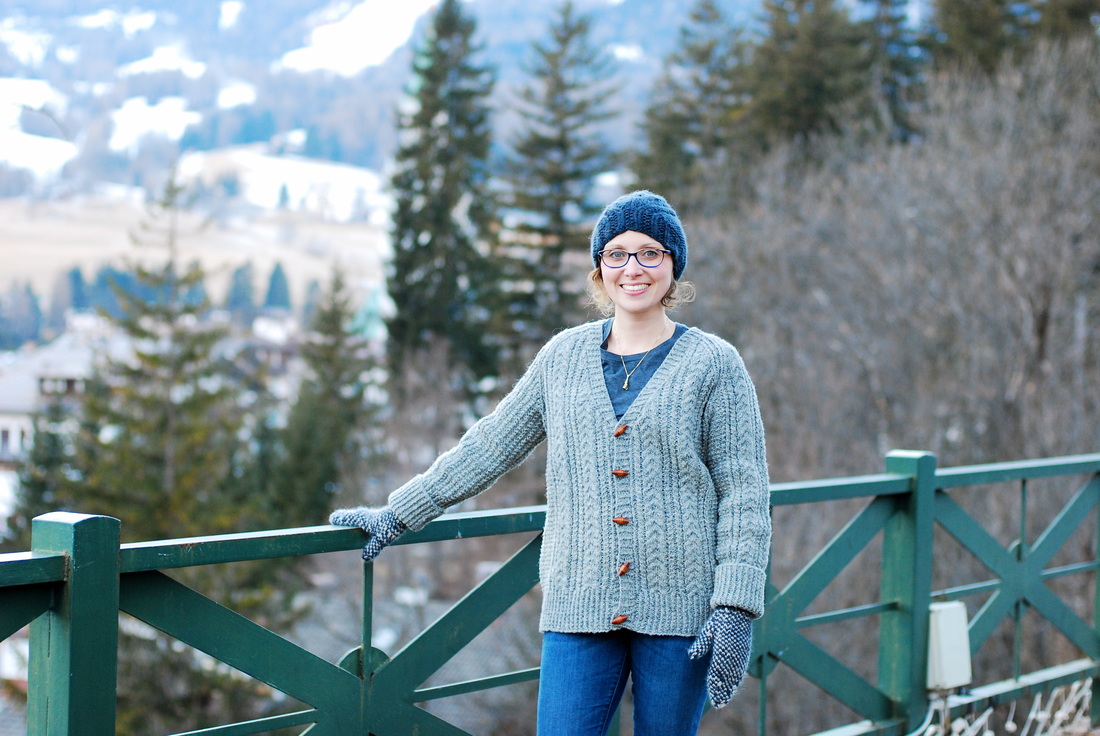
Wool. Wool. Wool. And, more WOOL! What can I say, it's a winter wardrobe staple for this girl. This post is a heaping spoonful. Three projects of wondrous warmth at once! Let's start at the bottom and work our way up, shall we? This sweater is White Pines by Amy Christophers. This is my second White Pines. I've knit this pattern before (yeesh, has it really been five years?!), but this is the first time I've knit a sweater pattern twice. I've always been of the "too many patterns and too little time" mentality. I have more patterns favorited than I will ever be able to knit in my lifetime. However, my original White Pines has stood the test of time, as have most of my raw wool sweaters. Sure they're rough in the beginning. They're not as immediately appealing at their merino cousins. They are hardy workhorses, though. And, like wine, they get better with age. The more they're worn and washed, the more lovely the yarn becomes, and without all the pilling, to boot. So, back when I was bagging stash yarn into projects and came across this Reynolds worsted raw wool I'd purchased at an estate sale, it made sense to use it on a hardy, wear-over-everything cardigan. It also seemed silly to take a chance on a new pattern when I already had such a sweater in my closet. If it's not broken, don't fix it. This pattern produces a gorgeous, classic cardigan. It's a simple raglan design, and the cables make it fun to knit. I've knit the size 34 1/2", which gives me approximately 5" of positive ease from the finished dimensions. This sweater will definitely benefit from a nice soak, but I can already tell it's going to settle wonderfully. The mittens are knit using Ruth Anne's Mitten pattern. I decided to knit them after I'd settled on a hat pattern. I wanted my hat and mittens to coordinate, so I set-out in search for a bulky yarn mitten pattern. I love that these mittens are simple, but not boring. I also love that there are two strands of yarn throughout the mitten, giving them an extra layer of warmth. These are knit from estate sale yarns too. I had a couple skeins of Rowan Polar leftover from my Arvigen and some Elsebeth Lavold Chunky AL that worked great together. To top things off, I used the remaining skeins of Rowan Polar to knit the Fidra hat. This pattern was knee-jerk purchase for me. I knew I needed it as soon as I saw it released! Love at first sight. Phew. That's a whole lot of knitting at once. But, let's face, it there's no such thing as too much yarn, right?
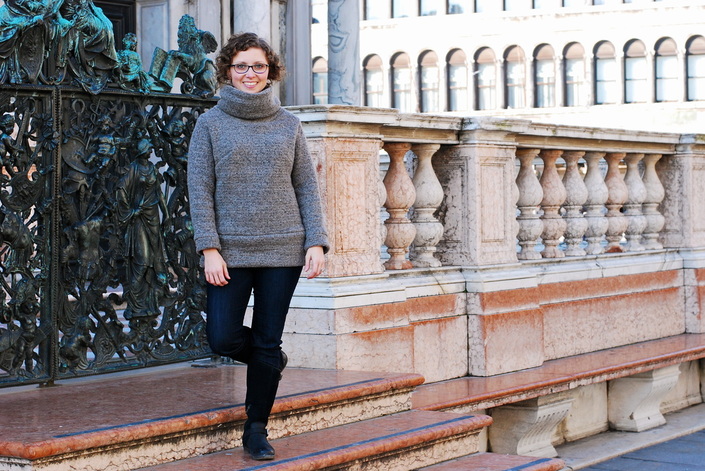
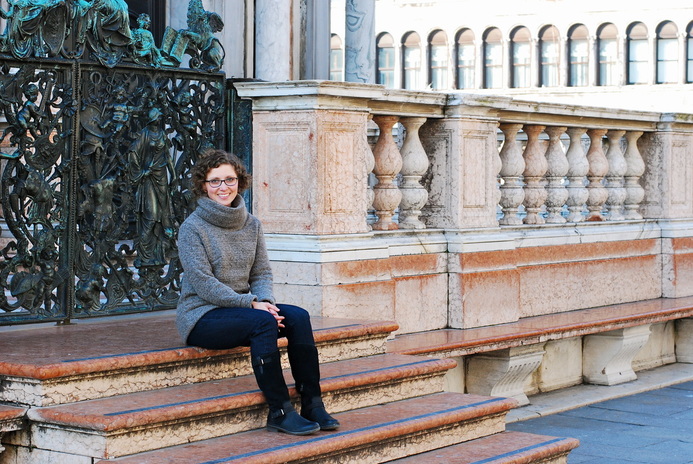
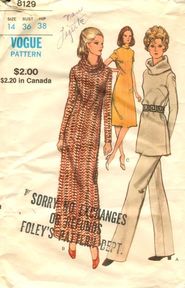
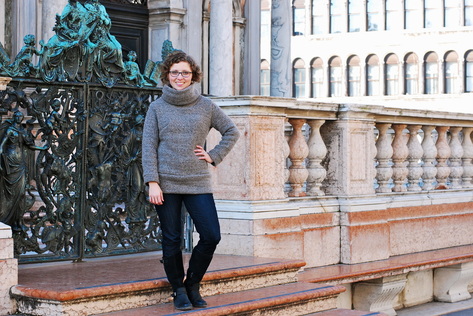
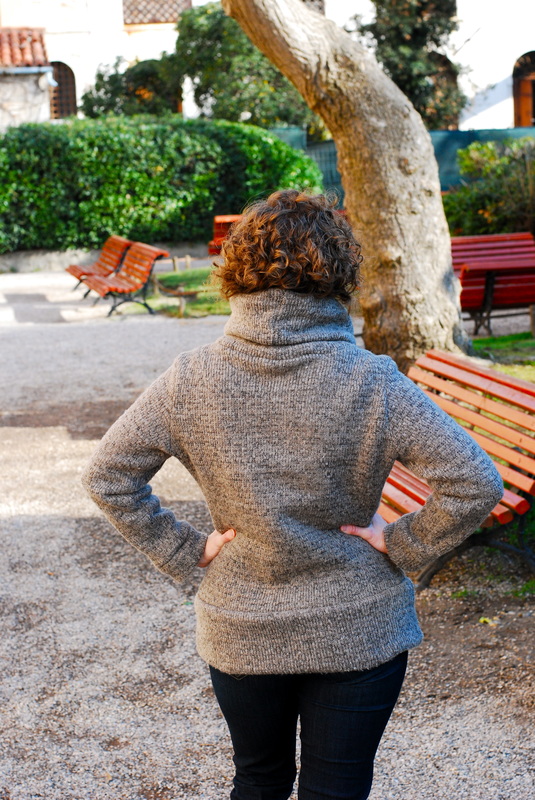
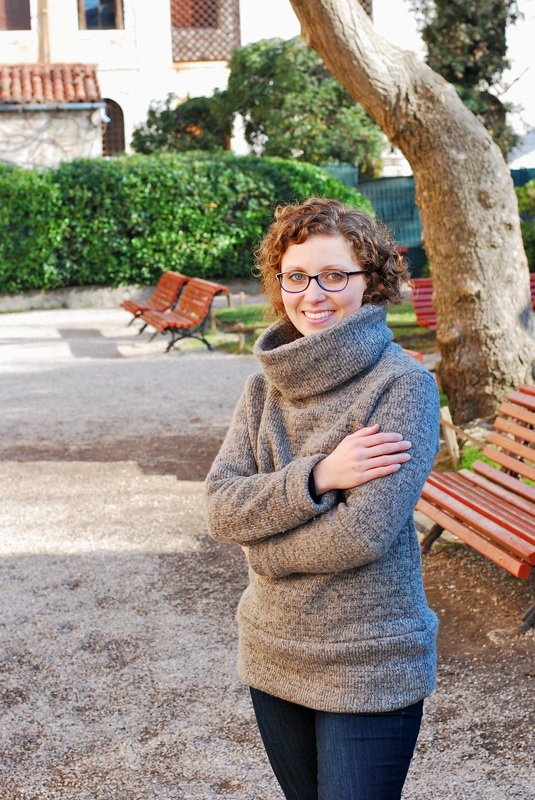
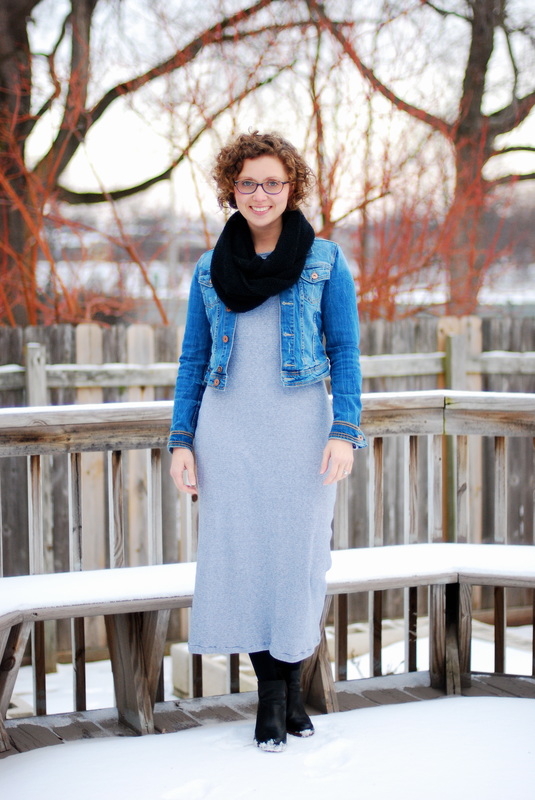
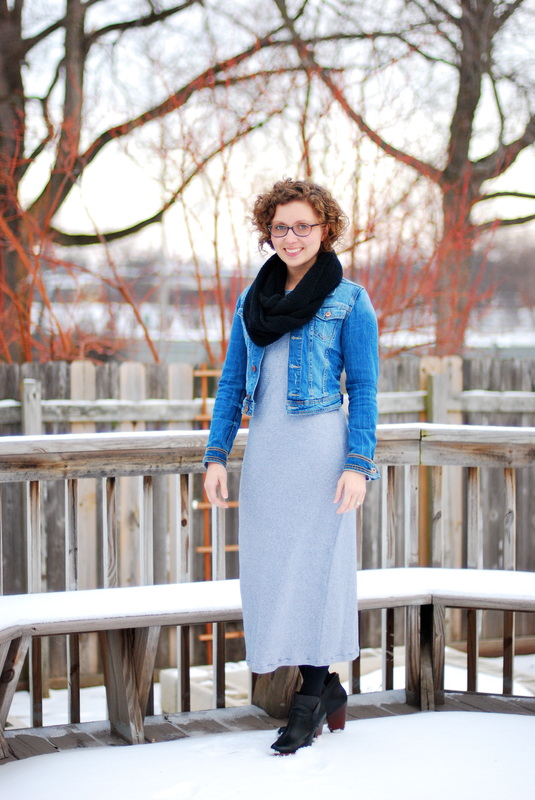
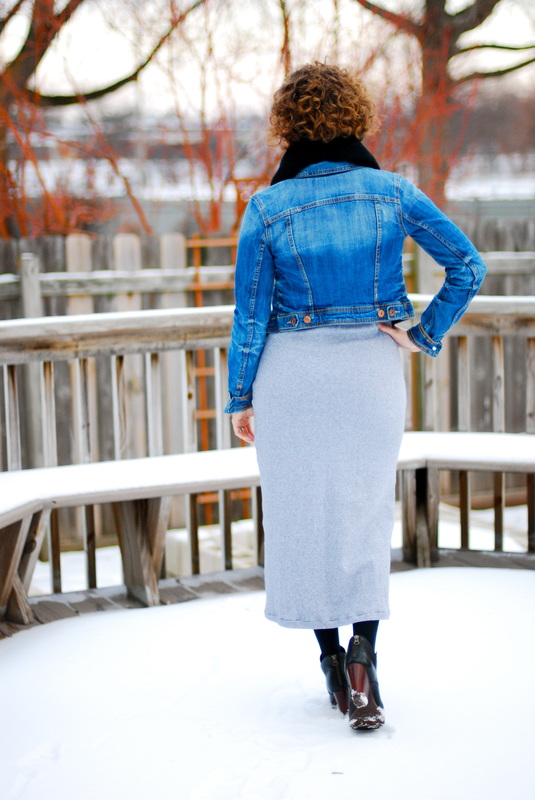
We had a very brief excursion to Venice during our trip. It was too brief, actually. Still, Mike and I made our way around as large a portion of the city as we could. With all its canals, winding streets, and beautiful architecture, Venice is remarkable. However, it also felt like a giant tourist trap. Once you get off the ferry, you're captive. It's impossible to walk ten feet without encountering a Murano glass gift shop and/or a gondolier. We tried our best to propel ourselves around the city in search of gelato and coffee. We like to do this sort of thing when we travel. We pick a food and/or a drink that the place is known to do well and experience as much variety of that thing as we're able. In Brussels, it was chocolate and frites. Paris, macarons. Ireland, cider... you get the gist. It helps give us some direction with our wandering. Unfortunately, a lot of the top rated gelatarias were closed for winter holiday. Fortunately, we still found a few. We had a particularly amazing scoop of chocolate pistachio at SUSO. The pistachio was a little bit salty and the consistency of a nut butter. It was perfect mixed into the chocolate and possibly my favorite flavor I tried the entire trip. In between brain freezes and coffee breaks we bounced between landmarks on our way to... FABRIC (of course). As a side note, if you're like us and prefer to explore new places on foot, National Geographic is an excellent resource for pre-fab walking tours. For Venice there were several options to choose from, but we mainly stuck with the Rialto area in order to maximize the time we had available. It was crisp and cool while we walked around, but I stayed comfortable in another garment sewn from a wool sweater knit. This fabric is bulky and squishy. When I bought it, I imagined it would be perfect as a cozy sweater dress. That was my plan, actually. And, using vintage Vogue 8129, I sewed myself the ugliest, most shapeless dress imaginable. It was a disaster. The only redeemable feature was the collar. The collar on this pattern is magnificent and huge. I have a giant dome (trust me on this), and it looks small in comparison to the size of this cowl. Also, I really love this fabric, and I didn't want to feel like I'd wasted it. Rescue operations immediately commenced. I cut twelve inches from the length of the dress. I narrowed the side seams by inches. Then, I used the length I'd removed, folded it in half and turned it into a bottom band. In the end, this is not the most flattering garment I've ever sewn, but It's still pretty great and very wearable. Also, it's delightfully warm and cozy. My biggest complaint with this, as it stands, is that the seams are bulkier than I'd prefer. I do wonder if some sort of top-stiching finish like THIS might help them to behave better. Working with new types of fabrics always involves a new set of obstacles and a learning curve for me. If you have any tips on sewing with bulky knits, I'm very grateful to hear them! Before I sign off, CHEERS to a new year of #vintagepledge! Are you signed up to participate? I have some very loose goals for 2016, but vintage is always on my list of things to do!
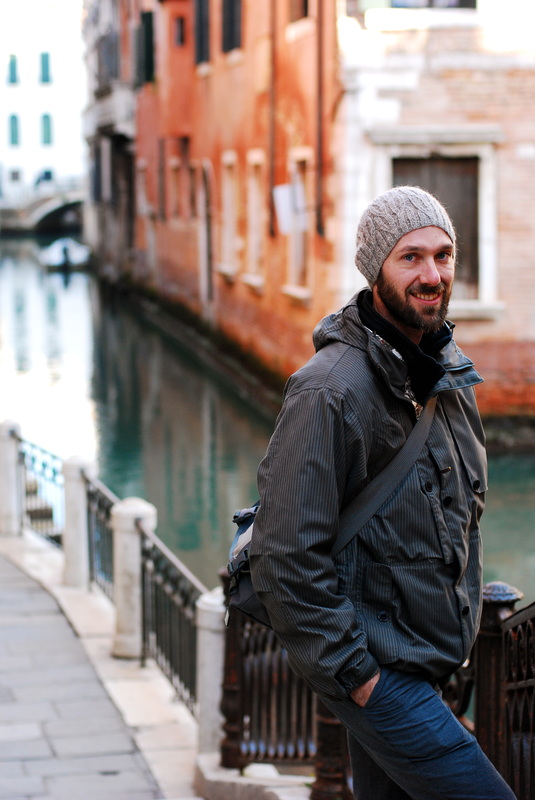
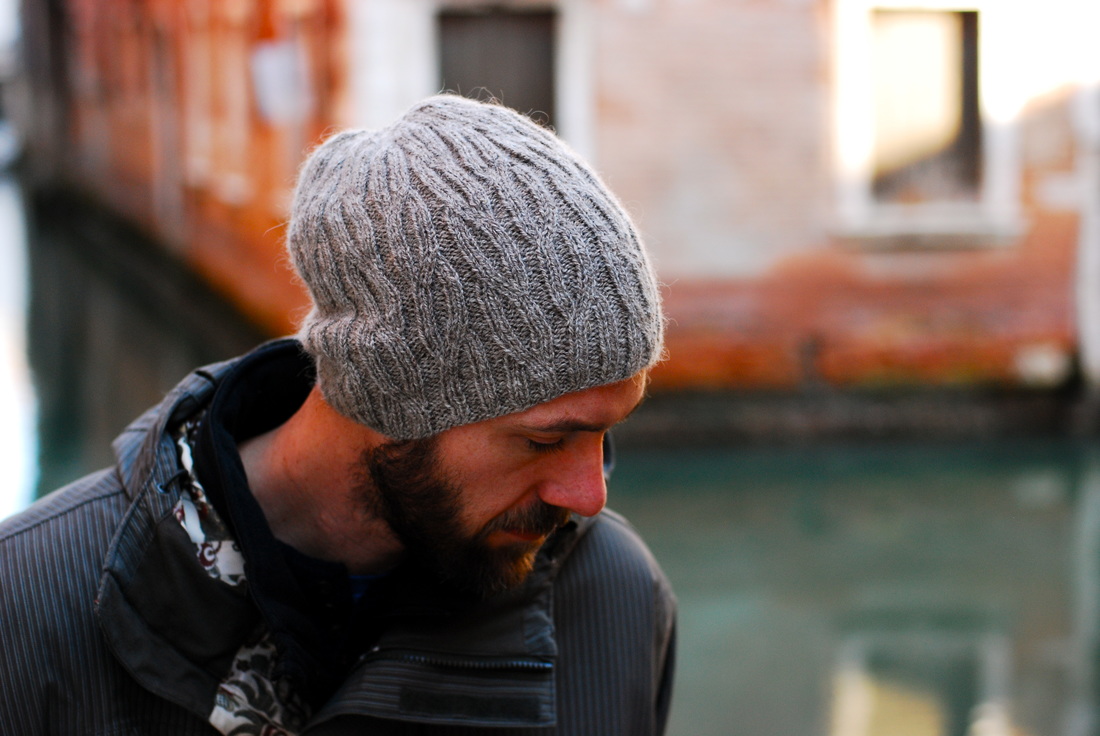
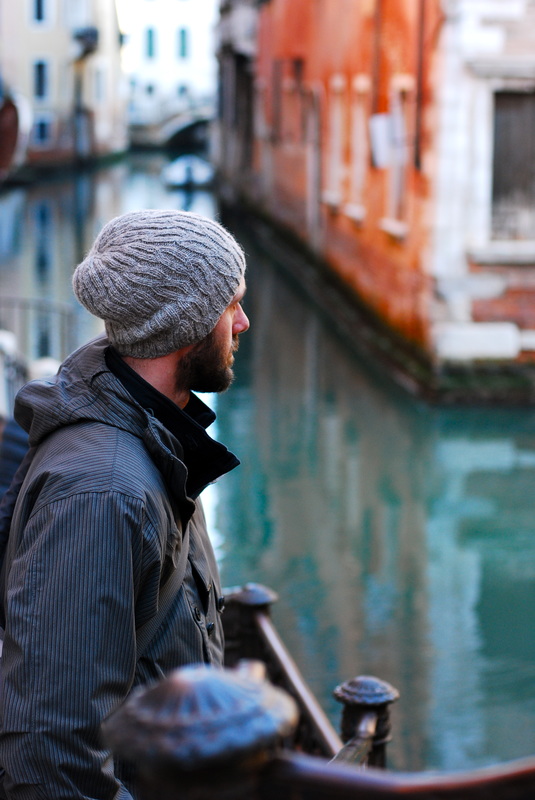
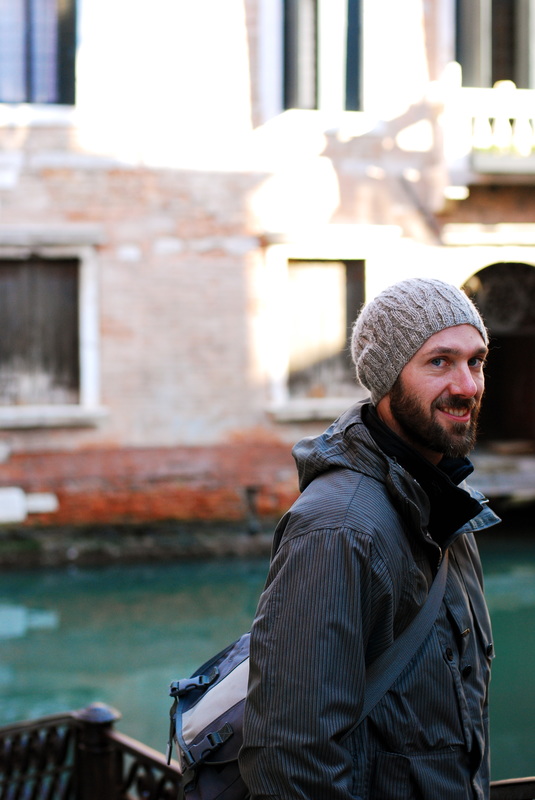
Mike didn't get the same wardrobe enhancement I did prior to leaving for our trip. He did manage to cut out a couple patterns; I just didn't have time to put them together for him. He had to settle for a hat. But, a mighty fine hat at that! I've been trying to knit Mike a new hat each year. He's always cold, so he wears hats often (and quite well, I think). I know I like to have options when I'm accessorizing, so I figure he might too. I haven't quite been able to convince him that any of those options should be outside his standard earth tone color palate. Not yet. Maybe I'll surprise him with a red hat next time and test the boundaries of his comfort zone. This hat was knit using the Dembow written by Susan Dittrich. It's a really solid hat design featuring a faux cable looking stitch pattern. The whole pattern is charted out through the end of the crown decreases, which I really like. I can't be bothered with too many maths while I'm knitting. And, it's a FREEBIE! So, that's exciting. I could possibly have gotten away with one fewer pattern repeat. My hat turned out a little longer than the pictures on the pattern page. Mike likes it slouchy like it is. So, we're not going to mess with it. I can certainly see using this pattern again for future husband hats.
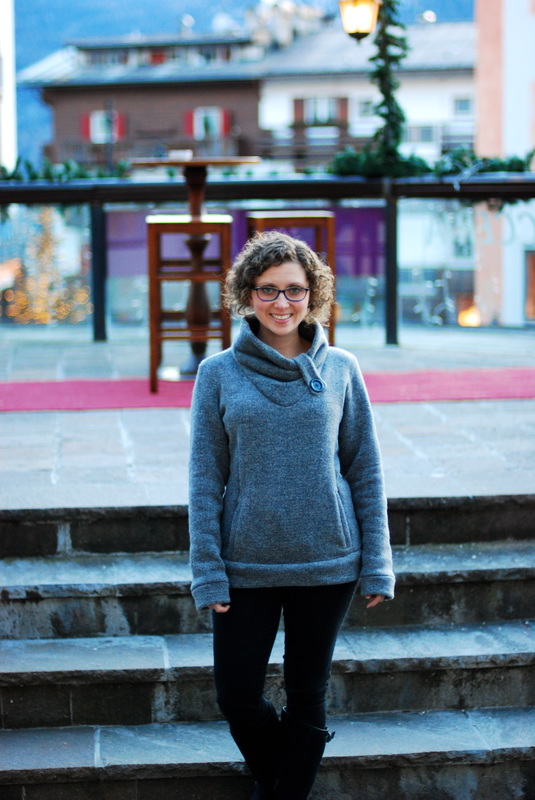
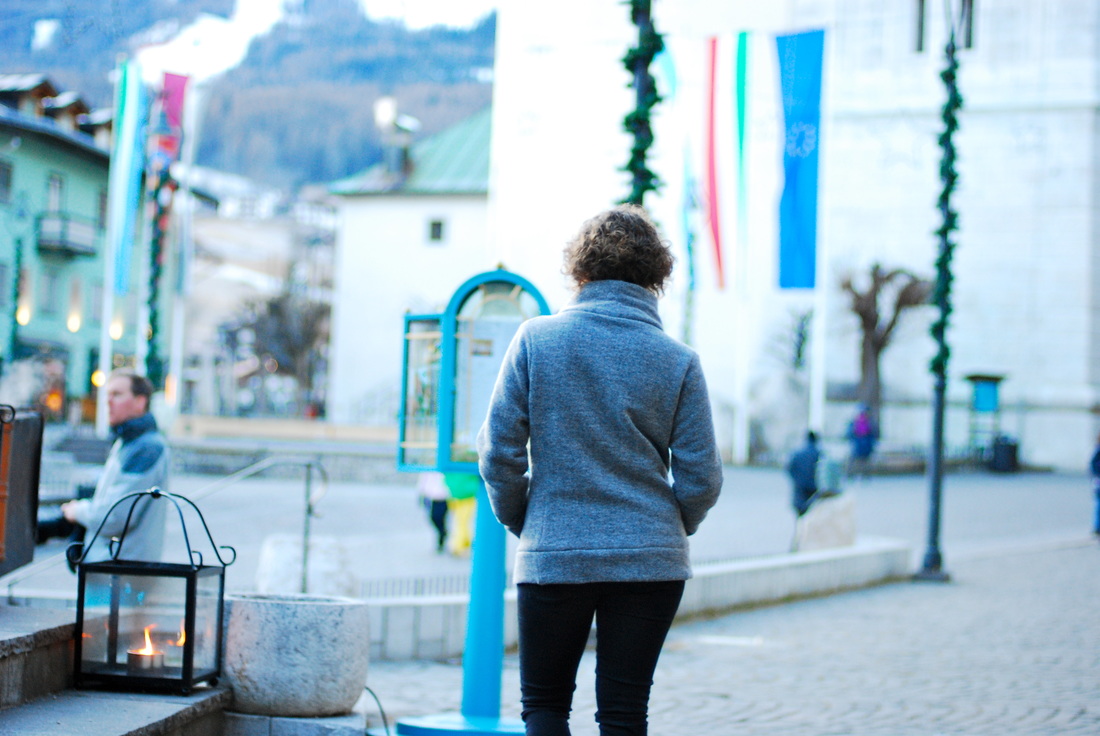
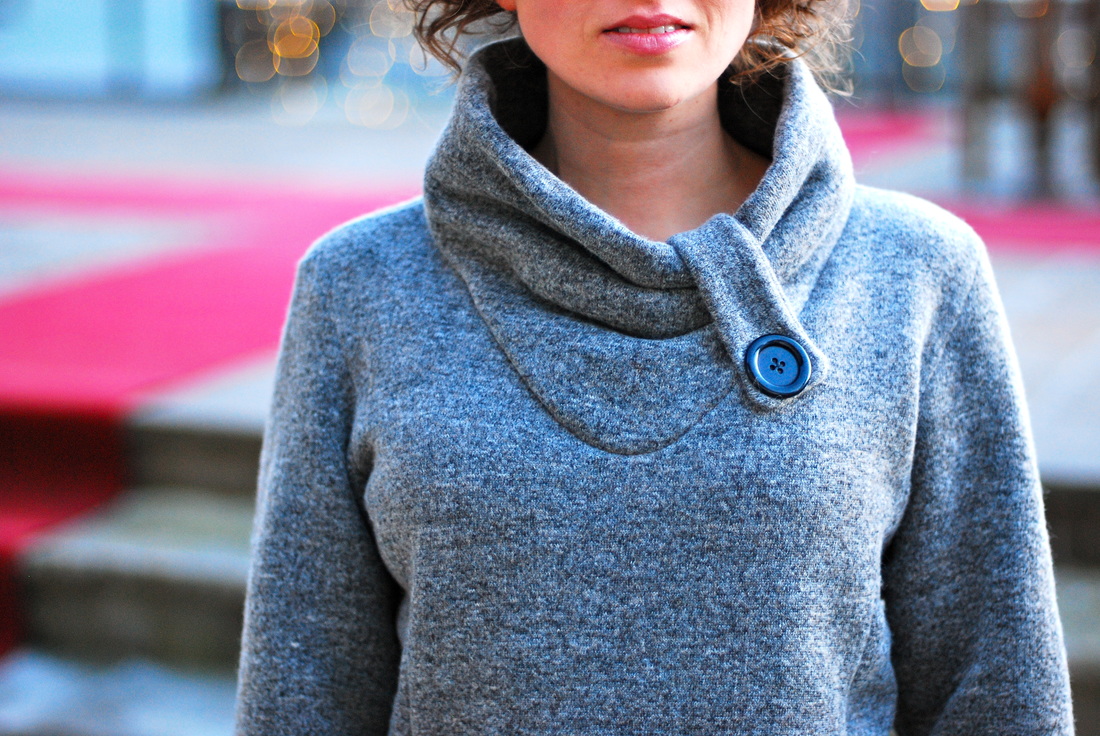
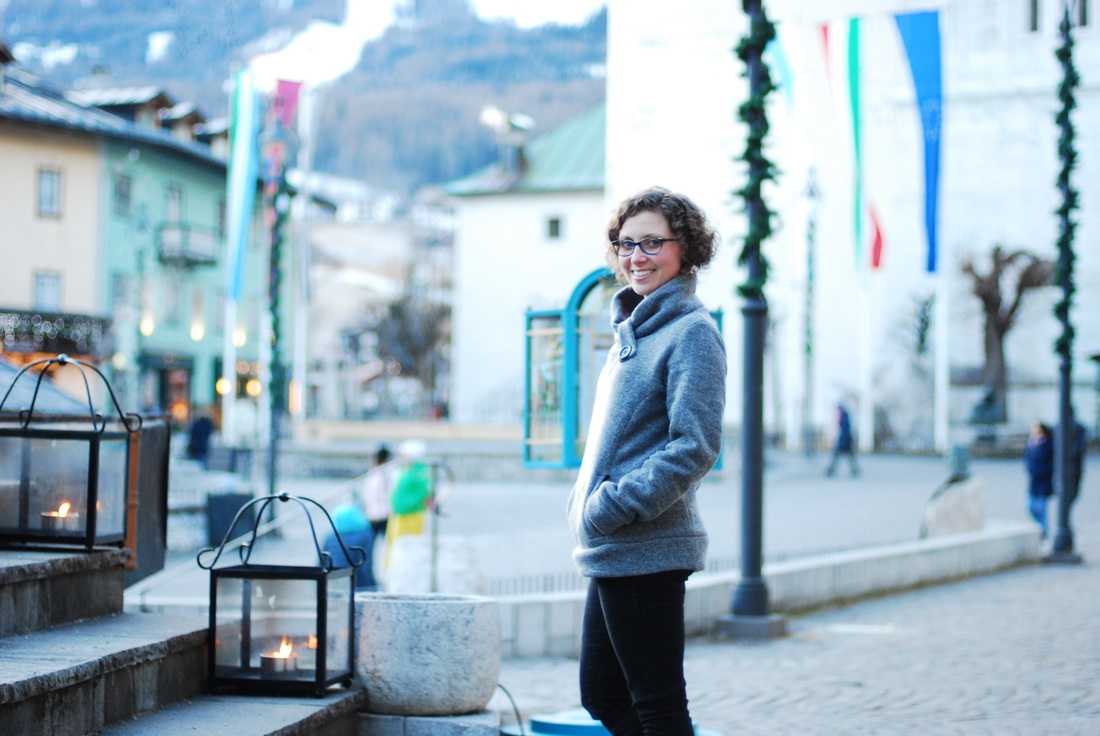
Is there anything quite like the comfort of a sweatshirt on a cold winter's day? There was a point in my life when I basically lived in over-sized sweatpants and hooded sweatshirts (with flip flops, of course). There was also a point when this became completely inappropriate attire for my day-to-day situation. Now, with the rise of fashionable active wear companies, there are lots of 'elevated' ways to wear sweats without looking like you just rolled out of bed. Pattern companies spotted this trend early on, and there are SO MANY different pattern options available for those of us who would rather sew our own than shop! The first sweatshirt pattern to catch my eye is the Jasper Sweater by Paprika Patterns. I especially LOVE the striped version shown on the pattern page. (If anyone can tell me where I can get my hands on some striped sweatshirt fleece, I'll be forever indebted!). In particular, the things that drew me to this pattern are the deep cowl neck with button tab, the single welt kangaroo pocket , and the side panels that help provide some fit/shape to a traditionally shapeless sort of garment. Knowing that I wanted to push my sweatshirt into that spectrum of elevated active wear, I decided to up my fabric game and used a boiled wool knit fabric instead of sweatshirt fleece. I'm so pleased I did! The resulting garment is a fusion of two of the coziest things a girl could wear in the winter rolled into one. It was exactly what I wanted to be wearing after a day on the slopes! I've sewn a few of these too. I couldn't resist! I feel no shame in admitting that I already have another sweatshirt pattern on my radar; SewingLikeMad 's two versions of the Halifax Hoodie made it easy to rationalize additional sweatshirt sewing. Past, sweatpants wearing Michelle would be so proud.
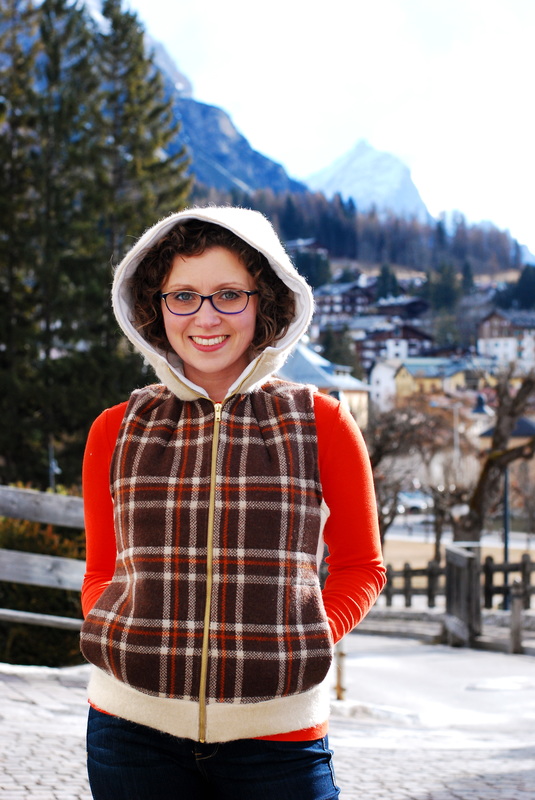
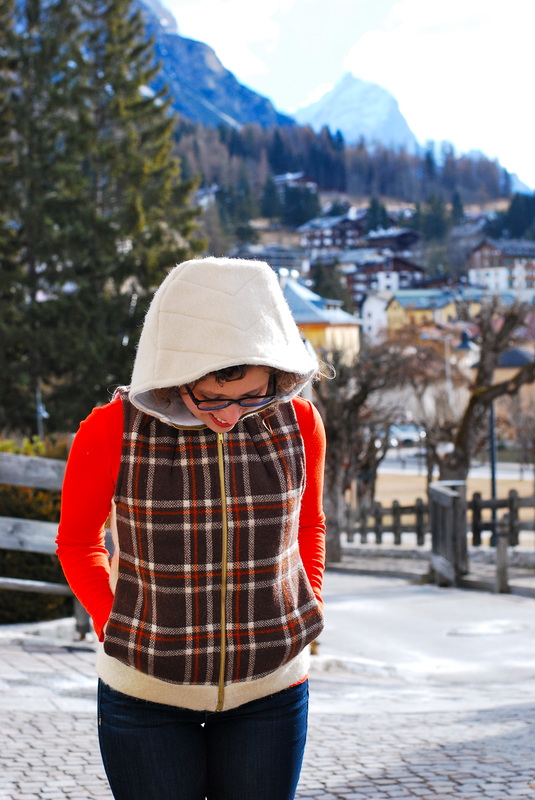
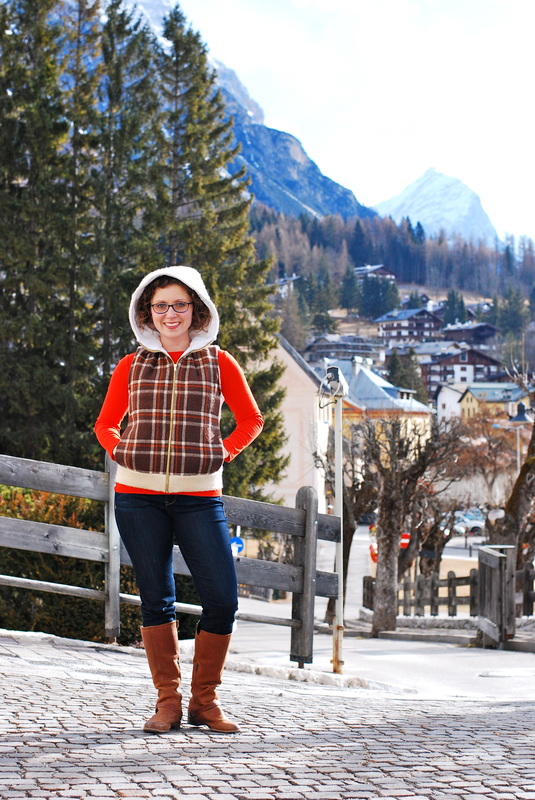
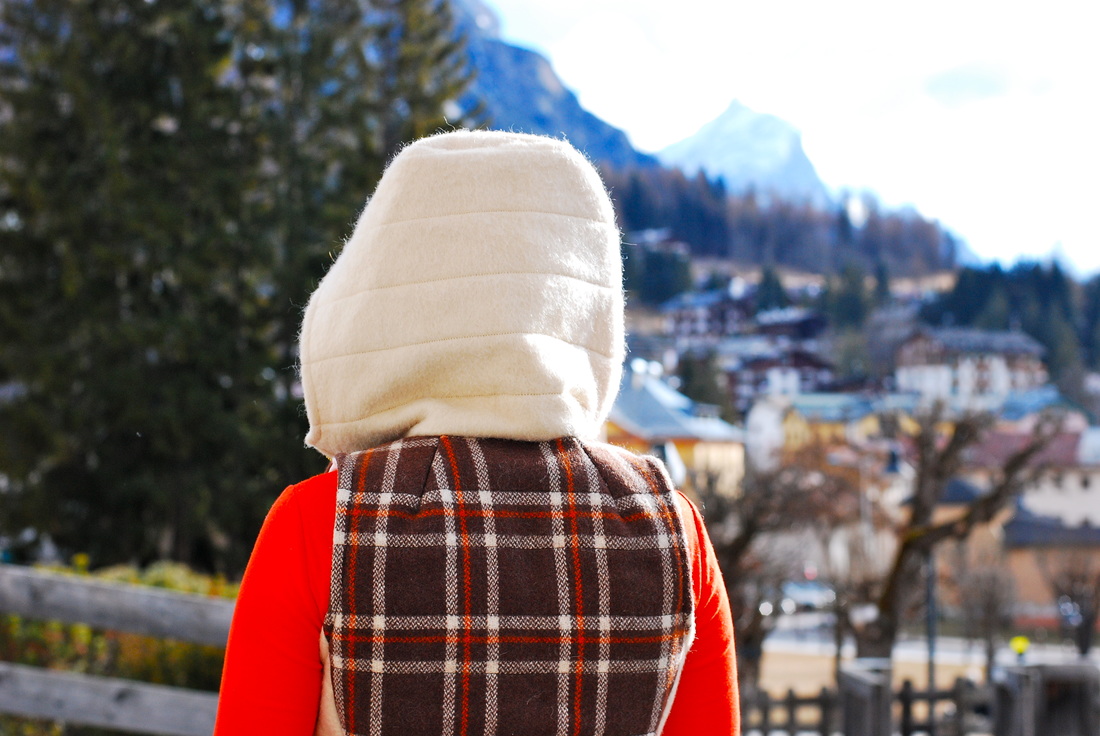
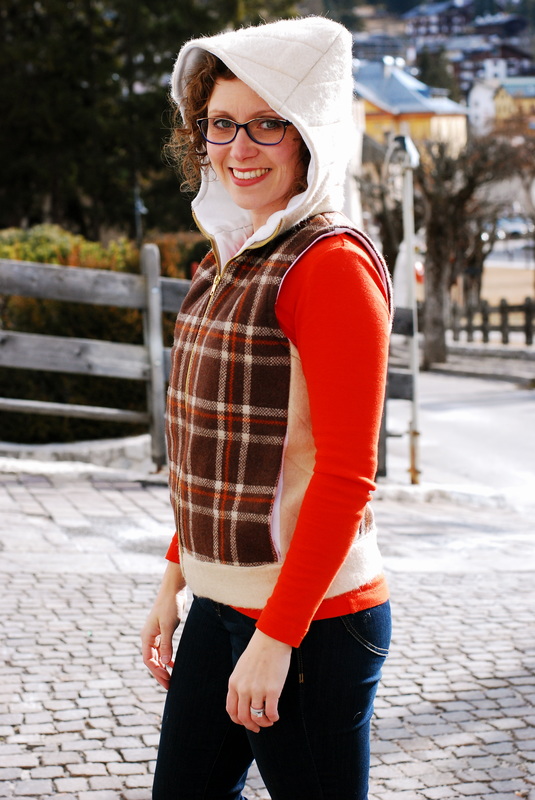
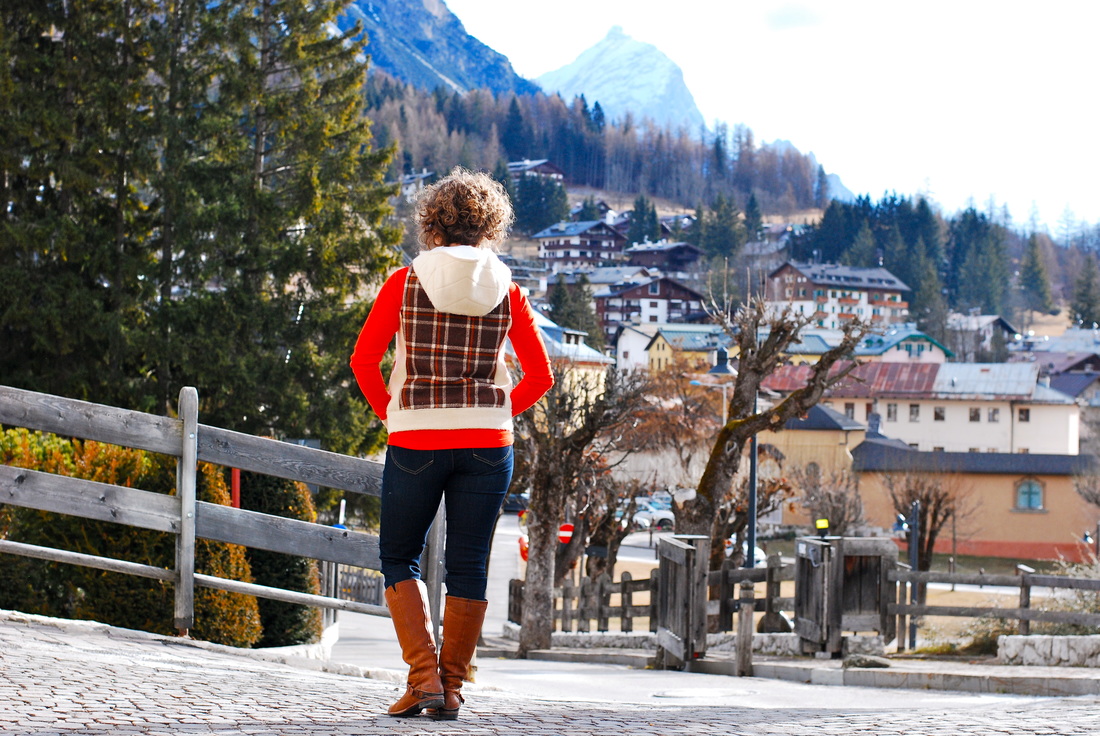
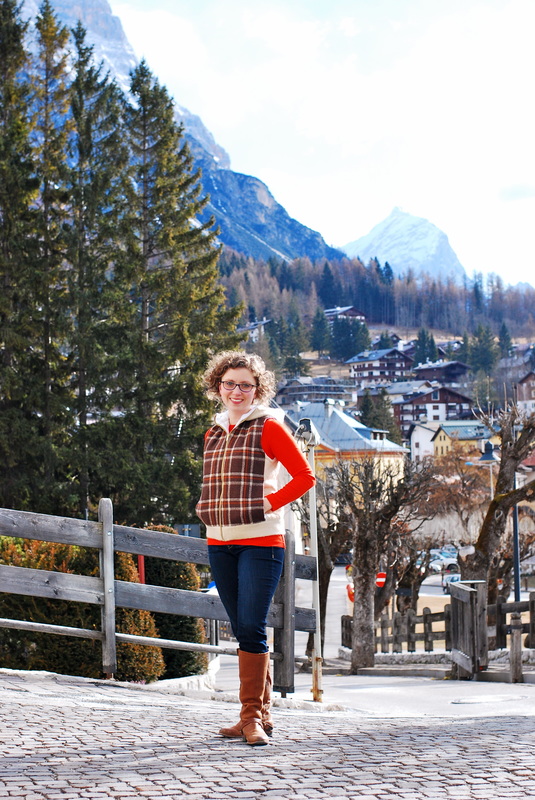
Historically, most of my sewing energy has been directed at warm weather. I love sewing dresses and skirts, and I wear them often when I can. But, they're not enough to get me through the year. It gets cold in Illinois. VERY cold. If I wanted to continue working towards my goal of a completely self-stitched closet, I needed some winter wear. Pronto. Knowing that I had our Cortina trip approaching was an excellent catalyst towards filling some of my wardrobe gaps, because I had a suspicion the Dolomites would be a great place to take pictures of my cold weather creations. To get started, I made a list of the types of clothing I reach for when the temperature drops. Layers are key for transitions between indoor and outdoor settings, so clothing that's easy to put on and comfortable to wear over the top of other garments was high on my list. Right around the time I started making a list of the types of projects I wanted to sew, I saw the Waffle Patterns Dropje on IndieSew. I had gone searching for a similar vest patterns weeks prior to this pattern release, so I took it as a sign from the expanses of the universe that we were meant to be together. If there was any doubt in my mind that I needed this pattern, seeing Lauren's Pendleton version pushed me over the edge! I love the possibilities for customization with this vest. My goal for this version was to sew a "puffy" vest, that would be suitable for use as outerwear. To do that, I knew that I wanted to use batting and include some quilting lines to keep things in place. I also decided to fully line the vest and create in-seam pocket bags instead of patch pockets. I had fun with the quilting and chose a few different line directions to stitch varying pieces of the vest: chevrons on the top of the hood, horizontal lines down the fronts and backs of the body, and diagonal lines on the sides. This was the first thing I've ever quilted, so I played it by ear and used a tip I'd read online (painter's tape) to mark my stitching lines. I think it turned out pretty good! I have a collection of small pieces of wool that I purchased from a milliner's estate and I was really excited to find I could use some of them on this pattern. The pattern calls for 2meters of 55" wide fabric, but I'm certain I had less than a yard each of my main and contrast fabrics. Spoiler alert, I made more than one of these. The shape of the vest is less fitted than I'm used to, but it's perfect for layering. It's warm too. MISSION ACCOMPLISHED!
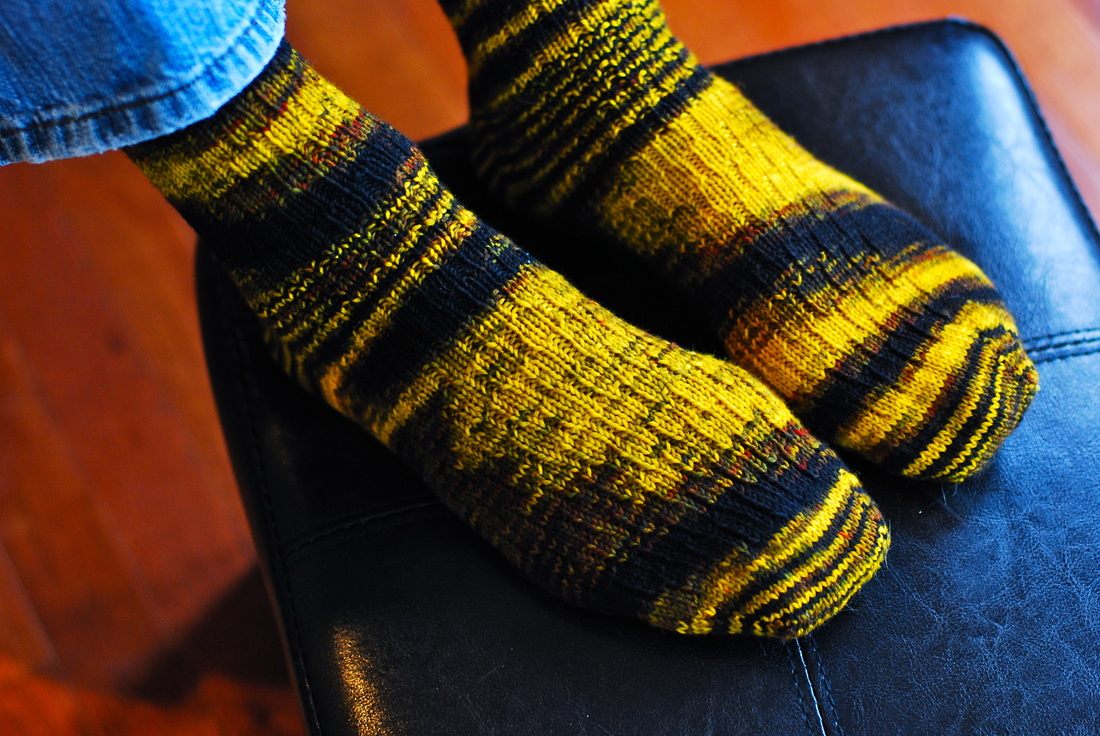
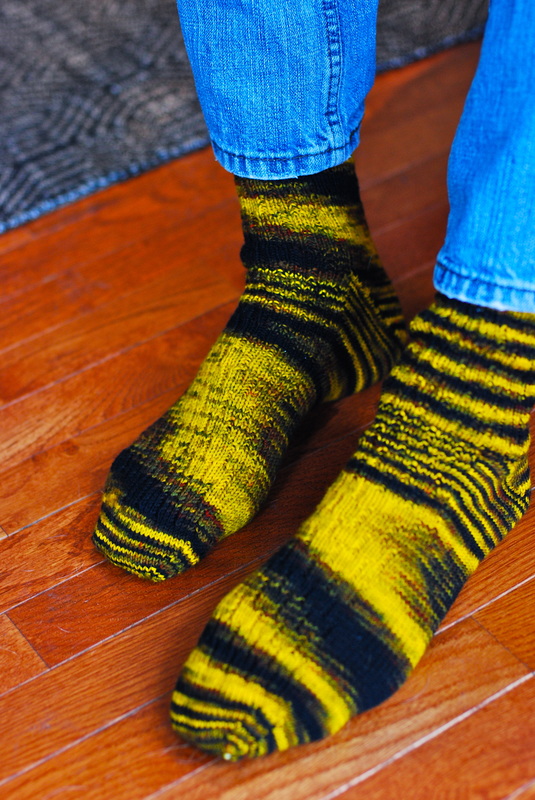
I'm not the only person in my house who likes to have toasty toes during wintertime activities. Sadly, Mike's collection of knitted socks is small. I started this pair of socks months ago, and I really wanted to finish these before we departed on our trip. Having a deadline is good motivation for a project like this, because GOSH men's socks are an endeavor. I'm mostly certain that Mike's socks require twice as much knitting as my own, and honestly, I don't enjoy knitting them as much as I enjoy knitting socks for myself. I feel pretty guilty about this, because Mike LOVES his knitted socks and puts in requests for more on a semi-regular basis. Somehow, they always land at the bottom of my priority list. These are Syncopation Socks knit in Wollmeise Sockenwolle. The pattern gets a bit lost in the color scheme, and there's more pooling than suits my preferences, but this is a solid, basic sock pattern. Typically, I would wait a year before knitting Mike another pair of socks, but during my assessment of my own collection, I decided I could let him jump queue. Since, it's my habit to always take a pair of socks to knit during flights I got a jump on his next pair already, which means he's another day closer to that full sock drawer.
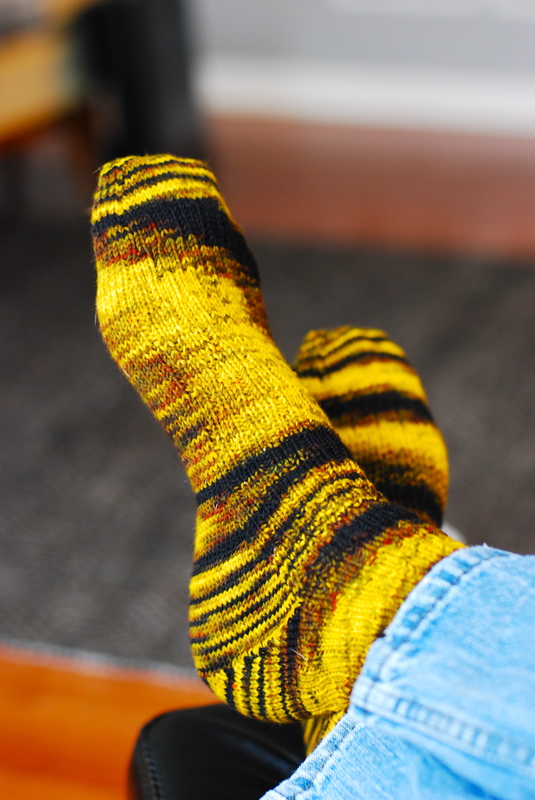
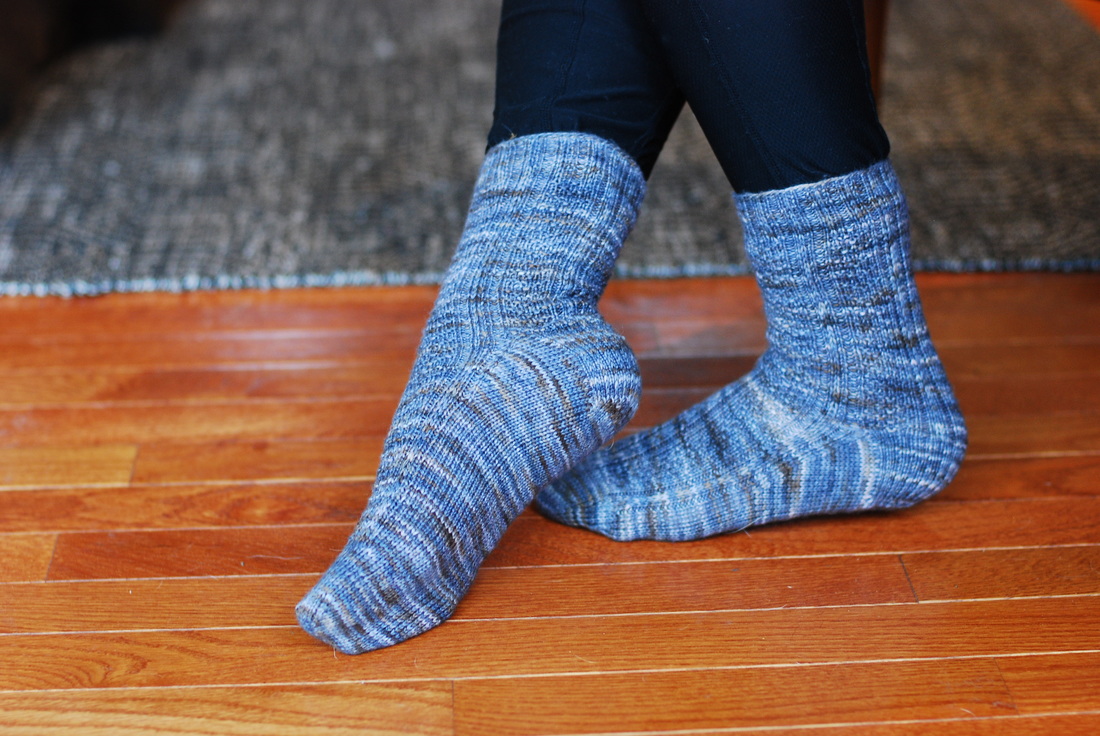
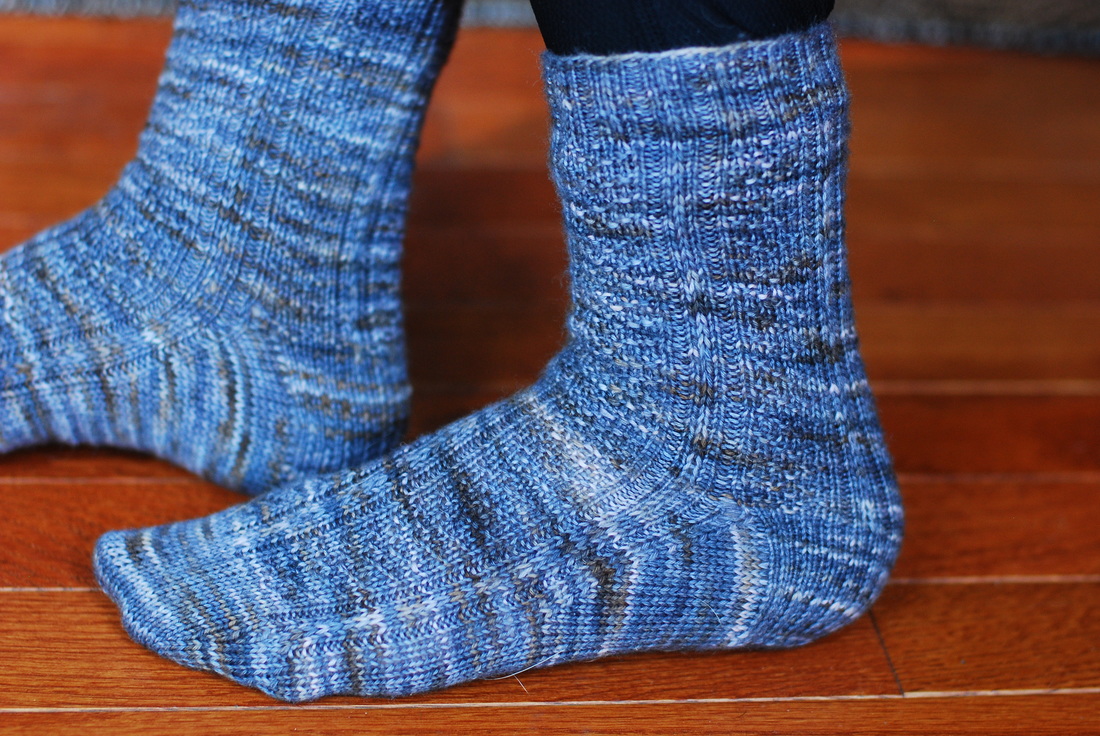
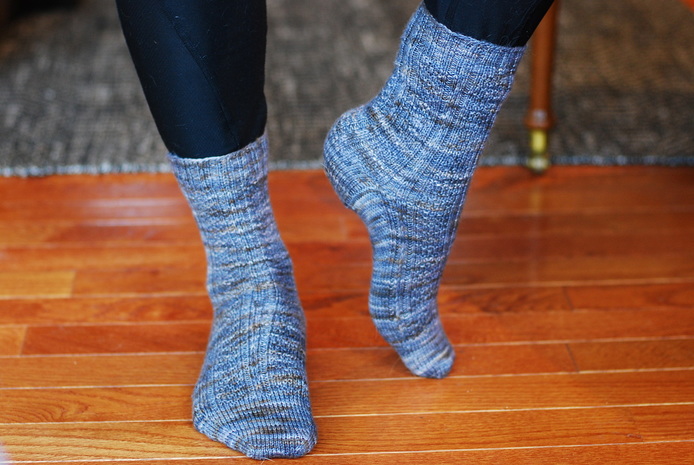
Last week, Mike and I escaped for a wintry getaway with our ski club. They let us join even though we're snowboarders; well, Mike is. I consider it a success when I can manage to spend more time on my feet than I spend flat on my back/face. We're relatively new members, and this was our first trip with the club. There were several trips offered this year, but the one that immediately caught our attention was to Cortina, Italy with side trips to Venice and Florence. We'd never been to Italy, and this trip seemed like a great opportunity to remedy that! Packing for cold weather most certainly involves wool. I HATE having cold toes. I packed an excessive amount of wool socks, including these Plowshare socks knit using Hedgehog Fibers yarn in "Unforgiven" . These were my plane knitting during our previous vacation, but I let them languish and barely managed to finish them before we left. I wasn't willing to take any chances regarding the warmth of my feet. I packed something like fifteen pairs of knitted wool socks, which is completely twofold. On one hand, I was able to double up and wear two pair of wool socks at once during the days we snowboarded. My feet never felt a chill. It was brilliant. On the other hand, I experienced extreme anxiety the moment(s) I surrendered my luggage to be checked. Airlines lose luggage all the time. Most people can replace the contents of their suitcases, but not makers. Fifteen pairs of socks... that's the knitting equivalent of an entire year of my life. More? And, that's not factoring in the sweaters and clothing that traveled in the same bag. It makes me sick to even think about. This, friends, is as close to living dangerously as I get. What do you think? Is it is worth the risk? Do you travel with your sewn and knitted clothing? Do you take special care when you do? Share below!
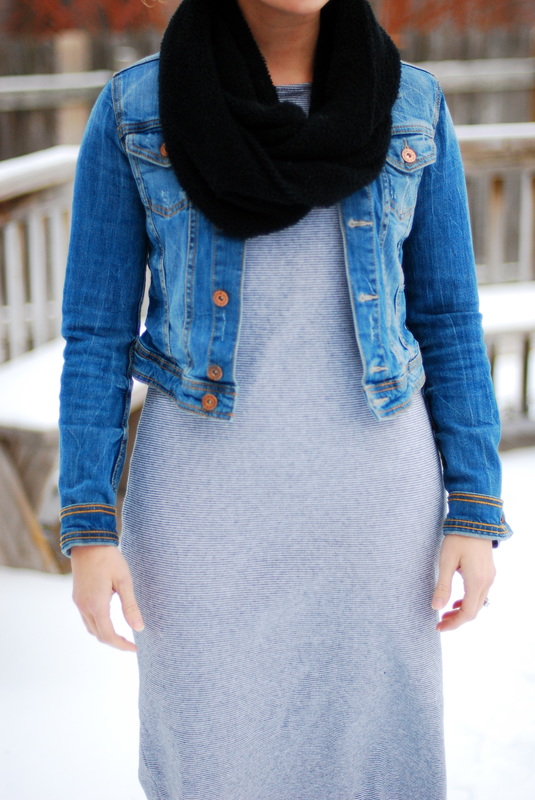
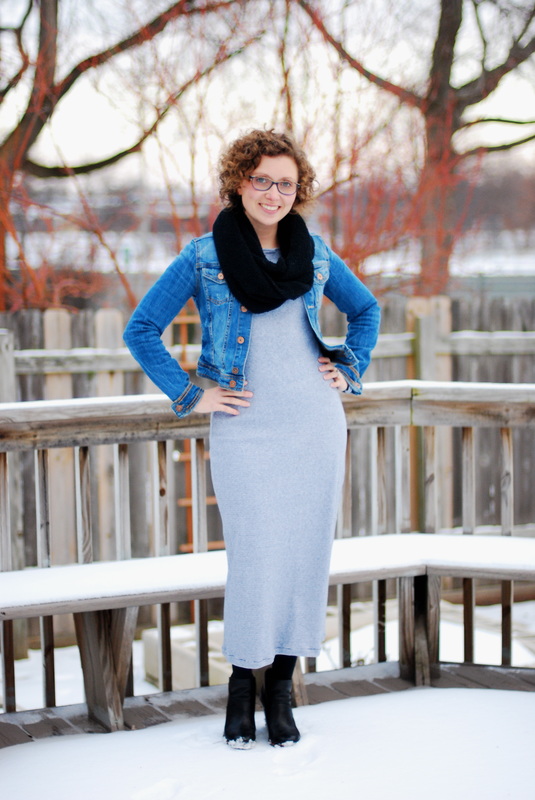
HELLO and HAPPY NEW YEAR! I don't know about you, but I hit the ground running in 2016. I've got new projects from new to me patterns to share with you, but first, I have a few things piled up from last year to get out of the way. First, some old business. This is the last of the M6886 dresses I stitched up during fall2015. I have nothing new to say about this pattern. I love it (clearly). This time, I used a stash fabric to sew. It's a black/white striped cotton jersey that was purchased from an estate sale. Of all the projects I've made, the dresses I've sewn from this pattern along with the Rachel wrap dresses I sewed during the same period of time have been the most regularly rotating garments in my daily wardrobe. They're instant gratification garments. They're super easy to sew, and super easy to wear. They're great blank slates too, which makes them versatile during season changes and wonderful for accessorizing and layering. My love for these patterns is further fueled by the flattery and compliments I field each time I wear one of the garments I've made using them. And, then there's the comfort. My goodness; the comfort! Overall, 2015 was an enormous year for me in terms of sewing in regard to skill building, production, figuring out what I want from my clothing and building confidence in my own abilities. I feel closer than ever to my long-standing goal of a completely me-made wardrobe. I'm not a "resolutions" person. But, I will say that I hope to continue evolving and developing my skills this year. I want to keep pushing myself to try new things and tackle new types of projects. And, damn it, I am going to make 2016 the year of trousers, I'm determined.
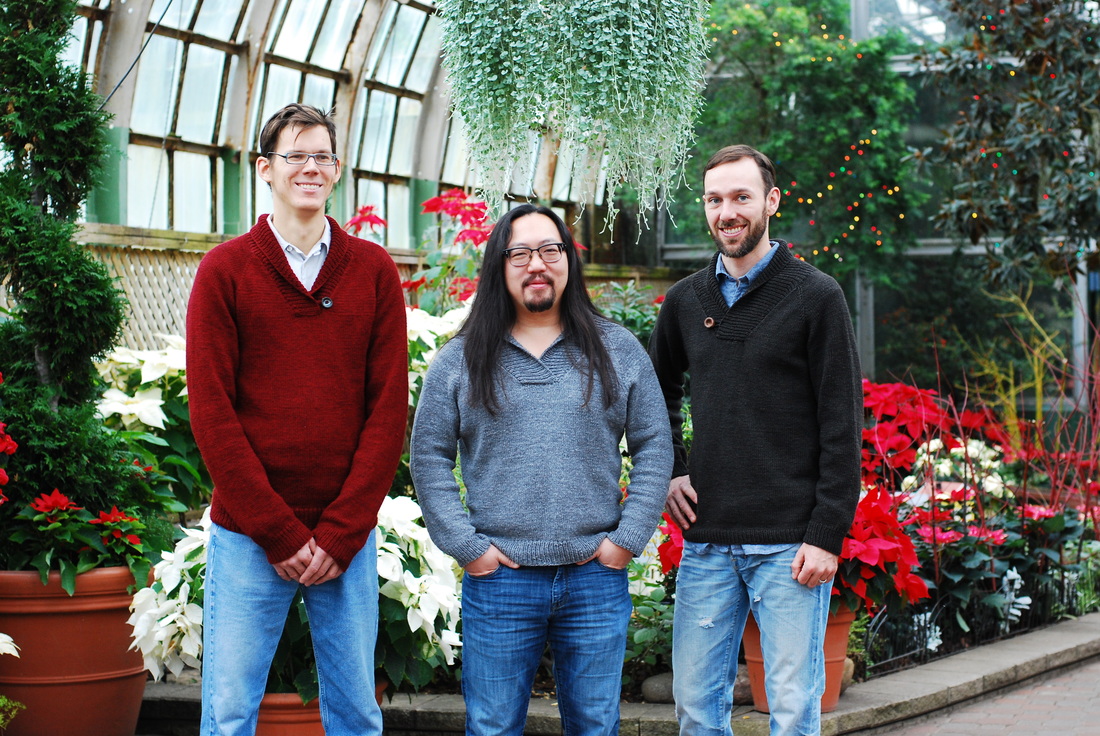
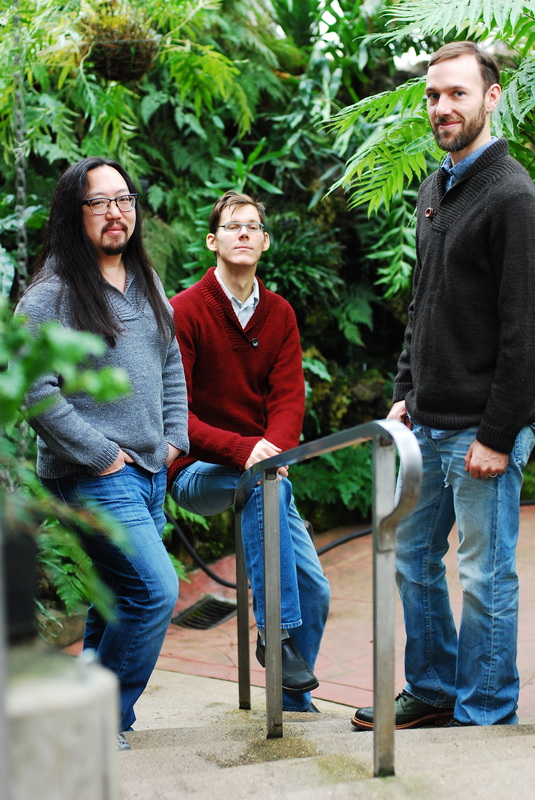
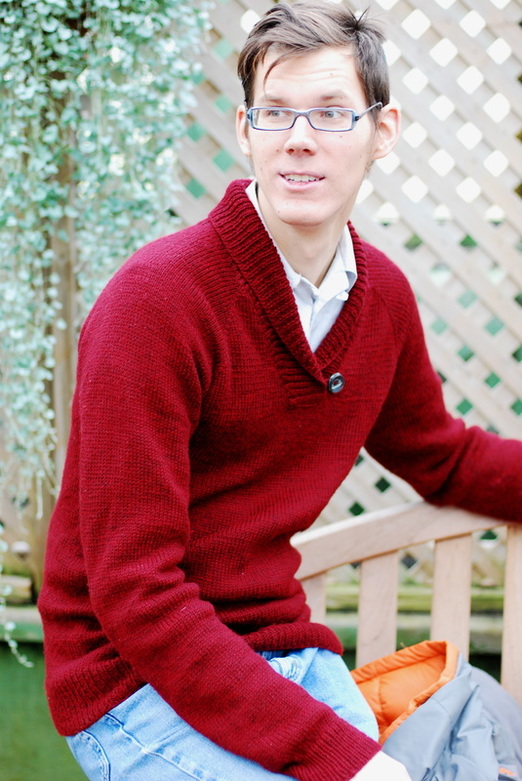
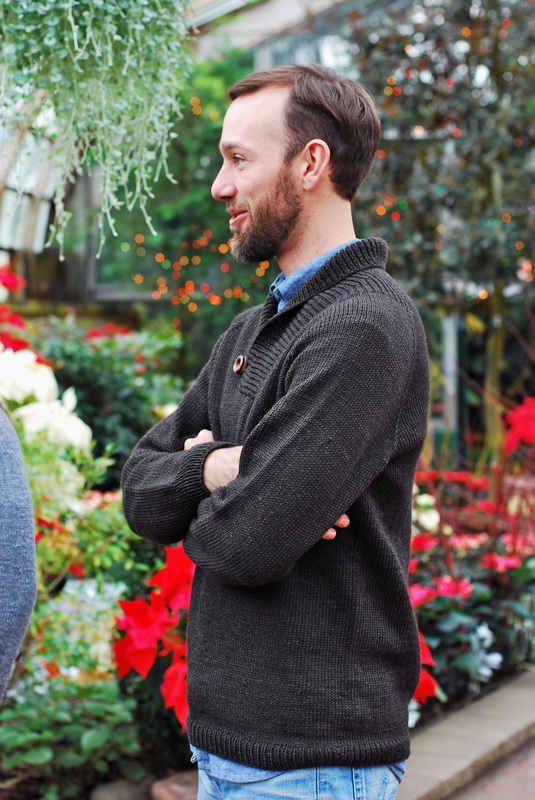
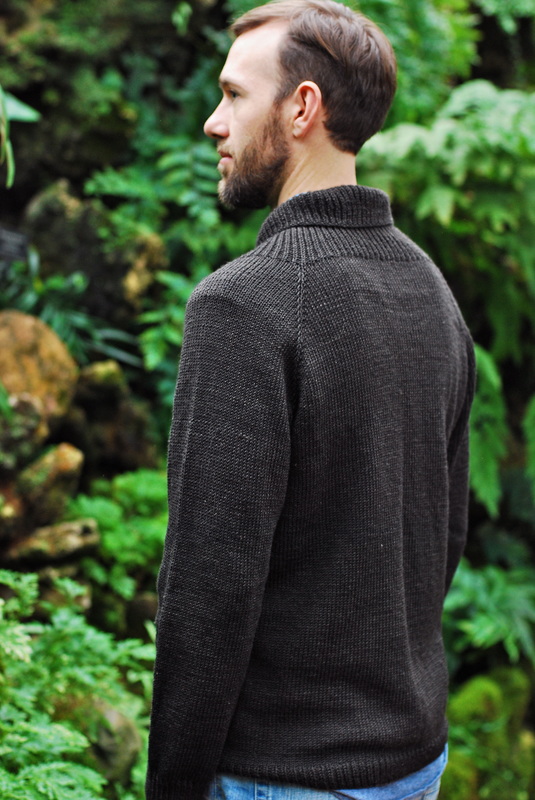
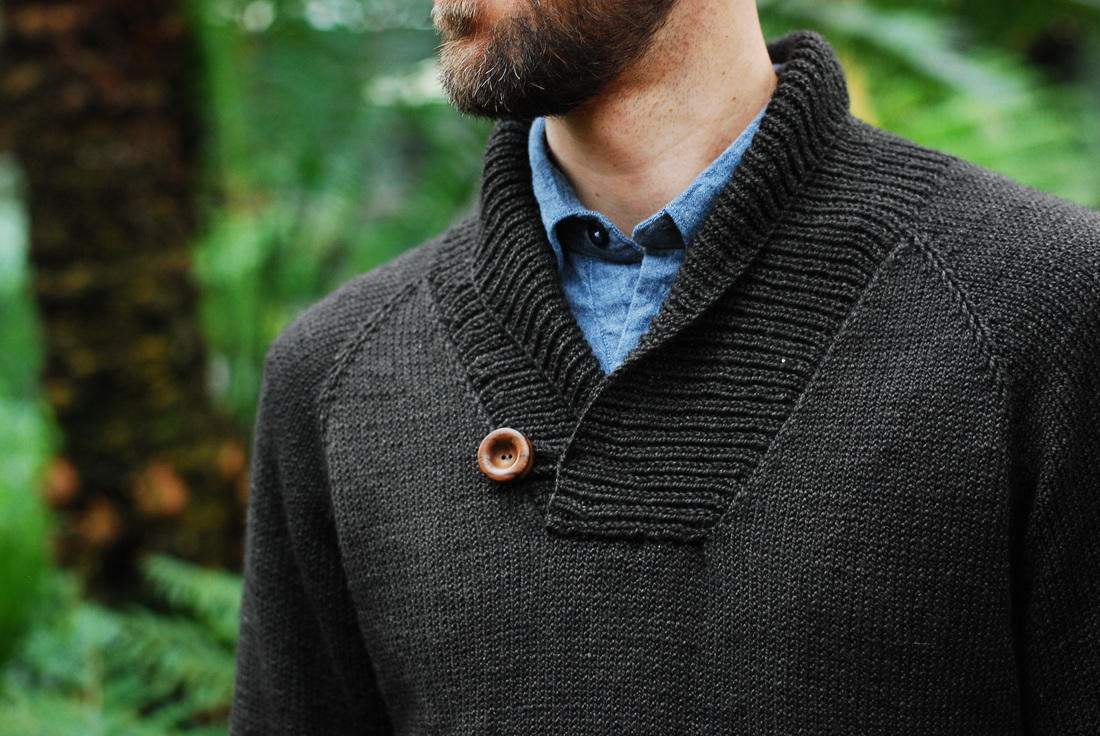
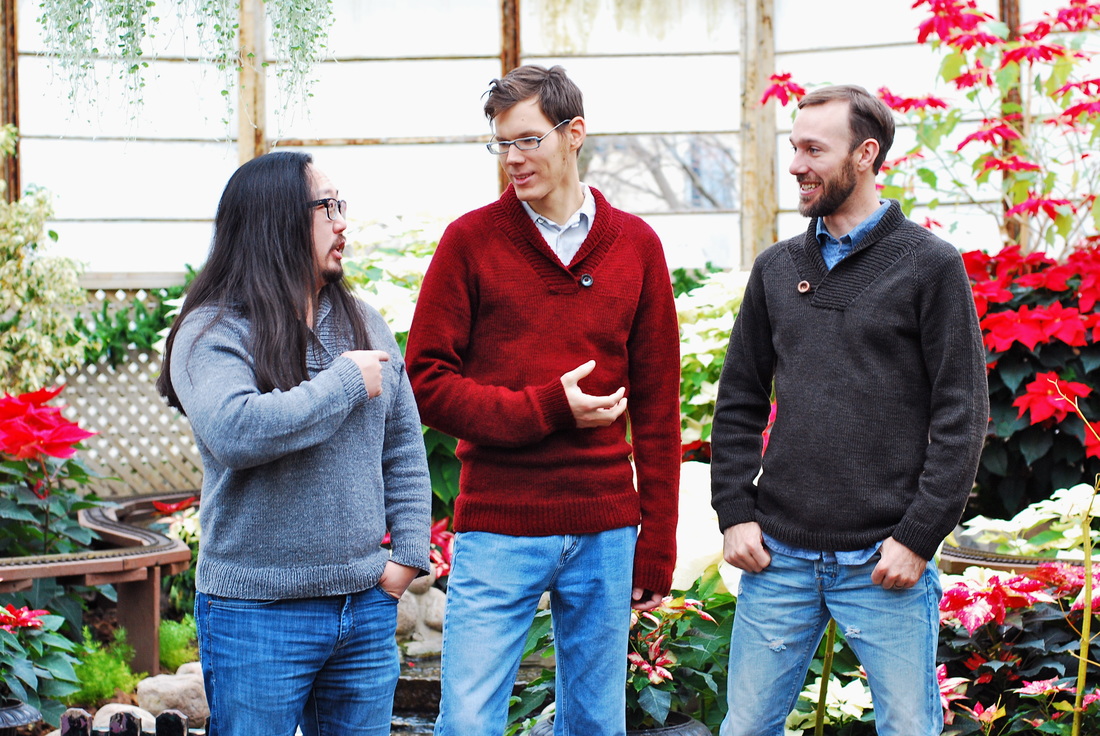
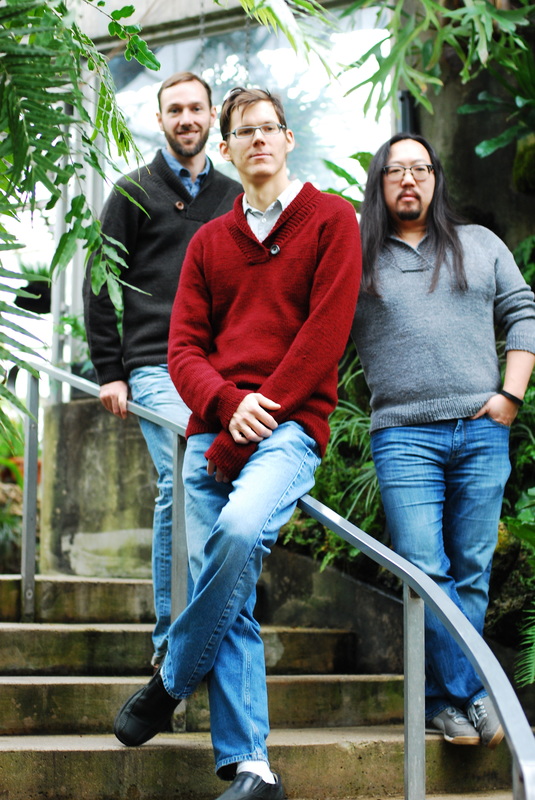
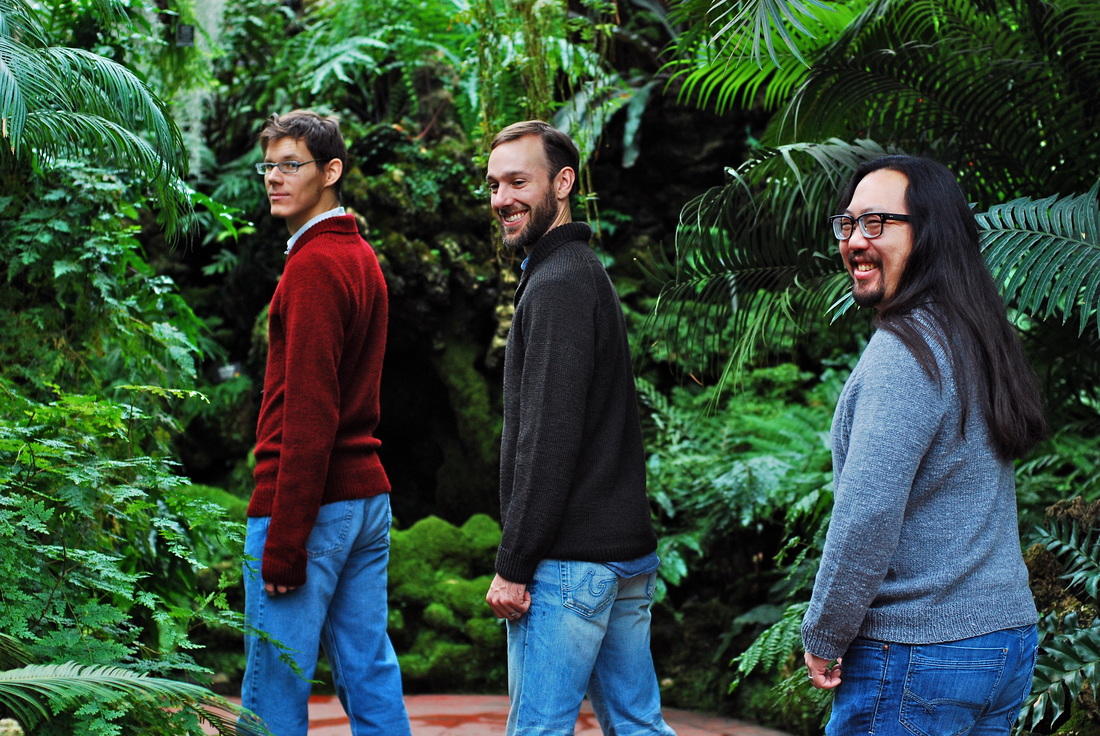
Are you making plans & lining up projects, or are you throwing caution to the wind? Man, oh man, oh man! Do I have a treat for you! Feast your eyes on those sweaters. The guys wearing them aren't bad either. ;-D Even before we had finished our Paris project, the gals and I started plotting our next group endeavor. We wanted to switch back to knitting, but with a spin; we decided to knit for the gents instead of ourselves. Up to this point neither Liz nor Meg had knit for their guys, but they were ready to give it a try! We'd all favorited the Lumberjack sweater by Marzena Krzewinska the same day it was published on Ravlery and thought it would be perfect. It was classic, simple, and it looked easy enough to modify to each of the guys' builds. Now, I must confess, with sweaters like this, I consider the pattern more of a suggestion than instruction. I've knit dozens of sweaters for myself and several for Mike, so sweaters as simple as this are relatively intuitive for me. Besides, stitch totals and the collar, I didn't pay a lot of attention to what was happening in the written portion of the pattern. That is, I didn't pay attention to it until Meg and Liz started pointing out all the issues they encountered while reading and following the instructions. The gauge didn't match the stitch counts provided, there were short cuts in the writing, and the proportions were.... unusual. The sizing is bizarre. Mike is a thin guy, and I had to knit him the XL in order to have a sweater that would allow positive ease. His chest measurement is 40", which usually translates to a men's size Medium. Also, Mike is 6'1", so I usually lengthen the sleeves and body of his sweaters, but I actually shortened both by several inches each from what the pattern instructed. If you look at the pattern page for this sweater, you'll notice how excessively long the designer intends these elements to be. It could be classified as a design choice, I suppose, but as Mike not so subtly stated when I asked him about his preferences, he would feel like he was wearing a dress in a sweater that covered his 'junk'. And, he felt it would be irritating to have a bunchy midsection and sleeves in the alternative. The removal of the extra length probably explains why we ALL had extra yarn left after we finished knitting. Like, skeins extra. I was actually very irritated by this. I bought yarn specifically for this sweater based on the pattern suggestion, and I had two (plus) skeins of Mulberry Merino left over. That's $48 I could have put toward another project that will now linger in the stash. Not. Cool. Additionally, I added four sets of decreases(16 sts total) every twelve rows from the underarm towards the waist. I feel this shaping is as important in a man's sweater as waist and bust shaping are in a woman's sweater. Unless your guy is sporting dad bod, he's probably wider at the shoulders than he is at the waist/hip, and shaping give the silhouette of a man's sweater a taper than is figure flattering. Because, yes, guys totally feel self-conscious in ill-fitting, boxy clothing, just like the ladies. As further indication that I barely skimmed the pattern, I have my collar the opposite direction. I've always used the mnemonic device, " Girls are always right, and boy are left over" to remember that women's garments close right side over, while men's close with the left side over. I don't know if it's applicable in a sweater like this, but like I said... intuitive knitting. I did what I know. All that said, this is the classic sweater we set-out to knit. I would not, suggest this pattern to a knitter looking to knit his/her first menswear garment, but if you have experience with knitting for men, and/or men's sizing it's a perfectly fine outline and it's easy to modify. At the end of the day, we had three good looking sweaters. As a fun and totally unplanned coincidence, we realized that we had taken photos of our first sweater collaboration at the Lincoln Park Conservatory at the same time of year that we were taking photos of the guys' first group project. With a bit of prodding, they recreated the above photo from that first photoshoot. They're impersonations of us are shockingly spot on, no? LOL. I think it was a little strange for the guys to be on the opposite side of the camera after all the behind the scenes work they're used to doing with regards to blog photos. And speaking of behinds....
|
Archives
March 2017
|
