|
I'm two days late with this post, and I fear I'm disappointing as a KAL hostess. I do hope you'll forgive my delinquency. By now, we've gathered our supplies and swatched along with Mari. Now we're ready for the fun part- Casting-on! We'll start by knitting the sleeves of the Channel Cardigan. Knitters, you are free to choose any method of casting-on you prefer. However, the pattern recommends a tubular cast-on. For those unfamiliar with this casting-on method, I've attempted a photo tutorial to help us along.  Before we begin, we will need to gather: waste yarn, working yarn, our size 'C' needles (suggested US 4), a stitch marker and a cable needle (optional). We will be knitting in the round, so choose your preferred method for small circumference knitting (dpn vs. circular). 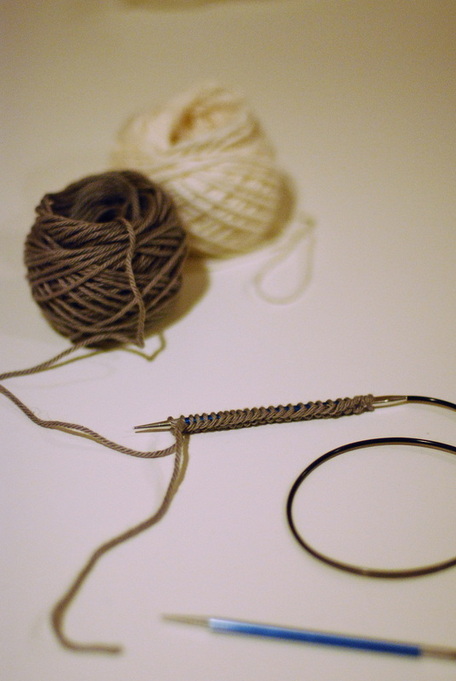 To start, we will cast on half the total number of stitches we want for our cuff plus one additional stitch (50% + 1sts.). The total cuff stitch counts are already provided in the pattern: 48(52,5,52,56,60). To obtain the correct number of stitches using a tubular cast-on, you should cast-on 25(27,27,29,31) sts., accordingly. You can choose any casting-on method for this portion. I've used a long tail cast-on. Once you've completed your cast-on, you can cut your waste yarn and set it aside. 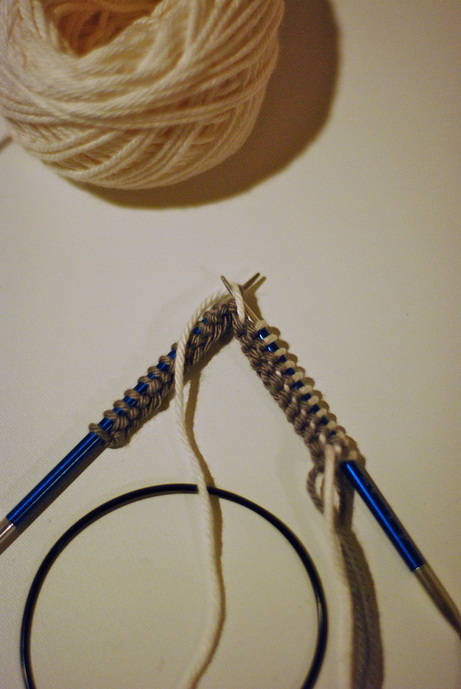 Now, using your working yarn, from the wrong side, purl to the end of the row. This row is our foundation. Row 1.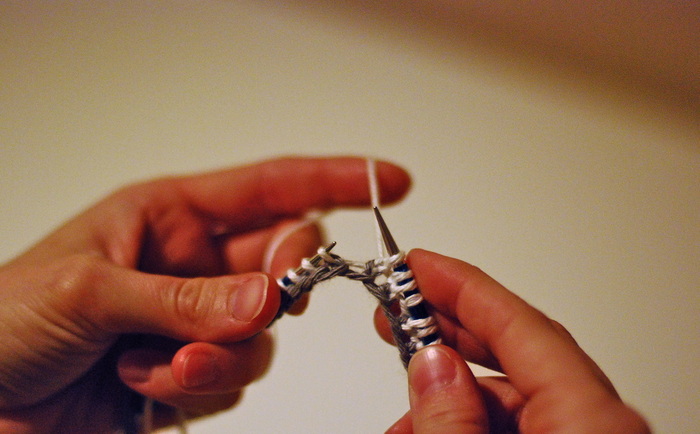 Turn your work so that you are ready to work a row from the right side. We will now double the total number of stitches on our needle by increasing into the bar between each stitch. To start, knit the first stitch on your needle. As you move this stitch from your left needle to the right, you will see there is a bar between the two stitches. In the above photo, this is the straight, white (working yarn) between the stitch on my right needle and the stitch on the left needle. 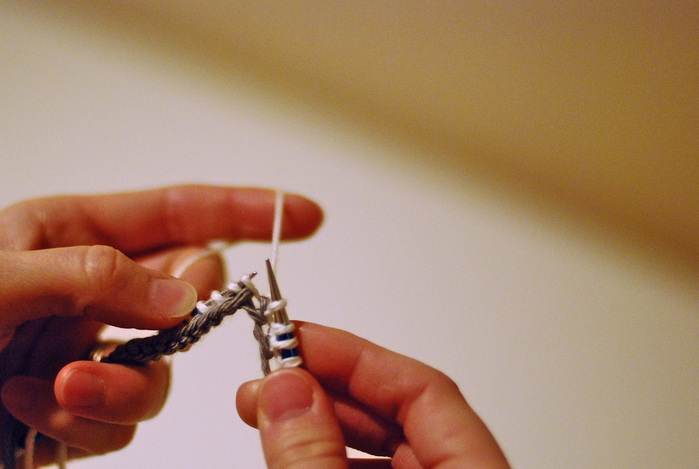 To increase, pick-up the that bar between stitches by Inserting the tip of your left needle under the bar, from the front side of your work.  Now, bring your working yarn to the front of your work and purl the bar, moving this new stitch from the left needle to the right needle. One stitch increased. Continuing in this manner, until you reach the last stitch of the row. Then, slip the last stitch purlwise, with the working yarn behind the stitch. Round 2.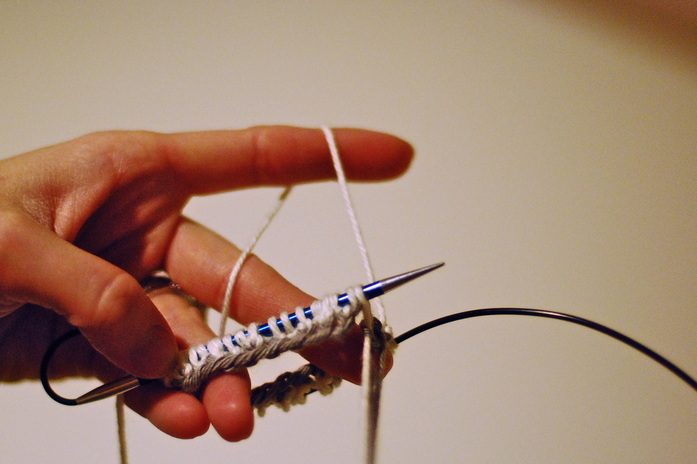 We will now prepare to knit in the round. Divide your stitches appropriately, and move the last stitch of the round (the stitch we slipped in the previous row) to the left needle. Place a marker to note the beginning of the round.  With your working yarn in back of your work, slip the first two stitches from the left needle to the right needle. 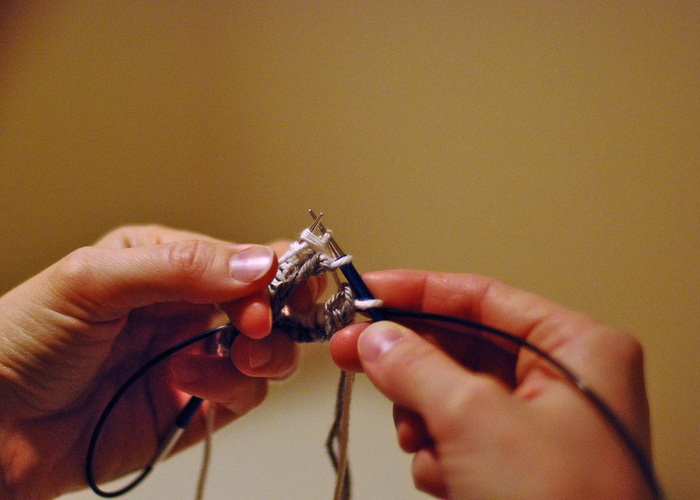 Bring your working yarn to the front of your work and purl the next stitch in the round. 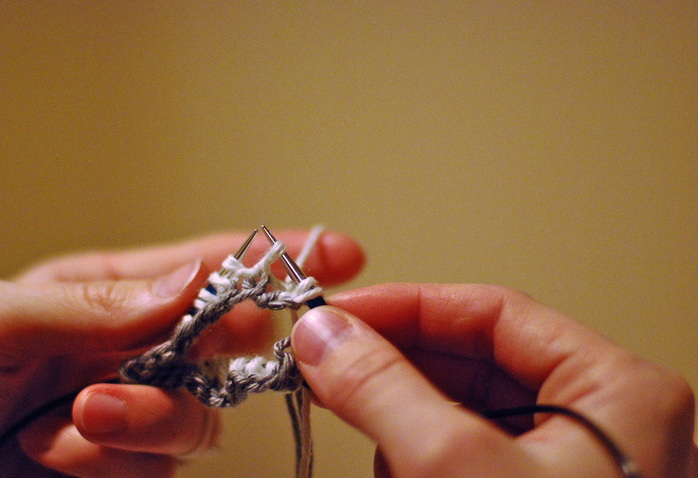 Next, move your working yarn to the back of your work and slip the next stitch, purlwise. 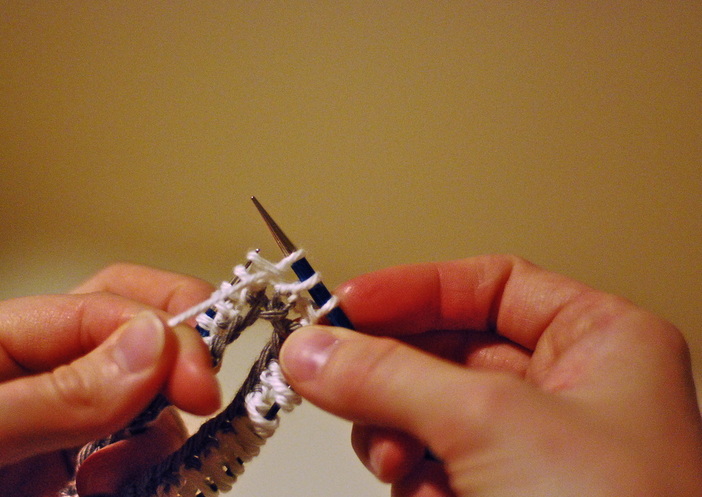 Then, bring your yarn to the front of the work and purl the next stitch in the round. Continue in this manner, Slipping your knit stitches purlwise with the yarn behind them, and purling the purl stitches, until you reach the beginning of the round. Round 3.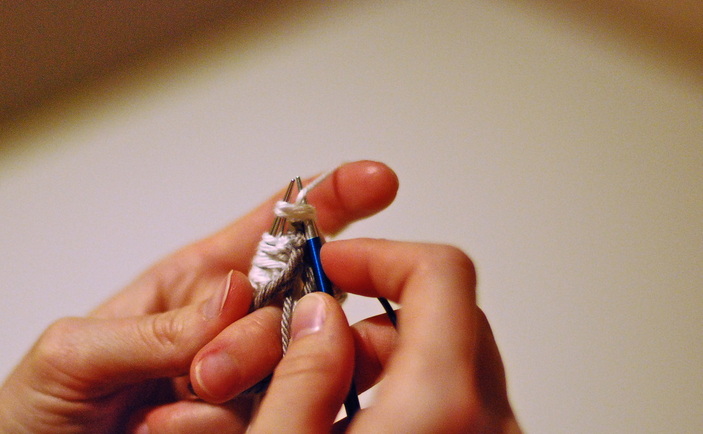 Begin by knitting the first two (previously slipped stitches) together.  Next, slip the purl stitch from your left needle purlwise, with the yarn in front of your work. Knit following stitch. Continue in this manner until you reach the beginning of the round. Round 4.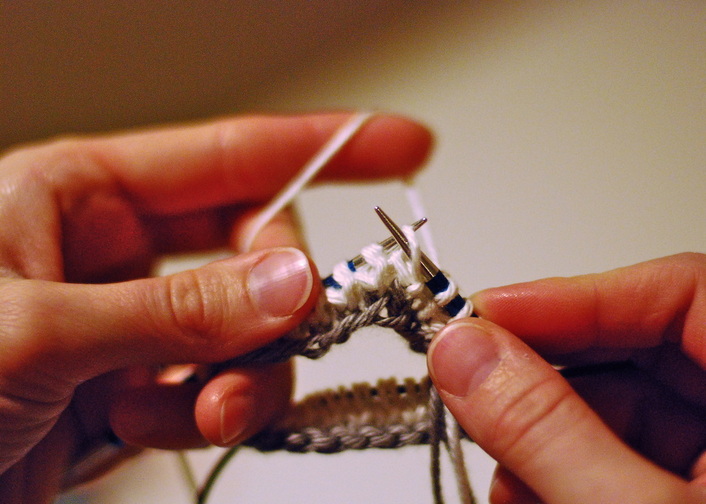 Slip the knit stitch purlwise from your left needle to the right needle with the working yarn held behind the work. 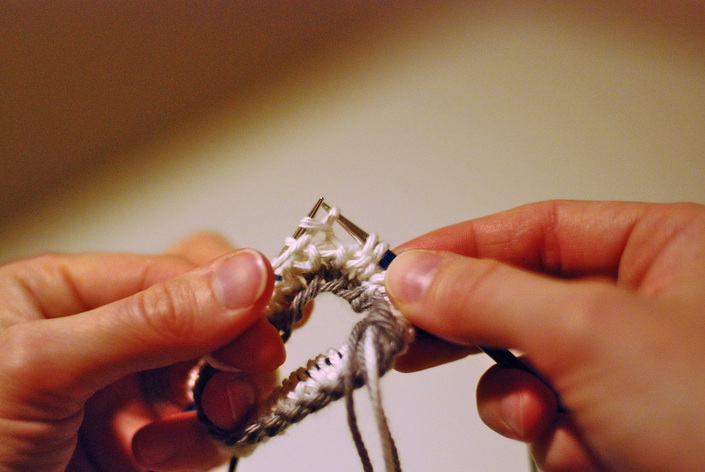 Bring your working yarn to the front of the work and purl the next stitch. Continue these two steps until your reach the beginning of the round. 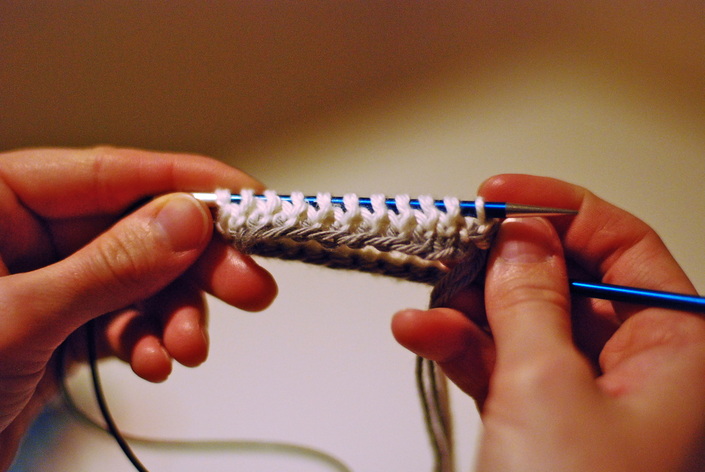 After you complete the fourth round of the pattern, you will have an established 1x1 slipped stitch rib pattern. Now, we will adjust the order of the stitched on our needles in order to set-up a 2x2 rib for the remainder of the cuff. Redistribute Stitches.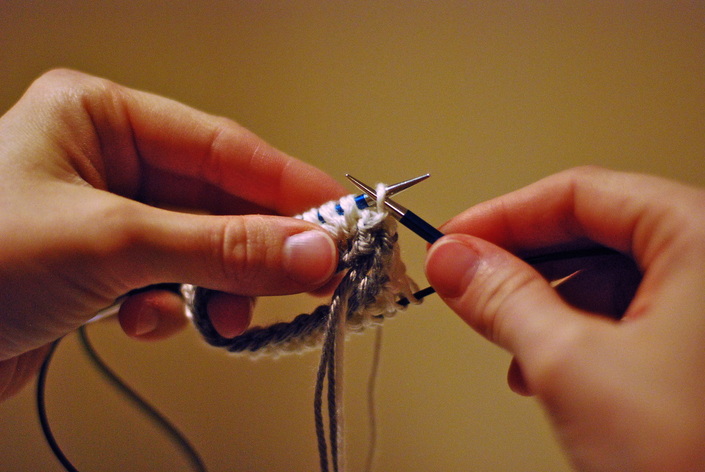 We will now reorder the stitches on our needle. We do this without using our working yarn. Begin by slipping the first 'knit' stitch from your left needle to your right needle. 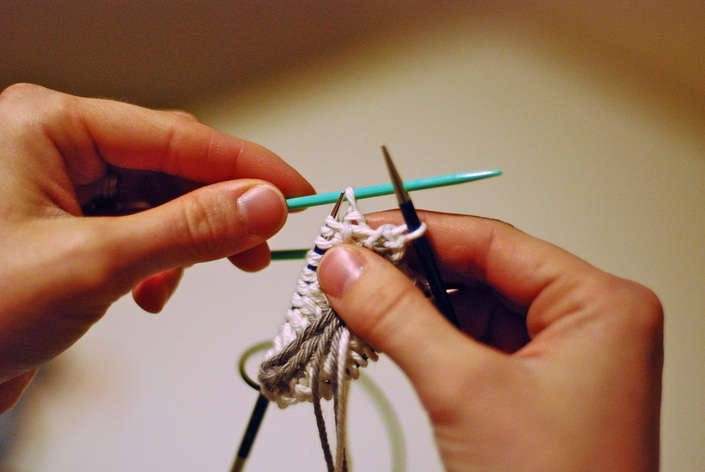 Slip the next, 'purl' stitch onto a cable needle and hold it at the back of your work.  Slip the next, 'knit', stitch from your left needle to your right needle. 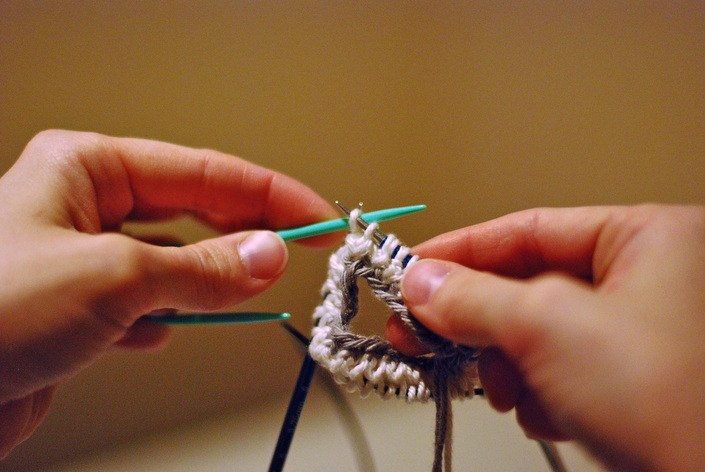 Now, slip the 'purl' stitch from the cable needle to your right needle. 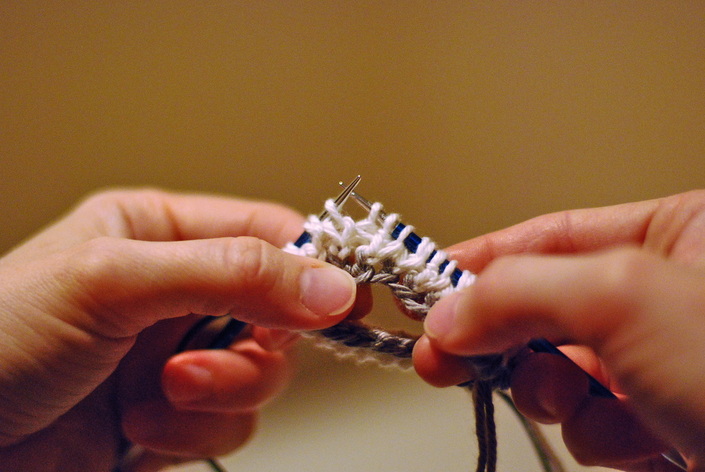 Then, slip the next 'purl' stitch to your right needle. Continue to distribute your stitches until your reach the beginning of the round. Once you finish, the stitches on your needles will be arranged in a 2x2 manner. Round 5. 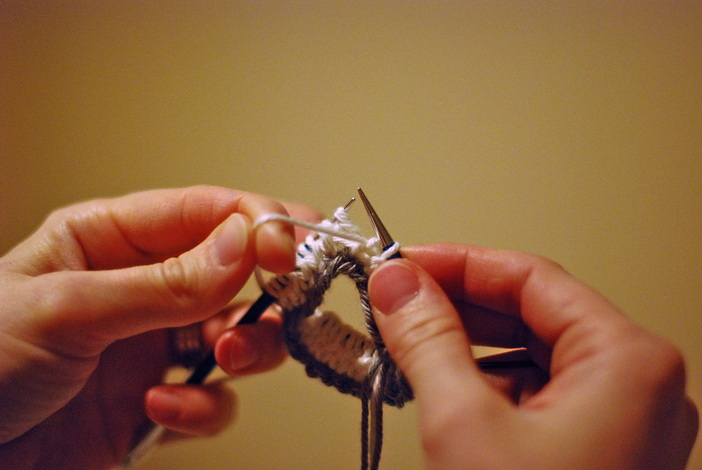 Begin the round by knitting the first two stitches. Then bring your yarn to the front of the work.  With your yarn in front of the work, slip the next two purl stitches to the right needle. Continue to knit 2 and slip 2 in this manner until your reach the beginning of the round. Round 6.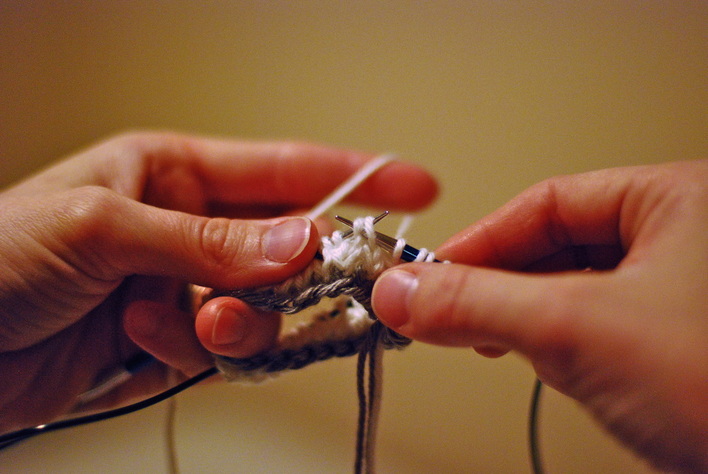 Begin the round by slipping the first two knit stitches to the right needle, purlwise, with your working yarn behind the work. 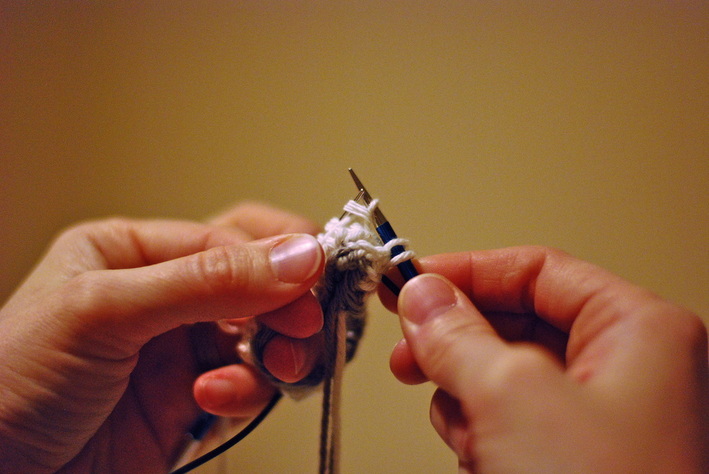 Bring your working yarn to the front of the work and purl the following two stitches. Repeat in this manner until you reach the beginning of the round. 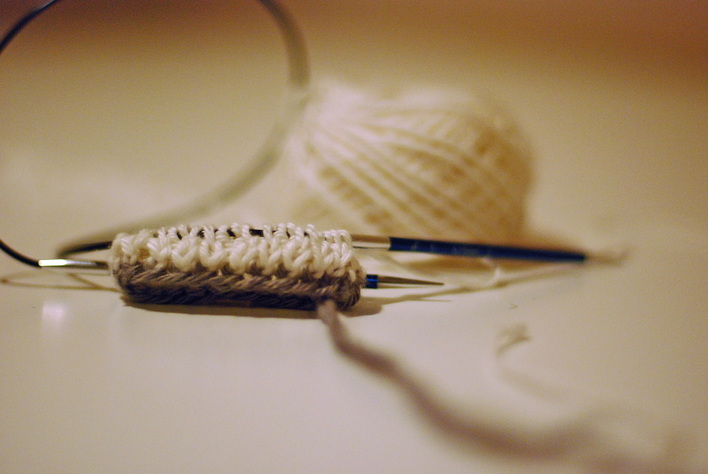 You have now completed your tubular cast-on! From this point forward, you will knit the cuff in 2x2 rib. Before you do, however, remember to change to your Size B needles (suggested US 5). 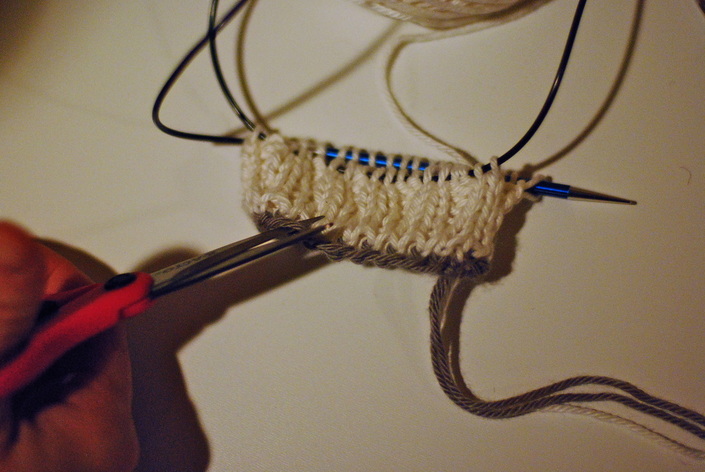 After you knit several rounds of 2x2 ribbing, it is safe to remove your waste yarn cast-on. Being very careful to cut only your waste yarn. Make several cuts along the cast-on edge. 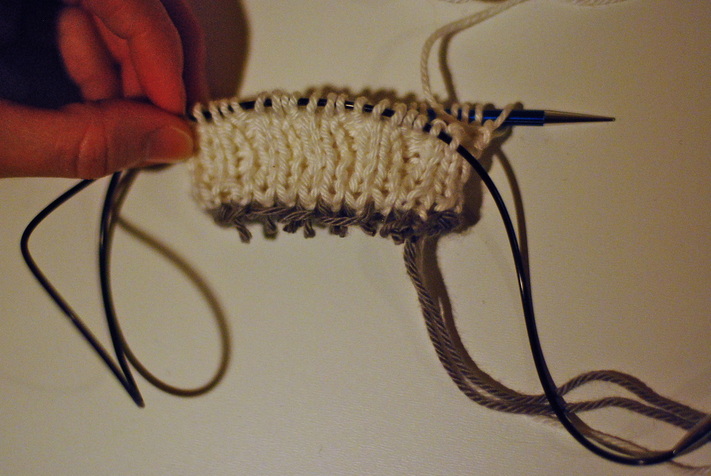 Once the waste yarn is cut, you will be able to easily remove the cast-on edge by tugging on the ends of those pieces. 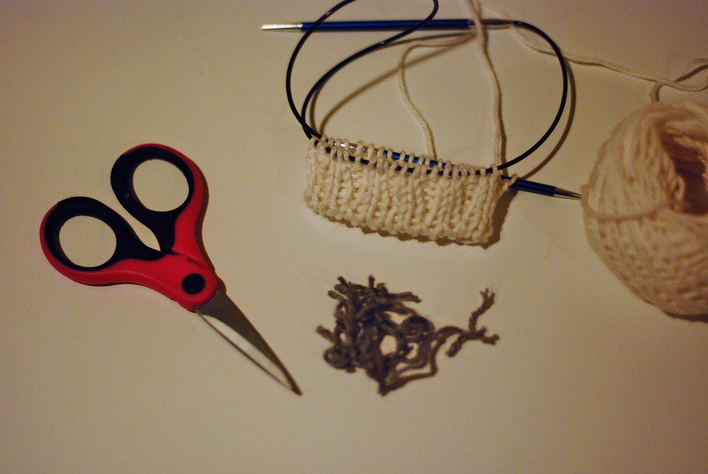 VOILA!  As I mentioned early, the tubular cast-on isn't a requirement. However, it's a fantastic option for a ribbed cuff. You'll note two distinct differences between this cast-on and other knitted cast-on methods. First, there is no apparent cast-on at the edge of the cuff. Instead, you have a rounded, edge that flows almost seamlessly into the rest of the rib. 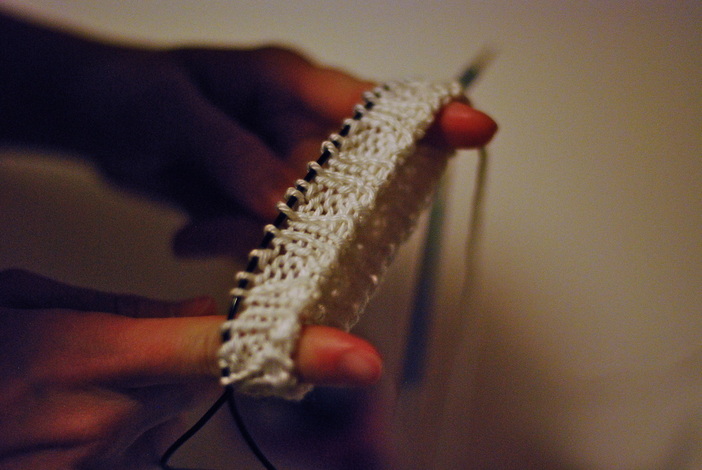 The second major difference you'll notice is the amount of stretch this cast-on allows. As a girl who likes to push-up her sleeves, this is my favorite part.
Alrighty then, Let's get busy! Now that we've cast-on our sleeve, we will continue to rib our cuff for two and three-quarter inches.
8 Comments
2/19/2014 05:23:23 am
OH. I DO like to push up my sleeves. I do, I do! I'd been thinking of knitting my owls sweater sleeves to just be elbow-length bc I was worried I'd stretch out the cuffs. But, maybe I'll just go with a tubular cast on and hope for the best.
Meryl
7/27/2016 04:38:51 pm
Thank you so much for this wonderful tutorial, you explained and demonstrated it to well. I have just completed it on my current knitting project.
La Shon
11/23/2017 03:34:02 pm
This is a great tutorial. Well done and thank you! (bookmarked)
Maria
6/1/2018 07:03:04 am
I would like to know that when u did the cuff in tubular cast on, were your needle sizes 2 sizes smaller than the main part of the sleeve? Leave a Reply. |
    Archives
March 2017
|
